


22
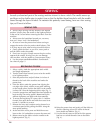
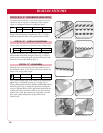
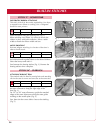
ENCASING ELASTIC
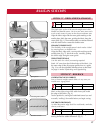
Create casings for 1/8” narrow elastic in minutes for
waistbands, cuffs, and craft items.
Place the fabric wrong side up under the presser foot.
Insert the elastic through the front opening of the presser
foot, over the front and under the back. Leave a 1/2” tail
of elastic behind the foot. Begin sewing being careful not
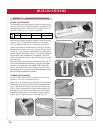
to stitch the elastic [Fig. 1]. When sewing is complete,
pull the ends of the elastic until the desired amount of
fullness is obtained [Fig. 2]. Secure the ends of the elastic
with a straight stitch before sewing them into a seam.
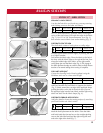
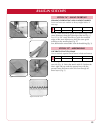
ATTA
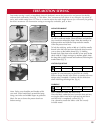
CHING FLAT ELASTIC
Place elastic and fabric under the presser foot.
Take a few stitches to anchor the elastic. Adjust the
width of the stitch to the width of the elastic.
Zigzag over the elastic, stretching the elastic in front of
the presser foot as you sew [Fig. 3].
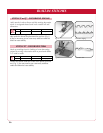
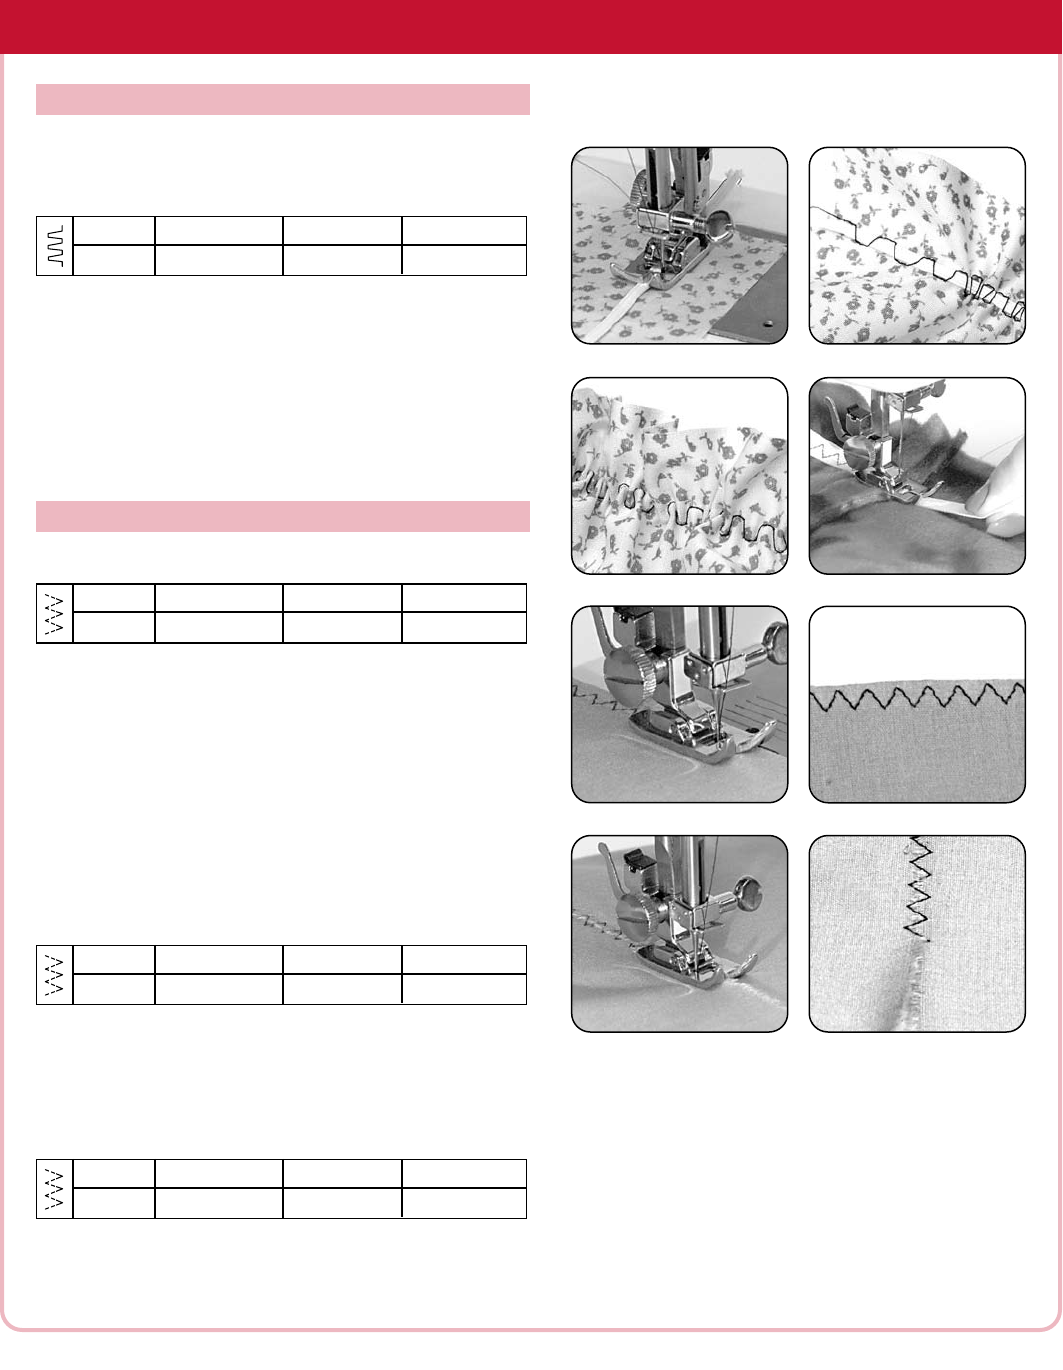
OVERCASTING
The three-step zigzag is a strong stitch. It takes three
small stitches to the right and three
small stitches to the
left. Use the three-step zigzag stitch to overcast or clean
finish seam allowances. It is easier to overcast the raw
edges first before
seaming.
Position and guide the fabric under the presser foot so
the right swing of the stitch forms just inside the edge of
the fabric [Fig. 4].
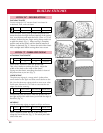
MENDING
Use the three-step zigzag to repair small rips and tears.
Place a stabilizer under the tear in the fabric. Sew
along the line of the tear [Fig. 5]. The stitch joins both
sides of the tear.
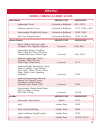
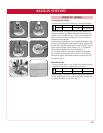
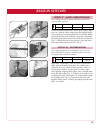
BUILT-IN STITCHES
STITCH “H” - DOUBLE ACTION
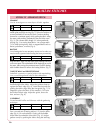
Fig. 1
Elastic casing
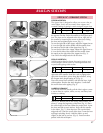
Fig. 4
Fig. 2
Overcasting
Fig. 3
Fig. 5
STITCH STITCH WIDTH STITCH LENGTH PRESSER FOOT
H 5 4 All-purpose
STITCH “I” - THREE-STEP ZIGZAG
STITCH STITCH WIDTH
STITCH LENGTH PRESSER FOOT
I 3-5 2-4 All-purpose
STITCH STITCH WIDTH STITCH LENGTH PRESSER FOOT
I
3-5 2-4 All-purpose
STITCH STITCH WIDTH STITCH LENGTH PRESSER FOOT
I 3-5 2-4 All-purpose
Mending