


11
(continued)
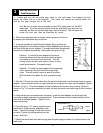
2. Clean off sawdust.
Enamel, Porcelain-Over-Steel, or Cast Iron Sink
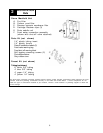
1. With drill motor place 1/4" masonry drill bit at
selected location. Before starting rotation, firmly apply
downward pressure until a slight crunching sound is
heard. This will fracture a small area of the enamel/
porcelain and prevent the bit from “walking”.
2. Drill the 1/4" pilot hole.
3. With the pilot hole as a guide, use a 1¼" porcelain
cutter to cut through the porcelain/enamel only. Stop
the drill once the metal is exposed.
4. Once again using the pilot hole as a guide, use the
1¼" hole saw to cut through the metal. (The hole saw is slightly smaller than the
porcelain cutter so the teeth of the saw will not chip the enamel/porcelain).
CAUTION - DO NOT BOTTOM OUT THE DRILL ON CERAMIC SURFACE.
5. Clean off the sink and wipe the area clean. Be sure all metal chips are removed as they can
stain porcelain very quickly.
Tile Sink or Counter
1. Follow procedures 1-3 under Enamel, Porcelain, Cast Iron Sink procedures.
2. With the gentle use of the center punch and hammer, break up the ceramic disk to the extent
necessary to remove it. Remove the ceramic disk.
3. Use the 1¼" hole saw or wood drill to continue the hole through the wooden support. Clear
away the debris.
Stainless Steel Sink
1. Use a center punch and hammer to mark the sink surface for drilling.
2. Drill a starter hole with a 1/8" high speed drill bit.
3. Enlarge the starter hole with a 7/16" high speed drill bit.
4. Make a 1¼" faucet hole with the chassis punch by placing the male cutter of the chassis punch
under the 7/16" pilot hole, insert driving bolt through female die and pilot hole into the male die.
Tighten driving bolt to cut the faucet hole.
5. Use a round file to clean up any rough edges. Clean up any filings, ensuring that none get
into the sink drain or disposal.
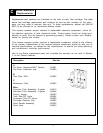
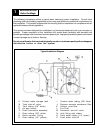
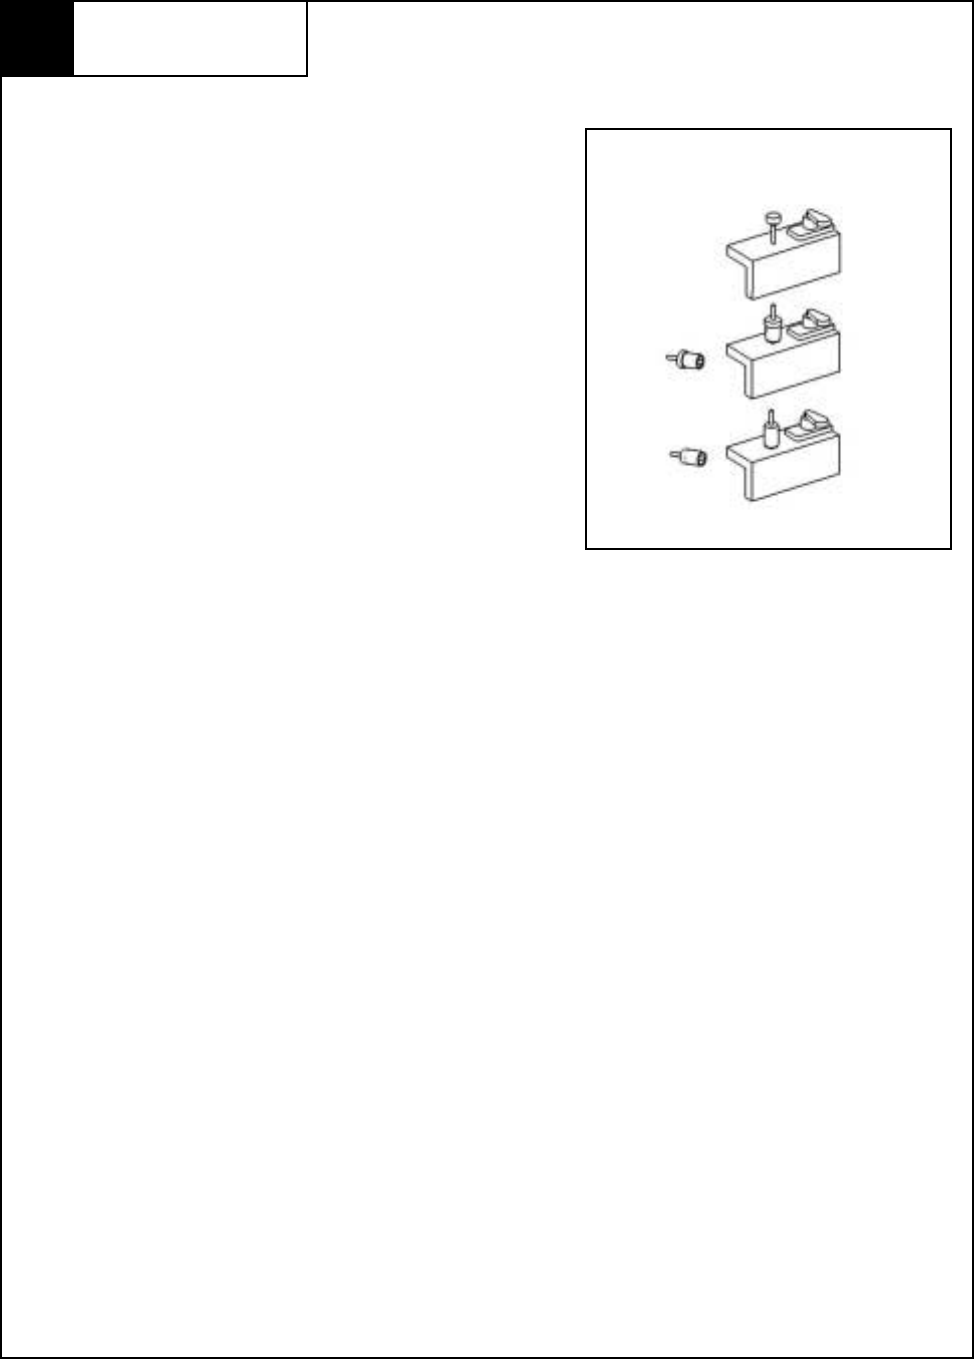
INSTALLATION
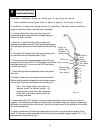
Drilling The Sink
5
Fig. 5