Water Fill (continued)
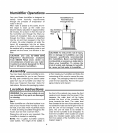
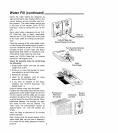
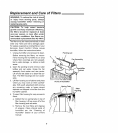
Notice the water bottles are designed as
right and left hand units. Position them in the
correct location so the humidifier can func-
tion properly. The water bottles should rest
in the front of the cabinet. Each "E-Z-Fill
Side-Cap" must be facing the rear of the
unit.
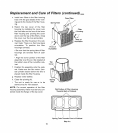
Each water bottle is designed with an "E-Z-
Fill Side-Cap" that is easily removable.
Remove the "E-Z-Fill Side-Cap" on the side
of the water bottle by twisting counterclock-
wise.
Place the opening of the water bottle under
a water faucet (the bottle should fit under a
four-inch clearance faucet). Fill with recom-
mended mixture of cold water and Sears
Bacteriostat #42-14900 (if necessary) only.
Solid debris could make the valve leak.
Install the "E-Z-Fill Side-Cap" by twisting
clockwise. Hand tighten only.
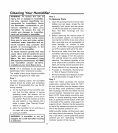
Check for possible leaks by performing
the following:
1. Grasp bottle handle and hold the bottle
upright over a sink.
2. Press up on valve cap plunger for about
one second to let out a little water.
3. Release the plunger.
4. Listen for air bubbles. Look for leaks
around the "E-Z-Fill Side-Cap".
5. if you hear air bubbles or see leaks,
retighten the "E-Z-Fill Side-Cap" and
repeat steps 1-4.
Wipe off excess water from the bottle.
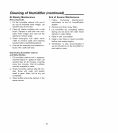
Position the water bottle back into the unit by
grasping the water bottle handle and lower it
into the cabinet until the bottle sits on pads
at bottom of cabinet. The "E-Z-Fill Side-Cap"
must be facing the rear of the cabinet. When
positioned properly, the plunger will open
and water will flow into the cabinet. The
water level will automatically remain at
approximately 1/2" until the bottles are
empty.
Allow the filters to saturate for 30 minutes
before operaton.
Note: Ensure that the raised section of the
water bottle falls into the hole in stationary
lid in order for the bottle gauges to function
properly.
-...j
"E-Z-Fill Side-Cap"
Should Always Face Rear
Rear of
Humidifier
Turn Counterclockwise
to Remove Cap
Valve
Cap Plunger
Pivoting Lid
Removed
for Clarity
Raised
Stationary Section
LidjHol


