


::iI:Th _eadinglthe Mach ine I
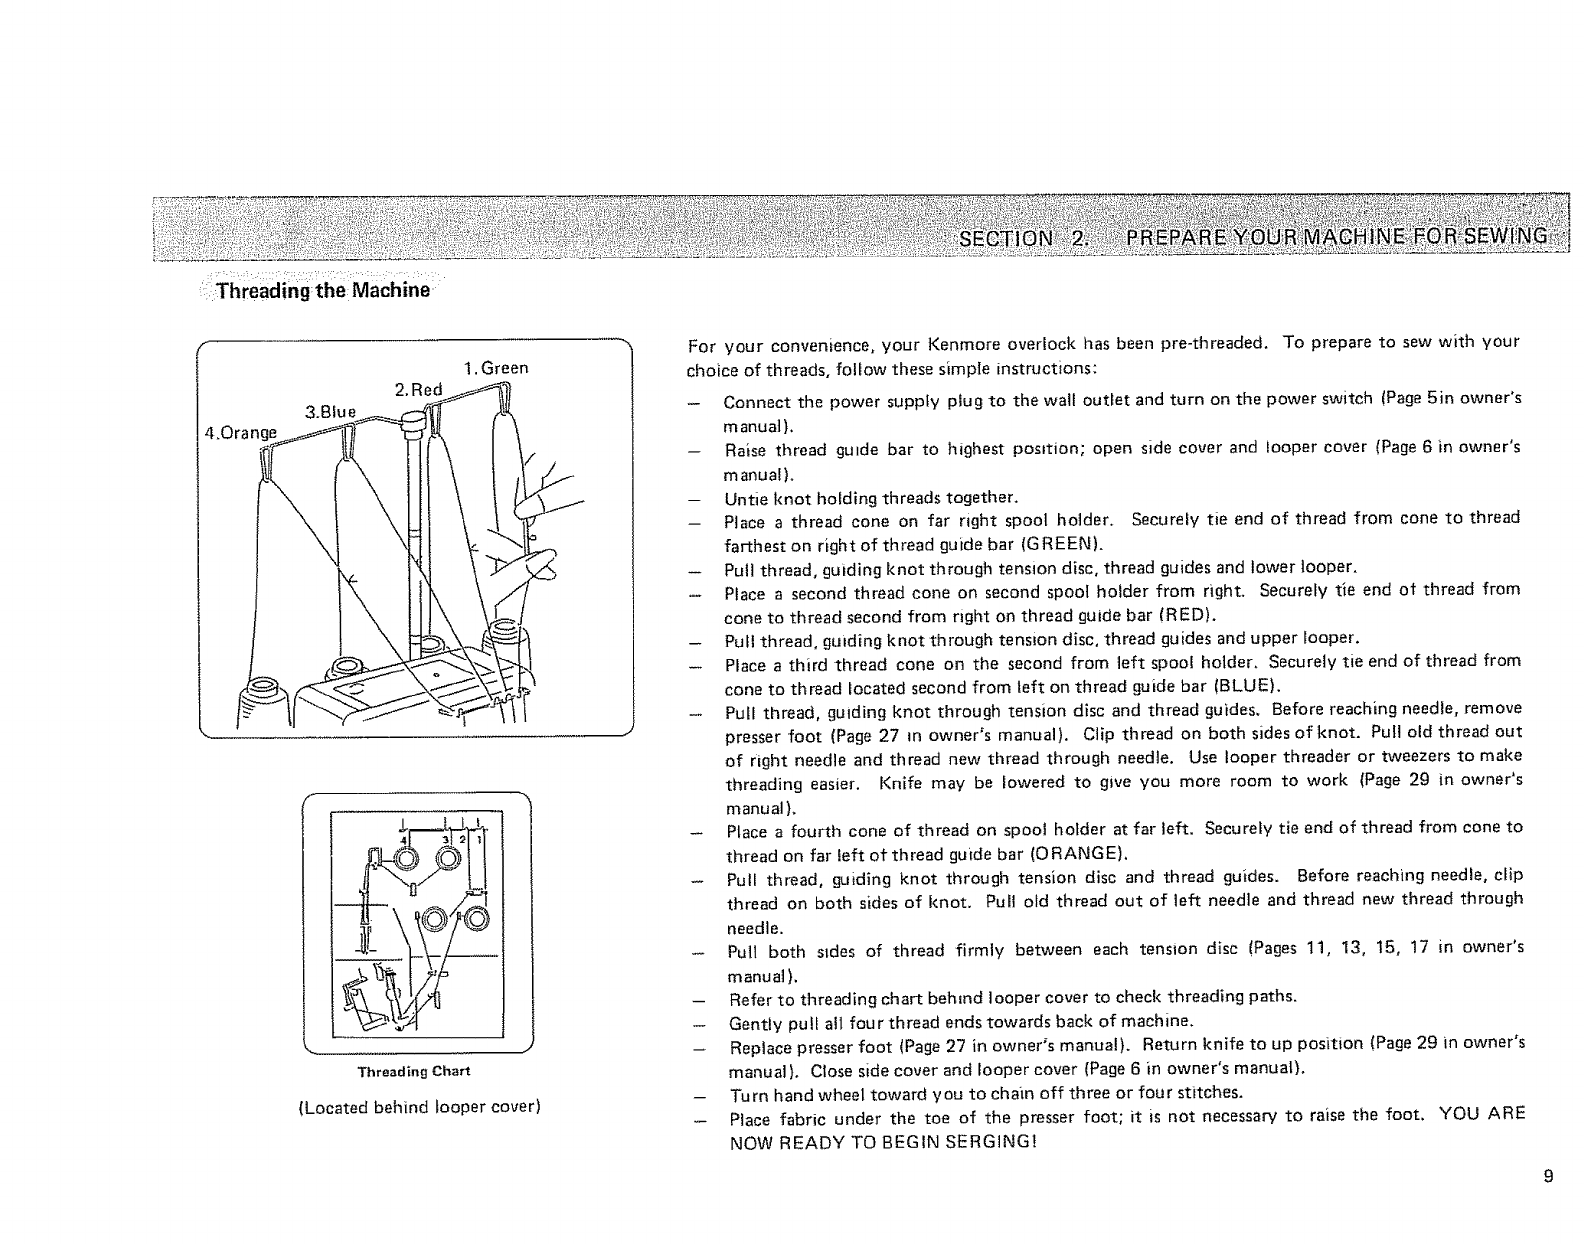
I. Green
| 3.Blu e_------___,::2_]IJ ,_'k
p.Orano - I\
f
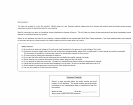
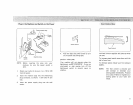
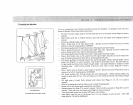
Threading Chart
(Located behind tooper cover)
For your convenience, your Kenmore ovedock has been pre-threaded. To prepare to sew with your
choice of threads, follow these simple instructions:
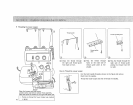
- Connect the power supply plug to the wall outlet and turn on the power switch (Page 5in owner's
manual).
-- Raise thread guide bar to highest pos+tion; open side cover and Looper cover (Page 6 in owner's
manual).
-- Untie knot holding threads together.
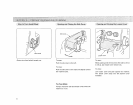
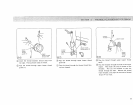
-- Place a thread cone on far right spool holder+ Securely tie end of thread from cone to thread
farthest on right of thread guide bar (GREEN).
-- Pull thread, guiding knot through tension disc, thread guides and lower looper.
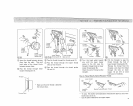
- Place a second thread cone on second spool holder from right. Securely tie end of thread from
cone to thread second from right on thread guide bar (RED).
- Pull thread, guiding knot through tension disc, thread guides and upper looper.
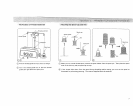
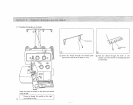
-- Place a third thread cone on the second from left spool holder. Securely tie end of thread from
cone to thread located second from left on thread guide bar (BLUE)+
- Pull thread, guiding knot through tension disc and thread guides, Before reaching needle, remove
presser foot (Page 27 +n owner's manual). Clip thread on both sides of knot. Pull old thread out
of right needle and thread new thread through needle. Use looper threader or tweezers to make
threading easier. Knife may be lowered to give you more room to work (Page 29 in owner's
manual).
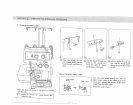
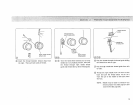
- Place a fourth cone of thread on spool holder at far left. Securely tie end of thread from cone to
thread on far left of thread guide bar (O RANGE),
- Pull thread, guiding knot through tension disc and thread guides. Before reaching needle, clip
thread on both sides of knot. Pull old thread out of left needle and thread new thread through
needle.
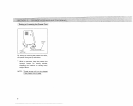
+ Pull both sides of thread firmly between each tension disc (Pages 11, 13, 15, 17 in owner's
manual),
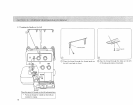
- Refer to threading chart behind looper cover to check threading paths.
- Gently pull all four thread ends towards back of machine.
- Replace presser foot (Page 27 in owner's manual). Return knife to up position (Page 29 in owner's
manual). Close side cover and looper cover (Page 6 in owner's manual).
- Turn hand wheel toward you to chain off three or four stitches.
- Place fabric under the toe of the presser foot; it is not necessary to raise the foot, YOU ARE
NOW READY TO BEGIN SERGING!
9