11
OUTDOOR UNIT INSTALLATION
CONNECT REFRIGERATION LINES
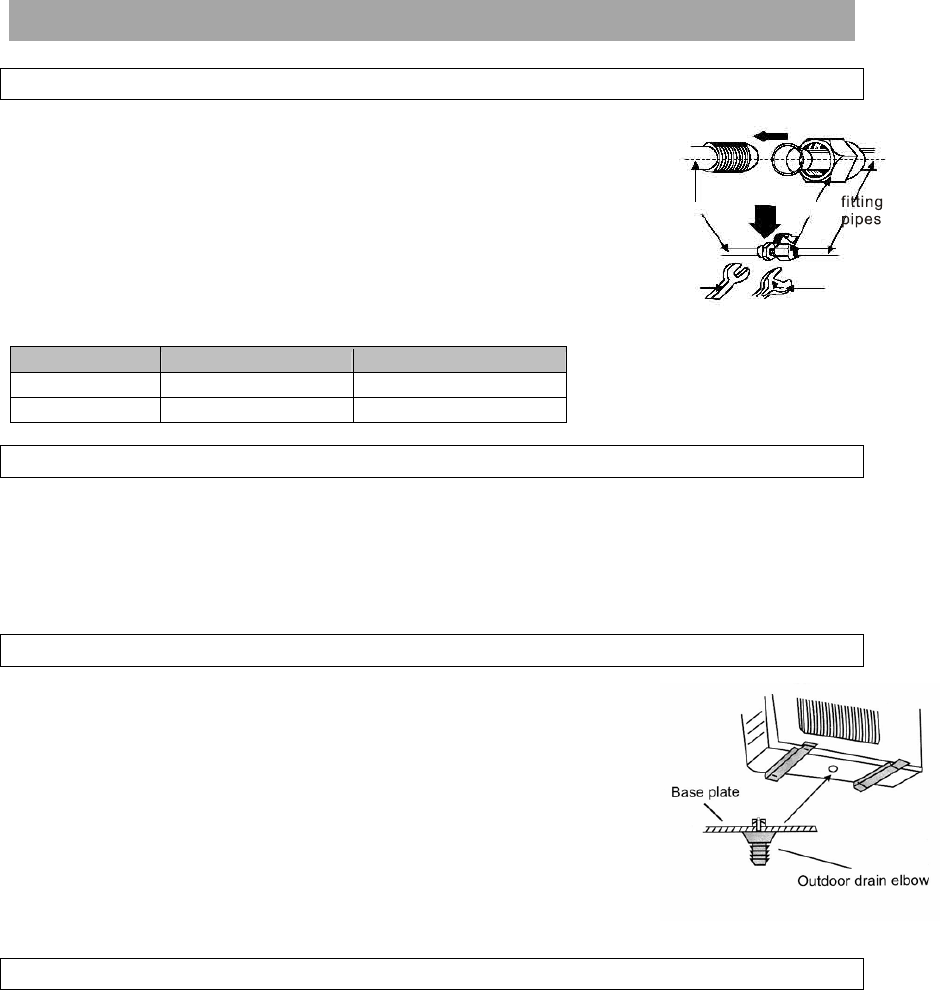
Align the center of the piping flare with the relevant valve.
Use standard A/C practices to attach the connection pipes to the
proper pipes of the bundled lines coming through the wall from the
indoor unit.
Tighten the flare nut of the connection pipes using a spanner and
torque wrench. (see diagram)
Note:
Do not over-tighten flare nuts, or the connection may be damaged.
Unit is charged with enough R410A Refrigerants for a standard
designed length. For longer line set lengths additional charge must be
WEIGHED in per Table 2.
Model Designed Length ft Refrigerants Charge oz/ft
12H43ZGX 19 .21
18H43ZGX 26 .26
-Table 2-
INSULATE/BUNDLE REFRIGERATION LINES AND WIRING
Individually insulate all refrigeration lines and condensation drainage hose to ensure that they do
not sweat. This will help to maintain the unit at its proper capacities.
Once all lines have been properly insulated, bundle the refrigeration lines with the wiring conduit
and wrap securely to complete the run to the outdoor unit.
Note:
The condensation drainage hose should be left free of the bundled lines in order to drain properly.
INSTALL OUTDOOR CONDENSATION DRAINAGE HOSE
When the heat pump unit is heating or defrosting, wastewater forms in the
outdoor unit. This can be drained off using the outdoor drain elbow and
hose provided.
Insert the drain elbow into the hole on the base plate as shown.
Join the drain hose to the elbow and turn so that the water drains to the
desired location.
WIRE THE OUTDOOR UNIT
CAUTION:
Wrong wiring connection will cause electrical malfunction.
Do not pull the wire when it is fixed with wire clamp.
?
·
fitting pipes of
indoor unit
conical
nut
torque
wrench
spanner


