MAKING BURNER ADJUSTMENTS
If you are using L.P. (bottled) gas, all the
adjustments described on the previous
page must be made before you make any
burner adjustments or use the oven.
AII oLt;ns are factory adjusted for use with the natural gas
used in most areas
But since the gas In some areas may
be dillerent you should check all adjustments described
below If you areusing L.P. gas, all the adjustments must
be made.
-.
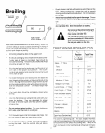
INNER CONE
/-’ OF FLAME
1 ’
K.lemove the oven boltoms as shown in the Removable Parts
, i,,
BROIL
section of the owner s manual Remove the shlpplng wires
f,orn the oven burners
(i
“..-lT,BURNER
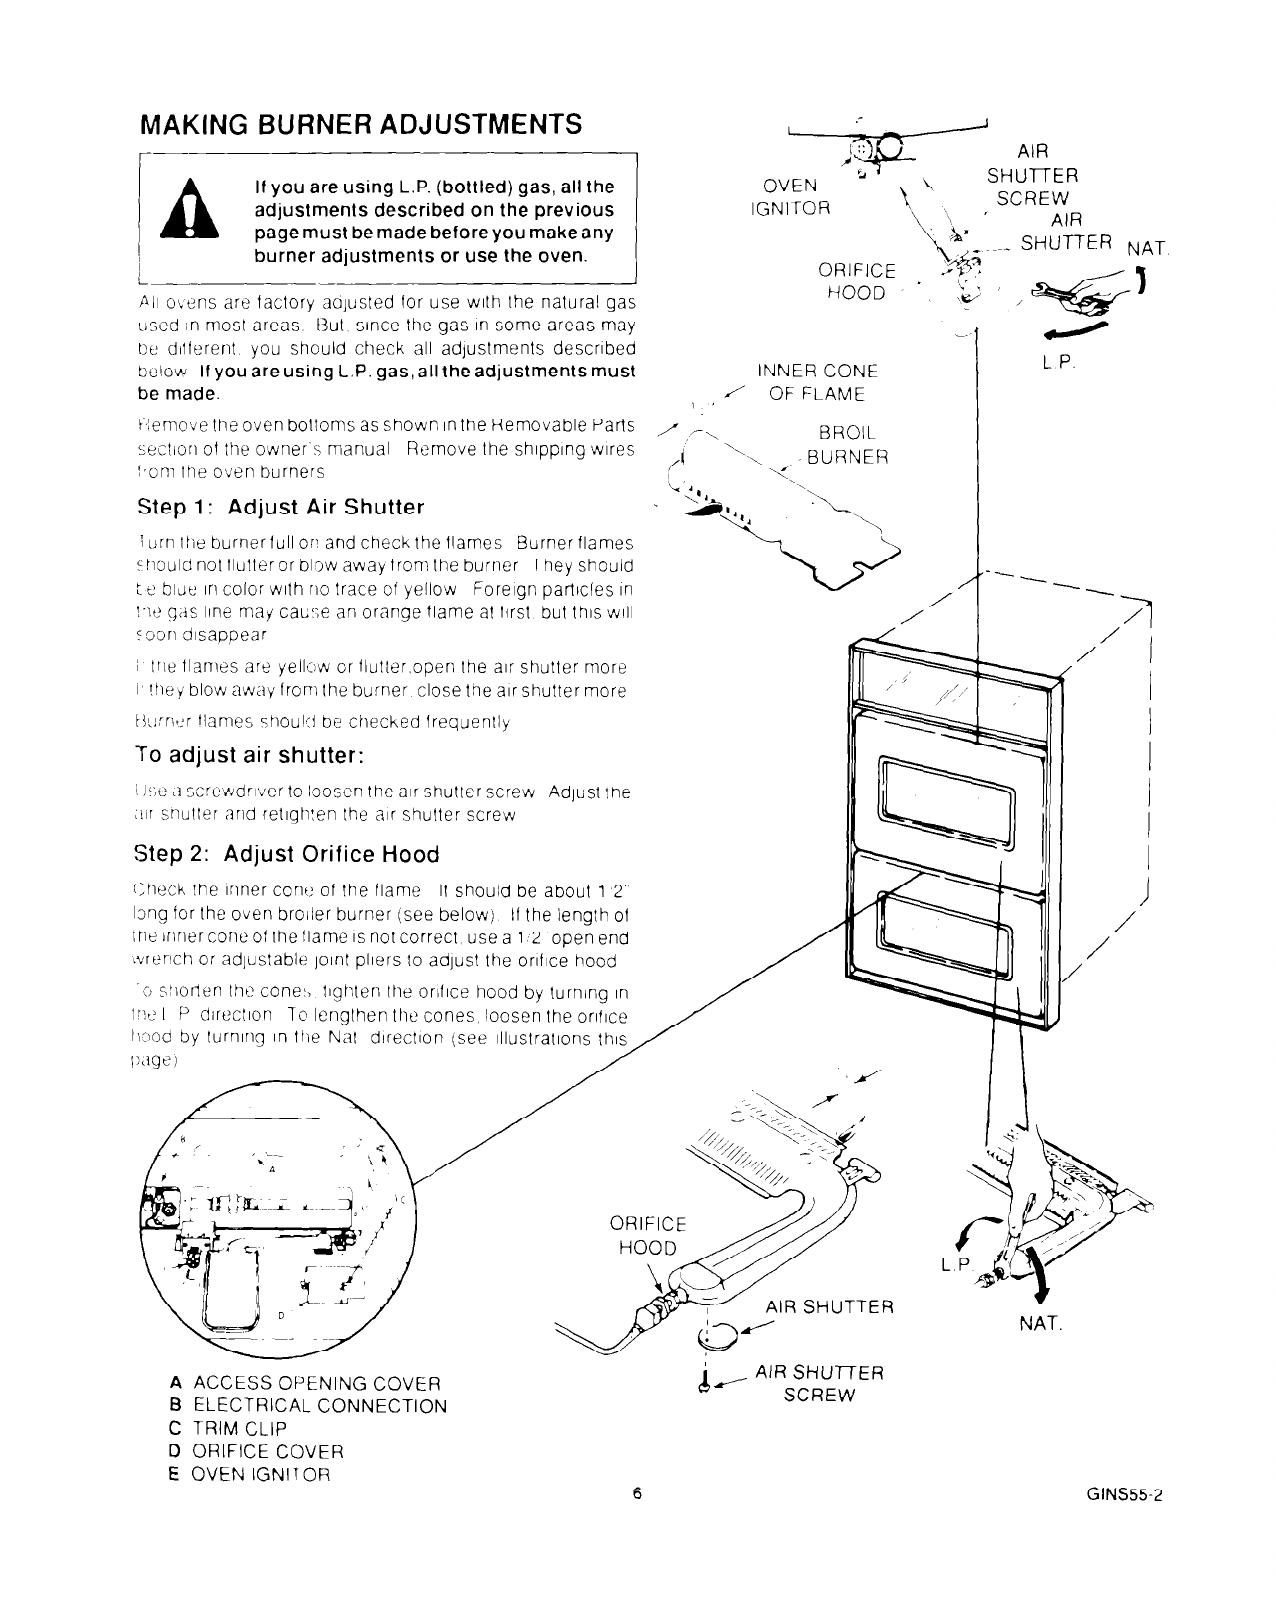
Step 1: Adjust Air Shutter
i urn I~ie burner lull or’ and check the flames
Burner flames
rhould nol llulteror blow away from the burner
They should
: t‘ bltie 111 color with no trace of yellow
Foreign particles In
.a+
/’
/
!~t? gas IIne may caL’;e an orange flame al first but this ~111
loor disappear
i III~ flames are yellow or llutler.operi the air shutter more
I !hey blow away from the burner close the air shutter more
t3!!:r;,:r flames ~houlri be checked frequently
To adjust air shutter:
! !:;t’ ,+ screirrdrlver to lOosen the air shuller screw
Adjust the
<III snuller and retlgh:en the air shutter screw
Step 2: Adjust Orifice Hood
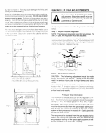
c:heck the Inner conu of the flame It should be about 1 2’
lzng for the oven broiler burner (see below)
If the length ol
the inner cone of Ihe flame
IS
not correct, use a 1 2“open end
\vrench or adjustable ]olnt pliers lo adjust the onfice hood
o sllorlen Iht? coneL, tIghten the orlflce hood by turning In
1~~2 I P directIon To lengthen the cones loosen the orifice
Ii?od by turning In the Nat dlrectlon (see illustrations this
2
L P.
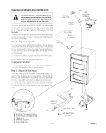
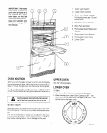
AIR SHUTTER
N---
A
ACCESS OPENING COVER
d--
AIR SHUVER
B
ELECTRICAL CONNECTION
SCREW
NAT
C TRIM CLIP
D ORIFICE COVER
E
OVEN IGNITOR
6
GINS552


