Before Calling for Service
ADJUSTING OVEN TEMPERATURE
T-he temperature in your new oven has been set correctly at
the factory, so be sure to follow the recipe temperatures and
times the first few times you bake in your new oven.
!f you Ihlnk the oven should be hotter or cooler, you can
adjusi it yourself. To decide how much to change the tem-
perature, set the oven temperature 25°F higher or lower than
the temperature in your recipe, then bake.
The results of this
“test” should give you an idea of how much the temperature
should be changed.
To adjust upper oven temperature:
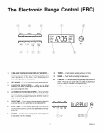
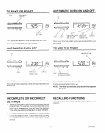
1. i$st~ the BAKE button.
2. Select the temperature between 500°F and 550 F with
the SET knob.
3. Quickly (within two seconds, before the BAKE function
energizes) push and hold the BAKE button. The display
WII go blank and then will show the amount of degrees
difierence between the original factory temperature setting
antlthecurrenttemperaturesetting. Iftheoventemperature
ha:; never been adjusted the display will read 00.
4. Th2 temperature can be adjusted up to 35°F hotter or
;35 F cooler, in 5°F steps, by turning the SET knob A
II-111x1s sign (-) before the number means?hat the oven will
tx cooler by displayed amount of degrees.
5. When you have made the desired adjustment, push the
CLOCK button to go back to the time of day display or use
yotlr oven as you would normally.
Note The self-clean temperature will not be changed by the
adjus!ments described above.
To acljust lower oven temperature:
1. Turn OVEN TEMP knob to OFF and remove the knob by
Dulling straight off.
2.
3.
4
5.
6.
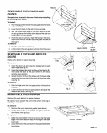
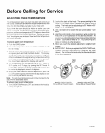
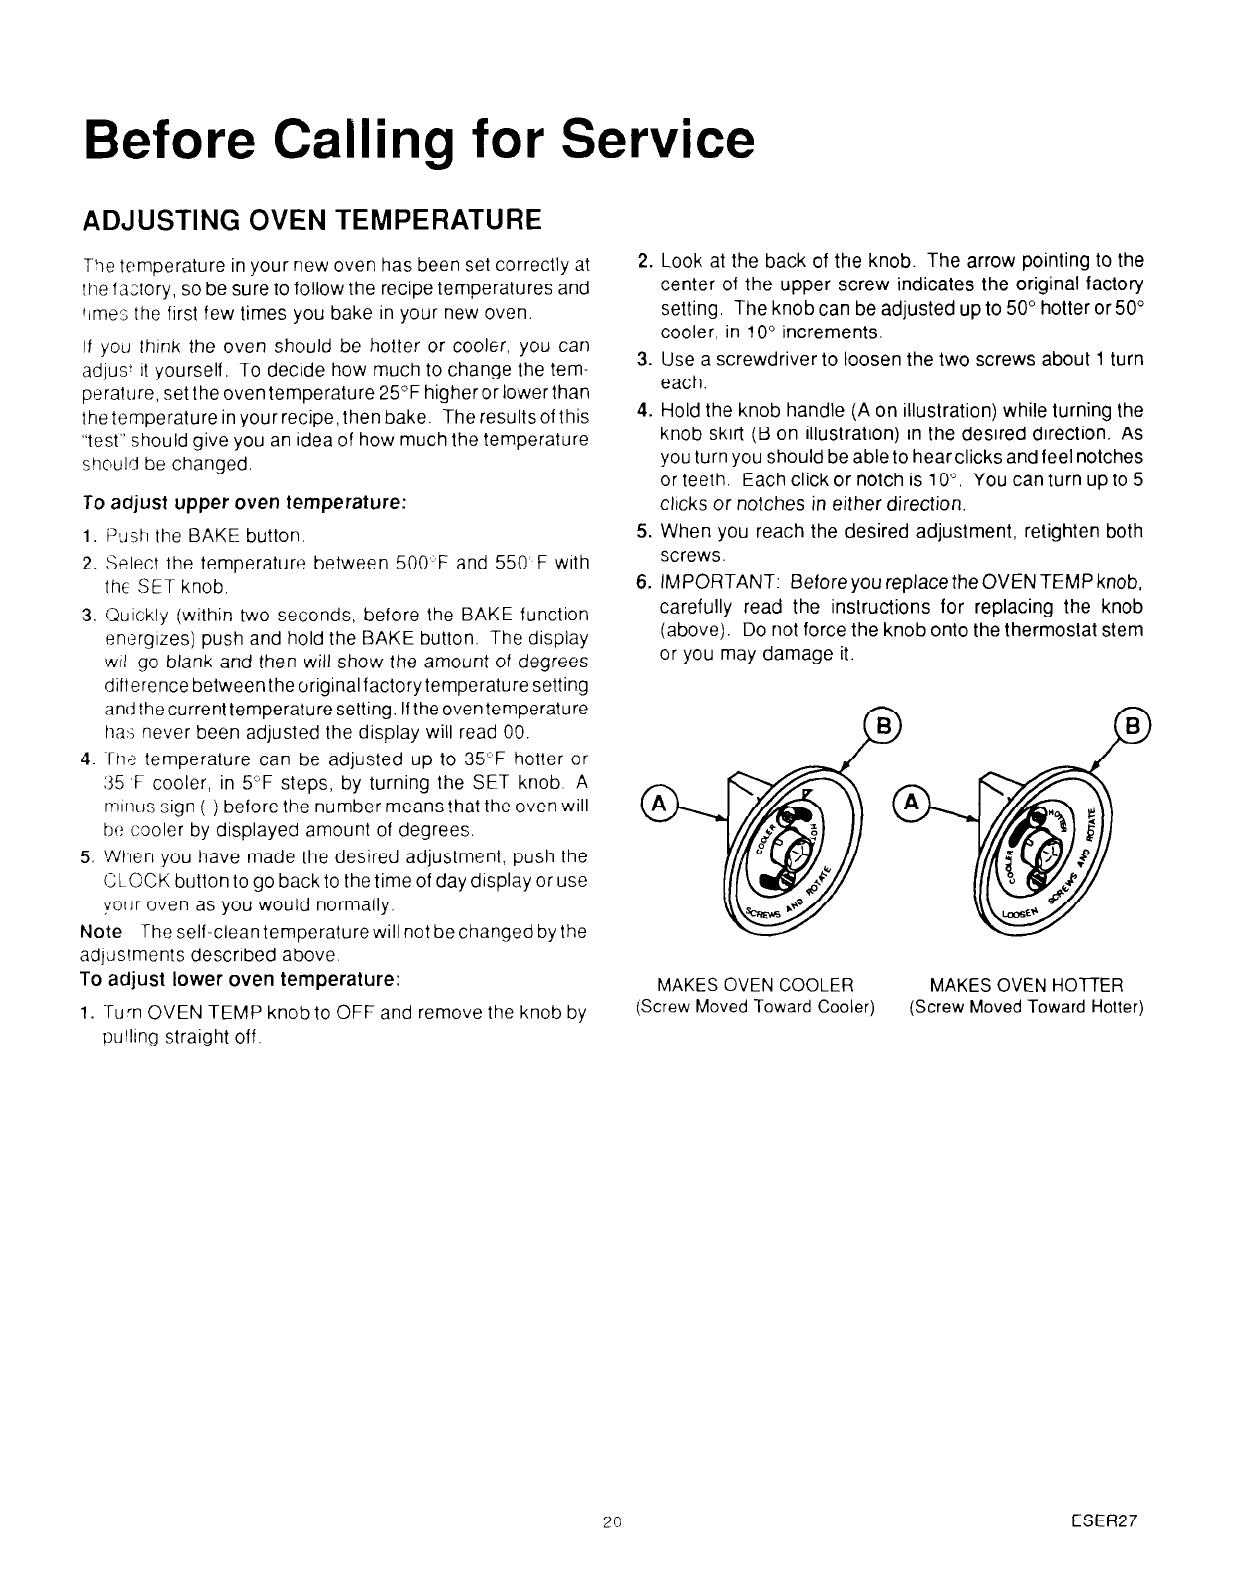
Look at the back of the knob. The arrow pointing to the
center of the upper screw indicates the original factory
setting. The knob can be adjusted up to 50” hotter or 50”
cooler, in 10” increments.
Use a screwdriver to loosen the two screws about 1 turn
each.
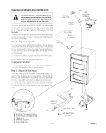
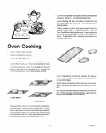
Hold the knob handle (A on illustration) while turning the
knob skit-t (B on illustration) in the desired direction. As
you turn you should be able to hearclicks and feel notches
or teeth. Each click or notch is 10”. You can turn up to 5
cltcks or notches in either direction.
When you reach the desired adjustment, retighten both
screws.
IMPORTANT: Before you replace the OVEN TEMP knob,
carefully read the instructions for replacing the knob
(above). Do not force the knob onto the thermostat stem
or you may damage it.
MAKES OVEN COOLER
MAKES OVEN HOTTER
(Screw Moved Toward Cooler)
(Screw Moved Toward Hotter)
20
ESER27


