Installing the New Water Heater (cont’d)
12
Filling the Water Heater
To fill the water heater with water:
1. Close the water heater drain valve by turning the han-
dle to the right (clockwise). The drain valve is on the
lower front of the water heater.
2. Open the cold water supply valve to the water heater.
NOTE: The cold water supply valve must be left open
when the water heater is in use.
3. To insure complete filling of the tank, allow air to exit by
opening the nearest hot water faucet. Allow water to run
until a constant flow is obtained. This will let air out of
the water heater and the piping.
4. Check all new water piping for leaks. Repair as needed.
Wiring
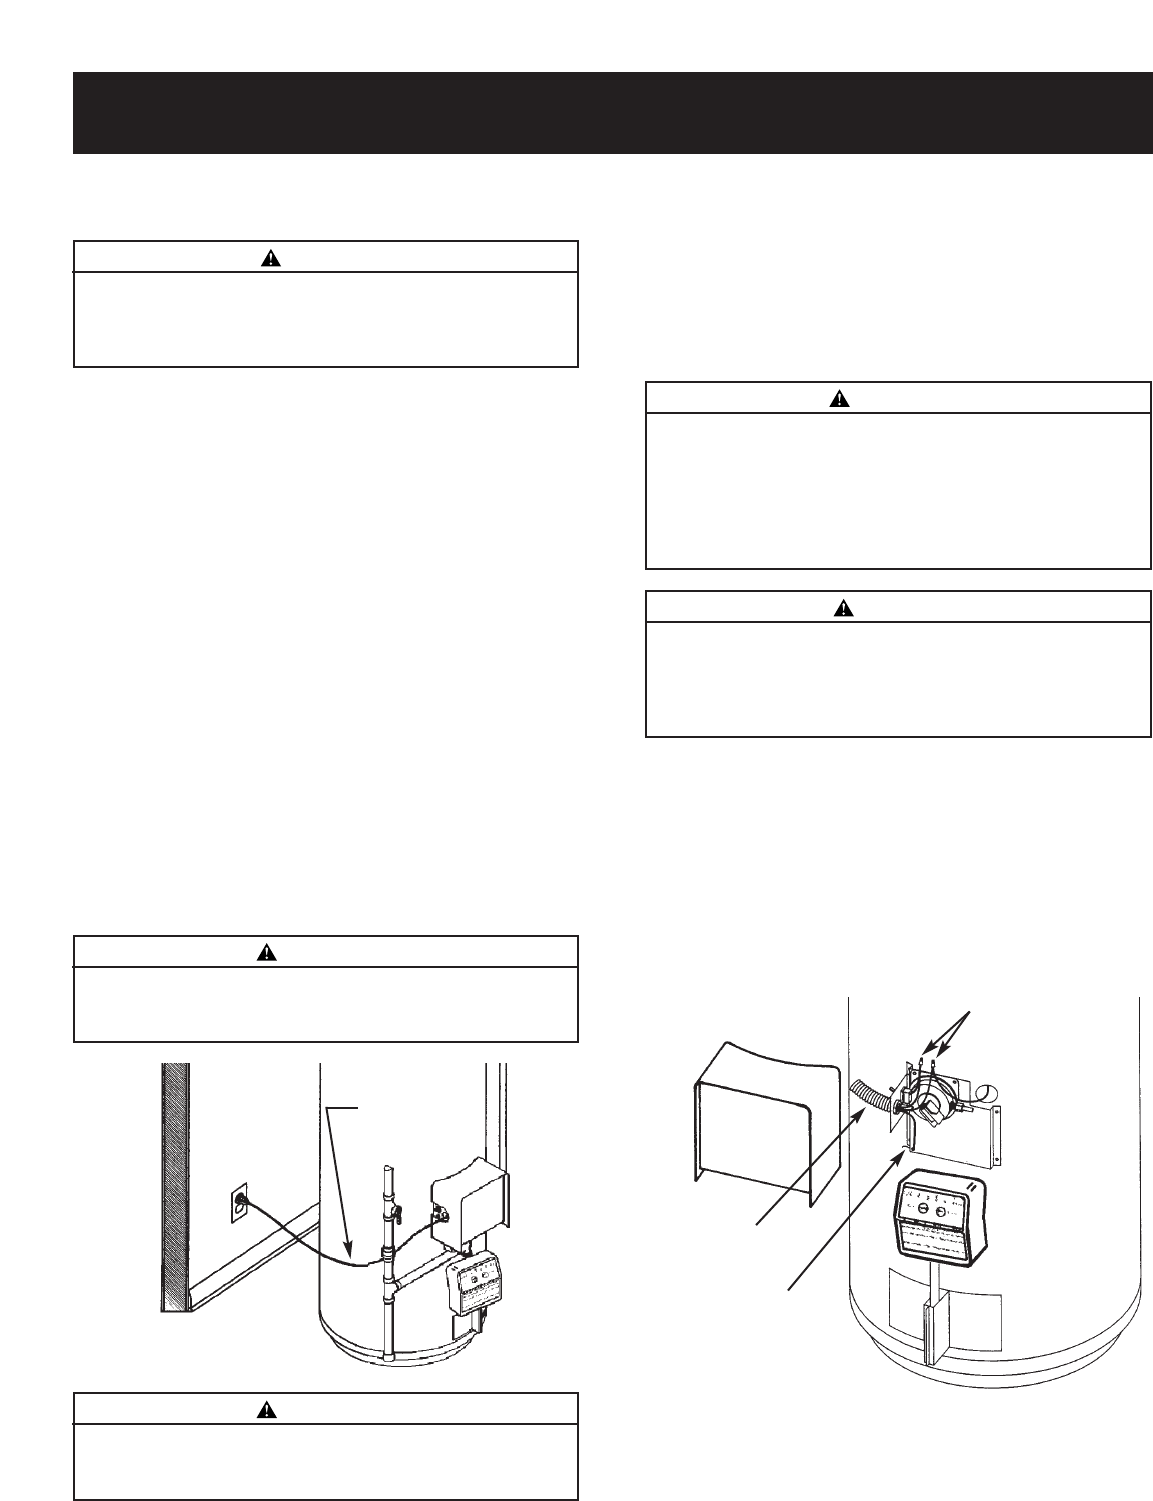
The water heater comes equipped with a 7 foot power cord
which can be used to connect to a 110/120 volt power
source if, (1) local codes allow, and (2) there is a three
prong receptacle available.
This unit must have a grounded
outlet to operate.
You must provide all wiring, (1) to a receptacle or, (2)
between the water heater and junction box when the
power cord is not used.
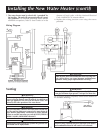
OPTIONAL Field Installed Wiring
1. Provide a way to easily shut off the electric power when
working on the water heater. This could be with a cir-
cuit breaker or fuse block in the entrance box or a sepa-
rate disconnect switch.
2. Install and connect a circuit directly from the main fuse
or circuit breaker box. This circuit must be the right size
and have its own fuse or circuit breaker.
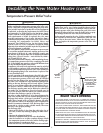
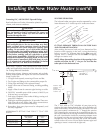
WIRE NUTS
GREEN
GROUND SCREW
CONDUIT
You must provide all wiring of the proper size outside of
the water heater. You must obey local codes and electric
company requirements when you install this wiring.
If you are not familiar with electric codes and practices, or
if you have any doubt in your ability to connect the wiring
to this water heater, obtain the service of a competent elec-
trician. Contact a local electrical contractor and/or the local
electric utility.
7’ MAXIMUM
CORD LENGTH
(Factory Supplied)
3. A standard
1
⁄2″ conduit opening has been made in the
water heater junction box for the conduit connection.
4. Use wire nuts and connect the power supply wiring to
the wires inside the water heater’s junction box.
CAUTION
If wiring from the fuse box or circuit breaker box was aluminum
for the old water heater, replace it with copper wire. If you wish
to reuse the existing aluminum wire, have the connection at the
water heater made by a competent electrician. Contact a local
electrical contractor and/or the local electric utility.
WARNING
WATER HEATERS EQUIPPED FOR ONE TYPE VOLTAGE
ONLY: This water heater is equipped for 110/120 volts only.
DO NOT USE THIS WATER HEATER WITH ANY VOLTAGE
OTHER THAN THE ONE SHOWN ABOVE. Failure to use the
correct voltage can cause problems which can result in DEATH,
SERIOUS BODILY INJURY OR PROPERTY DAMAGE. If you
have nay questions or doubts consult your electric company.
WARNING
This appliance must be grounded for safety and to insure
proper operation. Failure to do so could result in DEATH,
SERIOUS BODILY INJURY OR PROPERTY DAMAGE.
WARNING
Do not use an extension cord. If there is not a suitable
receptacle and/or local codes prohibit use of a power cord,
field wiring must be provided.
CAUTION
Never use this water heater unless it is completely filled
with water. To prevent damage to the tank, the tank must
be filled with water. Water must flow from the hot water
faucet before turning “ON” gas to the water heater.


