


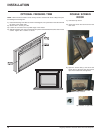


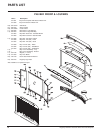
Regency P48 Zero Clearance Direct Vent Gas Fireplace
38
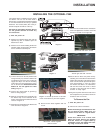
CAUTION: Wear gloves when re-
moving damaged or broken glass.
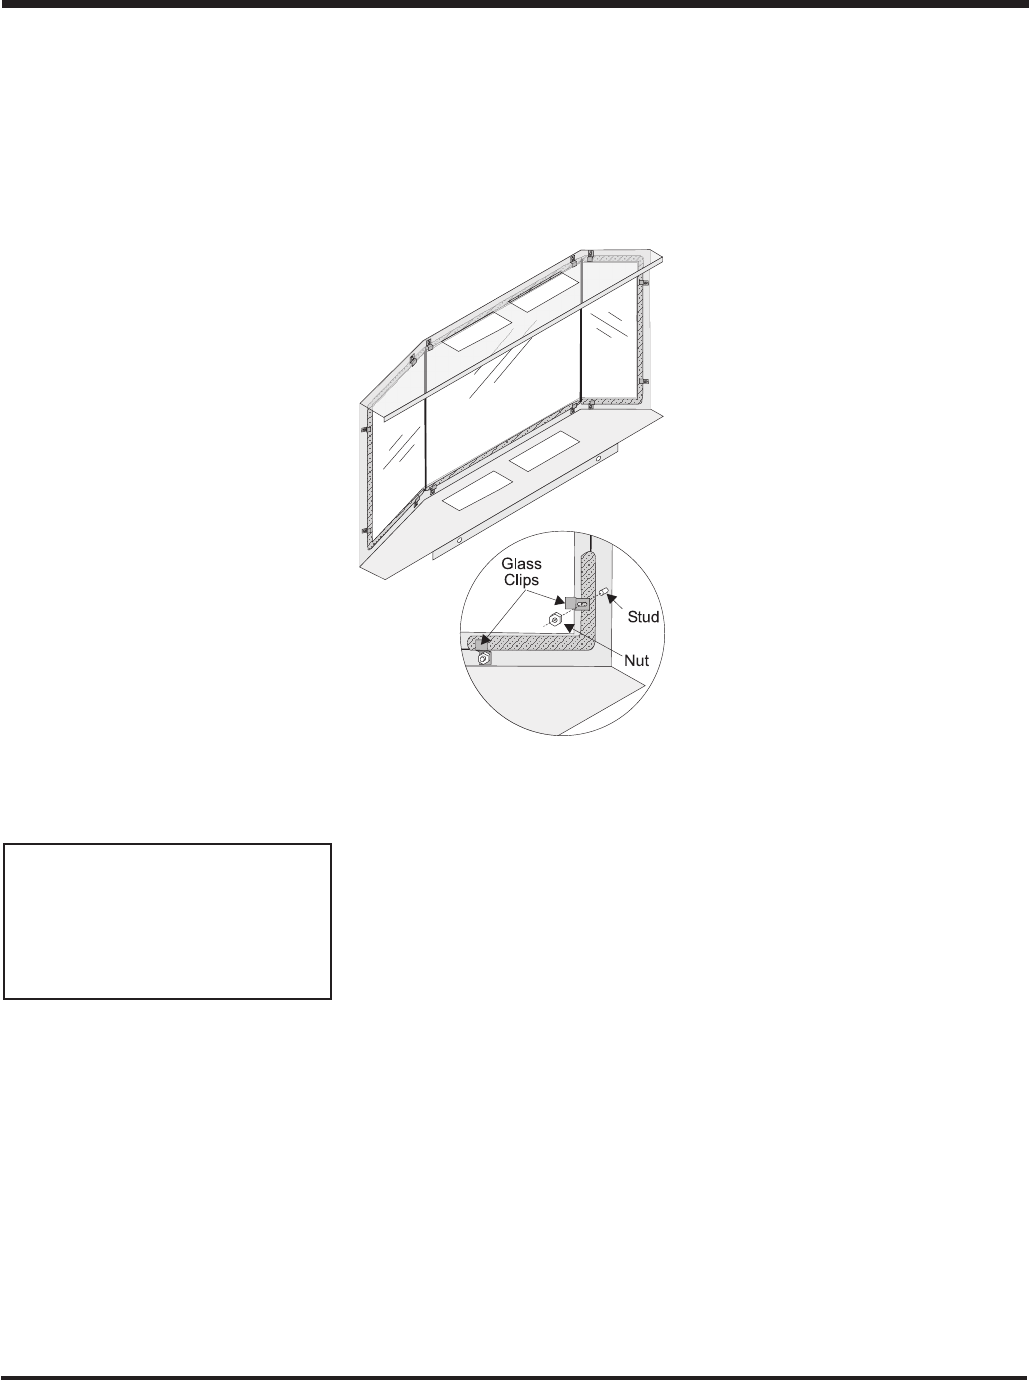
Bay Glass Replacement
1) Remove the door from the unit and place on
a soft surface to prevent scratching.
2) Remove the nuts holding the glass clips in
place and remove.
3) Replace the glass. The glass must have
gasketing around it.
4) Reverse the previous steps, replace the
glass clips and fasten with the nuts but do
not over tighten, as this can break the glass.
5) Replace door on the stove and check the
seal.
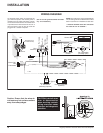
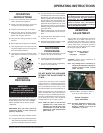
MAINTENANCE
WARNING: Do not operate the
appliance with the glass panels
removed, cracked or broken. Re-
placement of the glass panels
should be done by a licensed or
qualified service person.
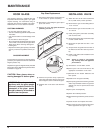
DOOR GLASS
Your Regency fireplace is supplied with high
temperature 5mm-Ceramic glass. If your glass
requires cleaning, we recommend using an
approved glass cleaner available at all author-
ized dealers. Do not use abrasive materials.
CAUTION & WARNINGS:
* Do not clean when the glass is hot.
* The use of substitute glass will void all product
warranties.
* Care must be taken to avoid breakage of the
glass.
* Do not strike or abuse the glass.
* Do not operate this fireplace without the glass
front or with a cracked or broken glass front.
* Wear gloves when removing damaged or
broken glass.
* Replacement of the glass panel(s) should be
done by a licensed or qualified service per
son.
GLASS REPLACEMENT
In the event that you break your glass by impact,
purchase your replacement from an authorized
Regency dealer only.
Replacement glass is shipped already installed
into the door frame. Reinstall as per Glass Door
Installation on page 28.
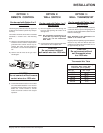
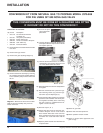
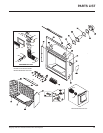
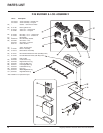
INSTALLING VALVE
1) Attach the valve to the valve bracket with
the 4 (m5x8 metric) screws provided.
2) Reconnect the "gas out" flare fitting with an
11/16" wrench.
3) Reconnect the "gas out" flare nut with a 13/
16" wrench.
4) Install piezo ignitor push button assembly
and reconnect wire.
5) Reconnect the quick drop out thermocouple
nut with a 9mm wrench.
6) Reconnect the pilot tube nut with a 7/16"
wrench.
7) Scrape off the old gasket from the floor of
the firebox and from the valve tray assem-
bly.
8) Install a new gasket and reinstall the valve
tray assembly.
Note: Failure to install a new gasket
may severely affect the appliance
performance.
9) Reinstall the 10 hold down screws.
10)Hook up the 2 TP and 2 TH wires to the
appropriate connections on the valve.
11)Reinstall the two bottom deflectors and
brick panels.
12)Install burner and grate assembly.
13)Hook up the gas line and check for gas leaks
with a soap and water solution or a gas leak
detector. (Do not use open flame for leak
testing.)
14)Fire up the unit temporarily.
15)Check the manifold pressure.
16)Reinstall the logs and brick panels as need-
ed.
17)Close the door and replace the louvers.
18)Fire up the unit again and check for proper
flame appearance and glow on logs.