9
E33 FPI Direct Vent Gas Insert
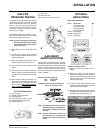
OPTIONAL
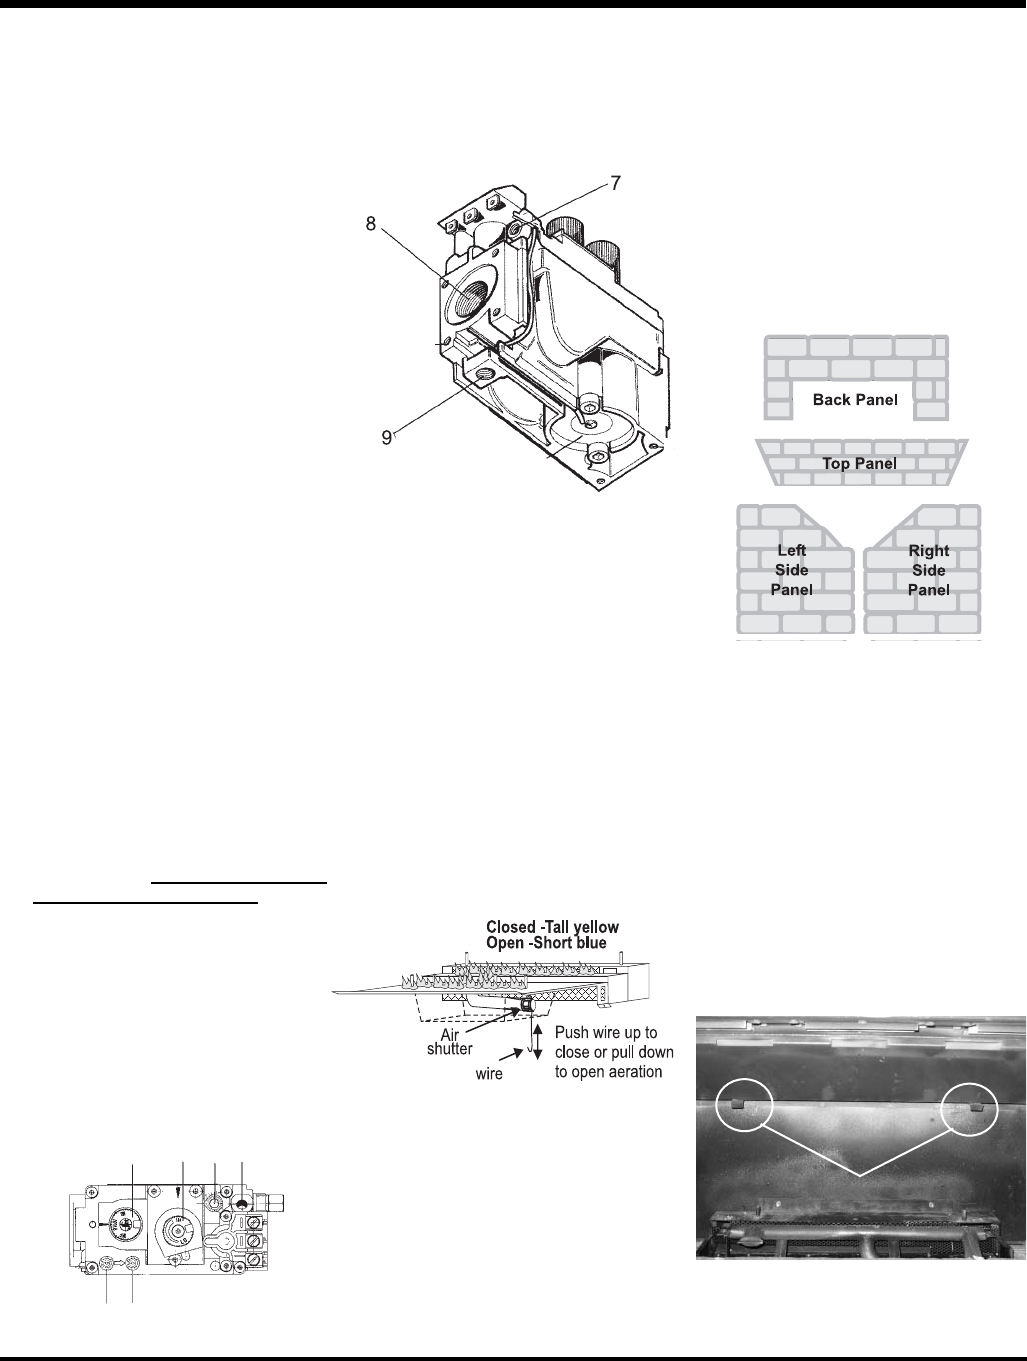
BRICK PANEL
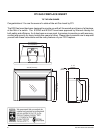
Optional Brick Panel Set:
Part # Description Qty
Top (brick) panel 1
Back (brick) panel 1
Left (brick) panel 1
Right (brick)panel 1
340-043 Top bracket 1
340-094 Bottom clips 2
511-031 Brick clips 2
Diagram 1
GAS PIPE
PRESSURE TESTING
The appliance must be isolated from the gas
supply piping system by closing its individual
manual shut-off valve during any pressure
testing of the gas supply piping system at
test pressures equal to or less than 1/2 psig.
(3.45 kPa). Disconnect piping from valve at
pressures over 1/2 psig.
The manifold pressure is controlled by a regu-
lator built into the gas control, and should be
checked at the pressure test point.
NOTE: To properly check gas pressure, both
inlet and manifold pressures should
be checked using the valve pressure
ports on the valve.
1) Make sure the valve is in the "OFF" posi-
tion.
2) Loosen the "IN" and/or "OUT" pressure
tap(s), turning counterclockwise with a 1/8"
wide fl at screwdriver.
3) Attach manometer to "IN" and/or "OUT"
pressure tap(s) using a 5/16" ID hose.
4) Light the pilot and turn the valve to "ON"
position.
5) The pressure check should be carried out
with the unit burning and the setting should
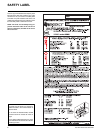
be within the limits specifi ed on the safety
label.
6) When fi nished reading manometer, turn
off the gas valve, disconnect the hose and
tighten the screw (clockwise) with a 1/8"
fl at screwdriver. Note: Screw should be
snug, but do not over tighten.
INSTALLATION
GAS INSERT
AERATION SYSTEM
The air shutter can be adjusted by moving the
adjusting wire up or down. The wire is accessed
through the bottom louver opening. Open the air
shutter for a blue fl ame or close for a yellower
fl ame. The burner aeration is factory set but
may need adjusting due to either the local gas
supply or altitude.
Minimum Air Shutter Opening:
5/16" Natural Gas
7/16" Propane
CAUTION: Carbon will be produced if air
shutter is closed too much.
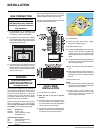
SIT Valve Description
1) Gas cock knob
2) Manual high/low adjustment
3) Pilot Adjustment
4) Thermocouple Connection - option
5) Manifold (Outlet) Pressure Tap
6) Inlet Pressure Tap
1
2
3
4
5
6
IN OUT
Note: Any damage due to carboning result-
ing from improperly setting the aera-
tion controls is NOT covered under
warranty.
Note: Aeration Adjustment should only
be performed by an authorized FPI
Installer at the time of installation or
service.
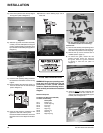
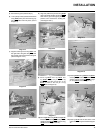
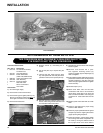
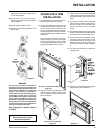
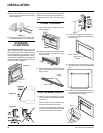
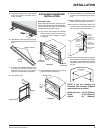
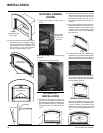
Installation of Brick Panels:
1) Remove top louver and glass door if in-
stalled.
2) Remove the logs if they are already in
stalled. Note: the grate must be removed in
order to remove the bottom log. Ensure you
slide the bottom coal off to the right-hand
side to avoid chipping.
3) Unwrap the brick pattern panels from the
protective wrapping. Handle the panels with
care as they can break easily.
4) Remove the two screws from the bottom of
the baffl e plate. Install the bottom clips onto
the baffl e plate (refer to Diagram 1).
Bottom Clips
7) Pilot Outlet
8) Main Gas Outlet
9) Alternative TC Connection Point


