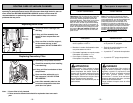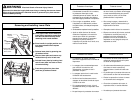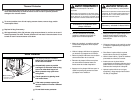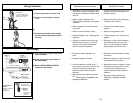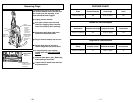
Uso del sujetador del cordón
Crochet de rangement du cordon
1)
➢ Desconecte el clavija del cordón
eléctrico.
➢ Ruede hacia abajo el sujetador del
cordón para librerarlo.
1)
➢ Détacher la fiche fixée au cordon
d'alimentation.
➢ Tourner le crochet vers le bas pour
libérer le cordon.
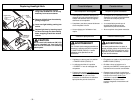
2)
➢ Devuelva el gancho del cordón a la
posición vertical antes de tratar de
rebobinar el cordón.
2)
➢ Ramener le crochet vers le haut avant
de ranger le cordon d’alimentation.
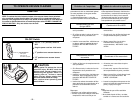
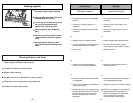
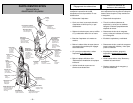
Almacenaje de herramientas
Rangement des accessoires
➢ Es posible que ya se almacenen unas
herramientas en la aspiradora.
➢ Coloque el tubo en parte posterior del
soporte para herramientas.
➢ Véase la sección de “Identificación de
piezas” para la ubicación de las
herramientas.
➢ Certains des accessoires peuvent être
déjà rangés sur l'aspirateur.
➢ Ranger le tube dans la endroit arrière
du porte-accessoires.
➢ Se reporter à l’illustration de la section
« Nomenclature » pour le rangement
approprié des accessoires.
- 15 -- 34 -
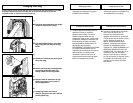
➢➢
Replace belt whenever a burning
rubber smell caused by excessive
belt slippage occurs.
➢➢
Remove lower plate. See: “Removing
and Installing Lower Plate”
➢➢
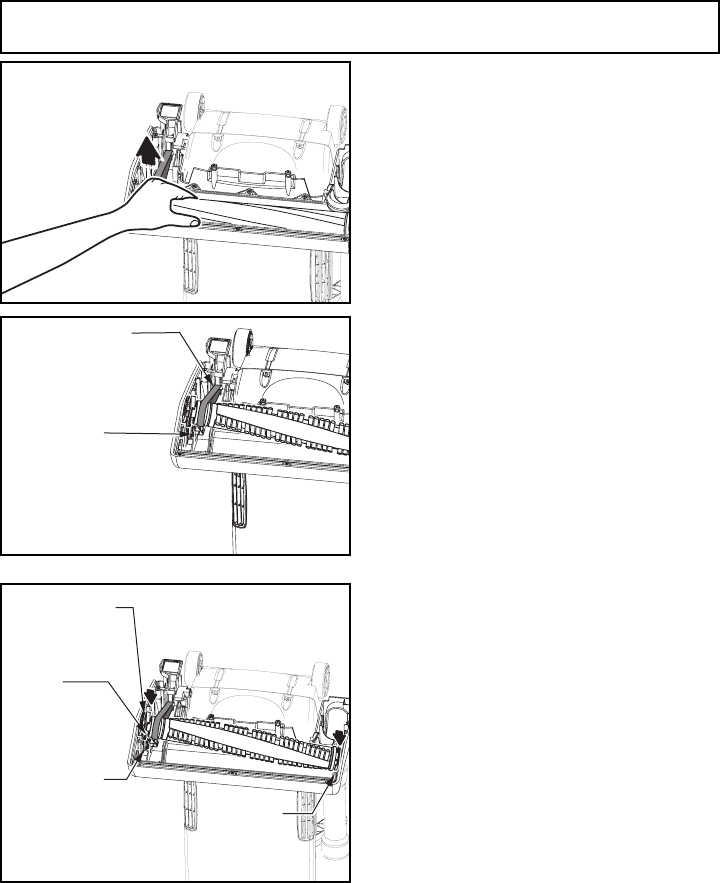
Remove agitator by carefully lifting
out.
➢➢
Remove worn or broken belt.
➢➢
Clean agitator. See:“Cleaning
Agitator”
➢➢
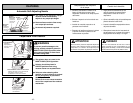
Loop new belt (Panasonic Type UB8
only) around motor shaft and
agitator pulley; see illustration for
correct belt routing.
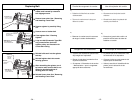
Replacing Belt
LiftAgitator Up
Soulever l’agitateur
Unidad del agitador
Motor Shaft
Arbre d’entraînement
du moteur
Eje del motor
Slide Arch
Arc glissant
Aarco deslizante
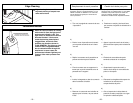
➢➢
Reinstall slide arch into the agitator
end cap.
➢➢
Reinstall agitator back into nozzle
housing grooves.
➢➢
After reinstalling the agitator, turn it
by hand to make sure the belt is not
twisted or pinched and that all
rotating parts turn freely.
➢➢
Reinstall lower plate. See: “Removing
and Installing Lower Plate”
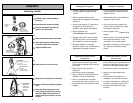
Slide Arch
Arc glissant
Aarco deslizante
Groove
Ouverture
Ranura
End Cap
Bouchon
Tapa de
extremo
Groove
Ouverture
Ranura


