


W415-0616 / B / 02.18.08
36
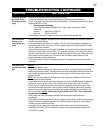
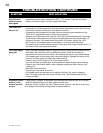
TROUBLESHOOTING
SYMPTOM TEST SOLUTION
*NOTE: All troubleshooting procedures should be carried out by qualifi ed technicians or installers.
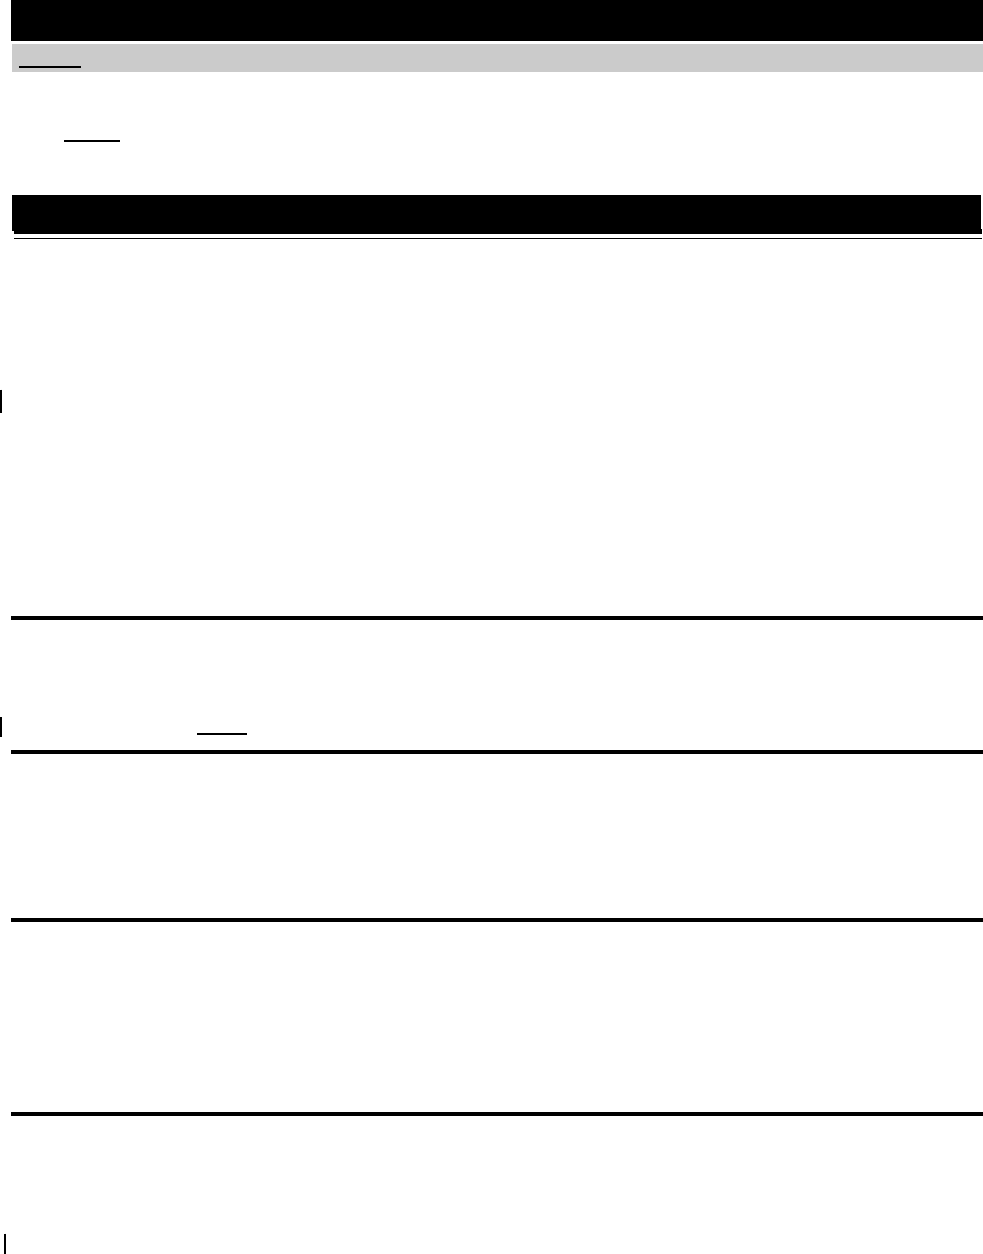
The heater will not
start
Smoke in the room
The exhaust blower
is not operating
The ignitor will not
light the pellets
however everything
else in the heater
operates
The auger motor
is not functioning
normally
- Make certain there is power to the outlet and that the heater is plugged in.
- With the heater unplugged, examine all connections. Make sure no exposed wires are
touching the heater (except the chassis ground wire) and that they are all fi rmly
connected.
- Check the manual reset hi limit switch
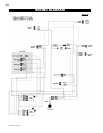
- Check the stability and placement of connections against the wiring diagrams in this
manual.
- Check that the burn pot is positioned properly.
- Push the "START" switch. If the heater fails to start, unplug the unit.
- Ensure that connections to the power control module are connected.
- Place a jumper wire between the red and white wires that attach to the start switch.
- Plug stove in, if stove starts replace switch.
- Replace the power control if this fails.
CAUTION: Check the ignitor resistance before installing a new start-up timer as it may
result in another failure to the new start-up timer due to a short in the ignitor. The proper
resistance through the ignitor should be 30Ω to 50Ω (± 3Ω).
- Check all gasket seals.
- Vent connections all sealed.
- Unit has failed to reach 140°F within 15 minutes and the blower has shut off.
- Restart unit.
NOTE: A minimal amount of smoke is normal during the start up process.
- Remove the left side access panel and check all connections against the wiring
diagram. For the insert - remove from cavity.
- Apply 115V AC directly to the exhaust blower and if the motor does not run, replace the
blower.
- If the motor runs, have a dealer check the wire harness.
- See "The heater will not operate when hot" section
- Contact your local dealer or a certifi ed technician for service.
- Push the burn pot back against the ignitor tube making sure the ignitor lines up to the
hole in the burn pot.
- Make certain the air control rod is pushed in to start up position.
- Check all the electrical connections on the 120°F (49°C) temperature sensor located on
the exhaust channel.
- Place a jumper wire between the two leads on the 120°F (49°C) temperature sensor
and if the ignitor works, replace the sensor.
- If it still fails to light, replace the ignitor.
- Make certain the exhaust blower is operating
- Check the condition of the vacuum hose (located on the left side of the heater). Should
not be cracked or torn.
- Check the manual reset button on the 200°F (93°C) temperature sensor. Before
re-setting the red button, check for the cause of the over-heating.
- Check that the auger set screw is tight and not slipping.
- If the auger still does not work, then apply 115V AC directly to the auger motor. If it still
does not work, replace it.
- Check the auger by bypassing the 200°F (93°) temperature sensor with a jumper wire.
If auger works, replace the sensor.
- Check the vacuum sensor by placing a jumper wire between the blue wire and the
black wire that are attached to the sensor. If the auger works, test to see if the exhaust
blower is producing enough vacuum (may require cleaning).
- If not, replace the vacuum sensor.
CAUTION: When checking connections, installing jumper wires (for test purposes only) or replacing
components, unplug heater from the receptacle to prevent electrical shock or dampage to the compo-
nent. NOTE: Many of the following tests will require that the side panels are removed from the stove
or the insert be removed from its cavity to access the components. Before troubleshooting always
confi rm that all components are clean and free of ash build up.