14
W415-0619 / B / 03.03.08
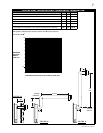
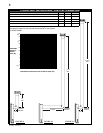
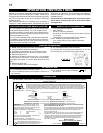
FRAMING
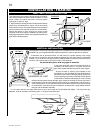
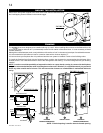
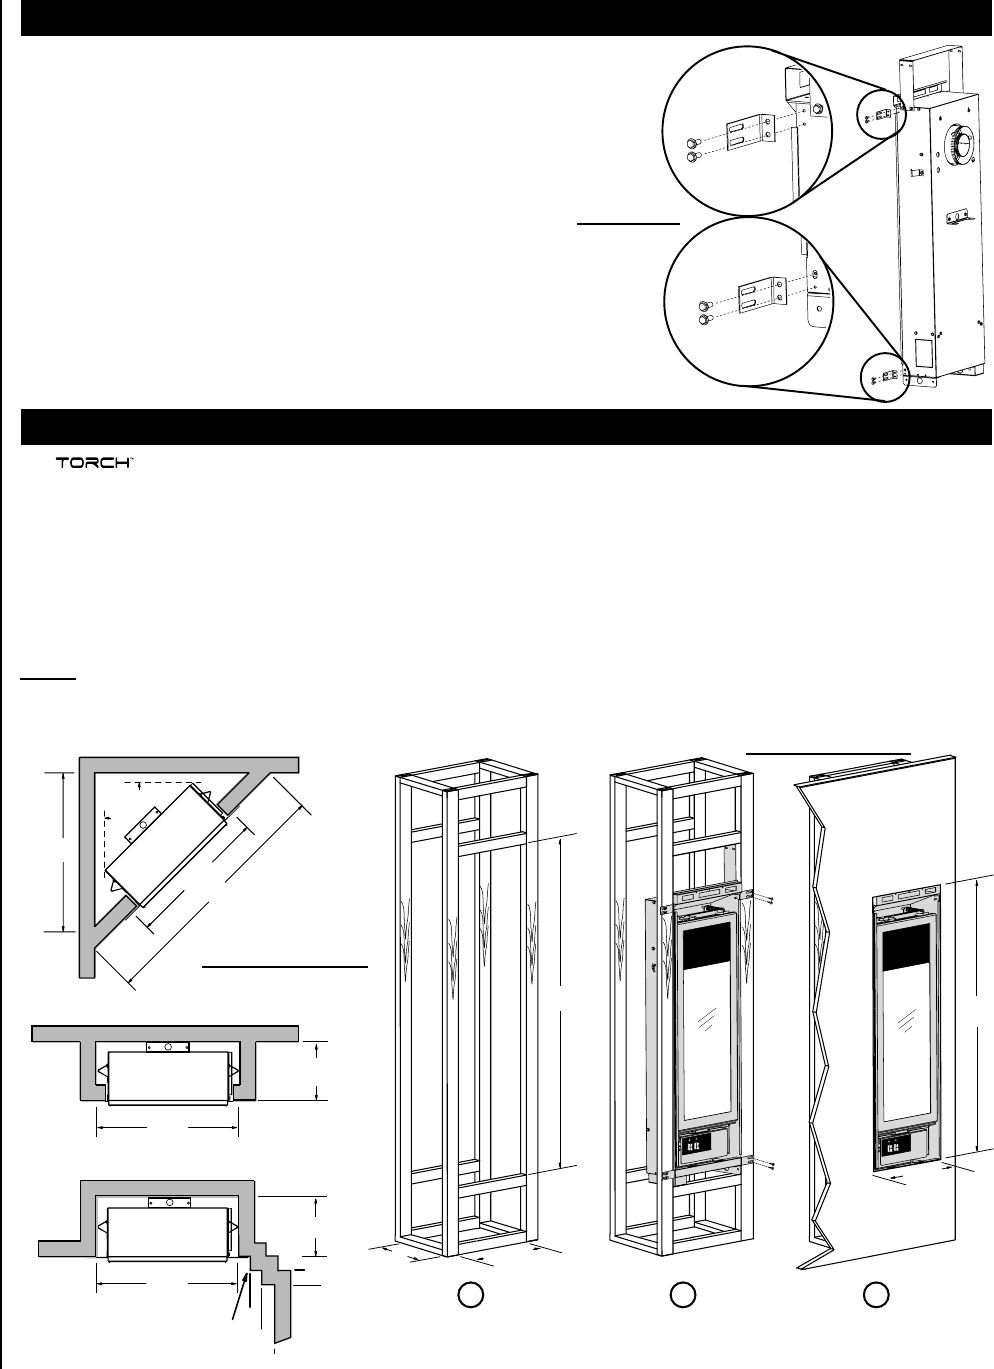
FIGURES 21a,b&c
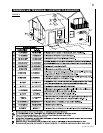
NAILING TAB INSTALLATION
Attach the 4 nailing tabs supplied to the sides of the outer shell as illustrated using
the 8 self-tapping screws included in the manual baggie.
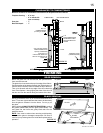
FIGURE 20
The has been designed to be installed mid-way up a wall. When installing this unit close to the fi nished fl oor, the
unit must be raised a minimum of 2” (unobstructed) to allow for full rotation of the control door. It is not necessary to install
a hearth extension.
Although the unit fi ts between studs, most jurisdictions will not allow a “hole” in the warm air envelope of a residential structure.
It is recommended to build either an interior or exterior chase with a minimum depth of 7”.
It is best to frame your fi replace after it is positioned and the vent system is installed. Frame to local building codes.
To install the fi replace face fl ush with the fi nished surface, position the framework to accommodate the thickness of the
fi nished surface. Use 4 fl at-head screws to secure the nailing tabs to the framing. Cover the nailing tabs with your fi nishing
material.
NOTE: In order to avoid the possibility of exposed insulation or vapour barrier coming in contact with the fi replace
body, it is recommended that the walls of the fi replace enclosure be “fi nished” (ie: drywall/sheetrock), as you would
fi nish any other outside wall of a home. This will ensure that clearance to combustibles is maintained within the
cavity.
TO
R
C
H
T
M
44
1
/
4
"
7"
14
1
/
2
"
T
O
R
C
H
T
M
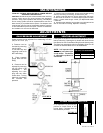
FRAMING
OPENING DIMENSIONS
INSTALLATION
FINISHING
OPENING DIMENSIONS
1 23
34
7
/
8
"
11
5
/
8
"
30"
14
1
/
2
"
21
1
/
4
"
2
1
/
2
"
2
1
/
2
"
14
1
/
2
"
7"
INTERIOR BUILD-OUT
OUTSIDE
CHASE
EXTERIOR CHASE
14
1
/
2
"
7" MIN.
INSIDE
CHASE
2"
4"
4"
6"
2"
SIDE
WALL
PROTRUSION
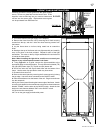
NOTE: Finished opening is smaller than the framed opening.
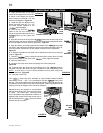
FIGURES 22a,b&c


