MAYCO ST-45HRM PUMP — OPERATION & PARTS MANUAL — REV. #4 (07/16/04) — PAGE 51
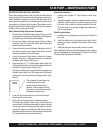
CHANGING THE WEAR PLATE AND RING
Due to the swinging motion of the Nun-plate and the abrasive
nature of concrete, it is normal for the cutting ring to wear on the
side that shears through the concrete inside the hopper. If the
wear ring and wear plate do not fully seat against each other the
concrete slurry will pump into the hopper. This condition can be
easily observed by the sudden change of the level of concrete
inside the hopper during each stroke.
Wear Plate and Ring Replacement Procedure
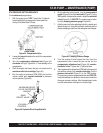
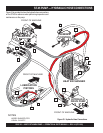
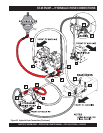
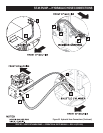
1. Remove the two hydraulic hoses (Hopper Assy., Item 34)
connected to the remix motor. Plug the ports with fittings(not
provided) to prevent hydraulic hose leakage.
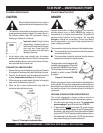
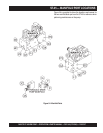
2. Remove the hopper discharge nipple (Hopper Interior
Assembly, Item 21) and loosen sleeve seal. Inspect and
replace if wear is excessive.
3. Remove the two tie rod nuts (Hopper Attachment, Item 19)
and the four eyebolt nuts (Hopper Attachment, Item 22)
securing the hopper to the pump frame.
4. Using an approved lifting device, remove the hopper
(Hopper Assy, Item 1) using extreme care not to damage
the hopper seal (Hopper Assy, Item 2).
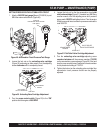
5. Remove the four 1/2” 1 ¼ “ bolts (Hopper Interior Assy, Item
43) that hold the suttle tube to the nun-plate and remove
shuttle tube (Hopper Interior Assy, Item 41).
Using two small pry bars remove the rubber energizer ring
(Hopper Interior Assy, Item 13B), steel insert ring (Hopper
Interior Assy, Item A) and wear ring (Hopper Interior Assy,
Item 13).
Wear Plate Installation
1. Install the two cylinder “O” rings (Hopper Interior Assy,
Item 10).
2. Using silicon sealant, coat the circumference of the concrete
cylinders, the back of the wear plate and around the five
bolt holes. Next, install the wear plate and the five bolts.
The bolts must all be equally snugged and tightened to
100 foot pounds each.
Wear Ring installation
1. Install the wear ring (Hopper Interior Assy, Item 13) into the
nun plate.
2. Install the steel insert ring (Hopper Interior Assy, Item A)
inside of the rubber energizer ring (Hopper Interior Assy,
Item 13B).
3. Install the energizer ring assembly into the nun-plate.
After installing the above mentioned components the machine
can be re-assembled by reversing steps 1 through 5 of the Wear
Plate and Ring Replacement Procedure.
ST-45 PUMP — MAINTENANCE (PUMP)
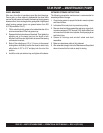
6. Clean out all concrete build up in and around the nun-
plate area with a wire brush.
7. Inspect the wear components for indications of wear.
The wear plate (Hopper Interior Assy, Item 52) has two
wear surfaces. If it becomes necessary to replace, the plate
can be reversed to the opposite side to expose a new flat
surface. To replace or reverse the plate, remove the five
allen head counter sink bolts. Then remove the two cylinder
“O” rings and clean the entire back surface.
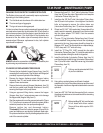
The energizer ring and wear ring
will normally have concrete
contamination holding them in
position. It will be required to chip
some of the concrete loose to better
expose the energizer ring.
NOTE


