FOR YOUR SAFETY READ BEFORE OPERATING
WARNING
CAUTION
BEFORE OPERATING smell all around the appliance
area for gas. Be sure to smell next to the floor because
some gas is heavier than air and will settle on the floor.
This unit is equipped with a gas controlknob. Use only
your handto turnthe gas controlknob.Never use tools.If
knob will not turn by hand, do not try to repair it. Call a
qualified service technician. Force or attempted repair
may result ina fire or explosion.
G3Q2 unitsare equippedwitha SureLighFMignitionsys-
tem. Do not attemptto manuallylightburnerson thisfur-
nace. Each timethe thermostatcallsfor heal the burners
will automaticallylight.The ignitordoes not get hotwhen
there is no callfor heat on units withSureLighF= ignition
system.
Gas Valve Operation
WARNING
1 - STOPf Read the safetyinformationat the beginning
of this section.
2 - Set thermostat to lowest setting,
3 - Turn off all electricalpower to furnace,
4- This furnace is equipped with an ignition device
which automaticallylightsthe burner, Do not tryto
lightthe burner by hand.
5 - Remove unit access panel.
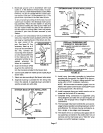
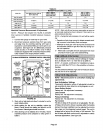
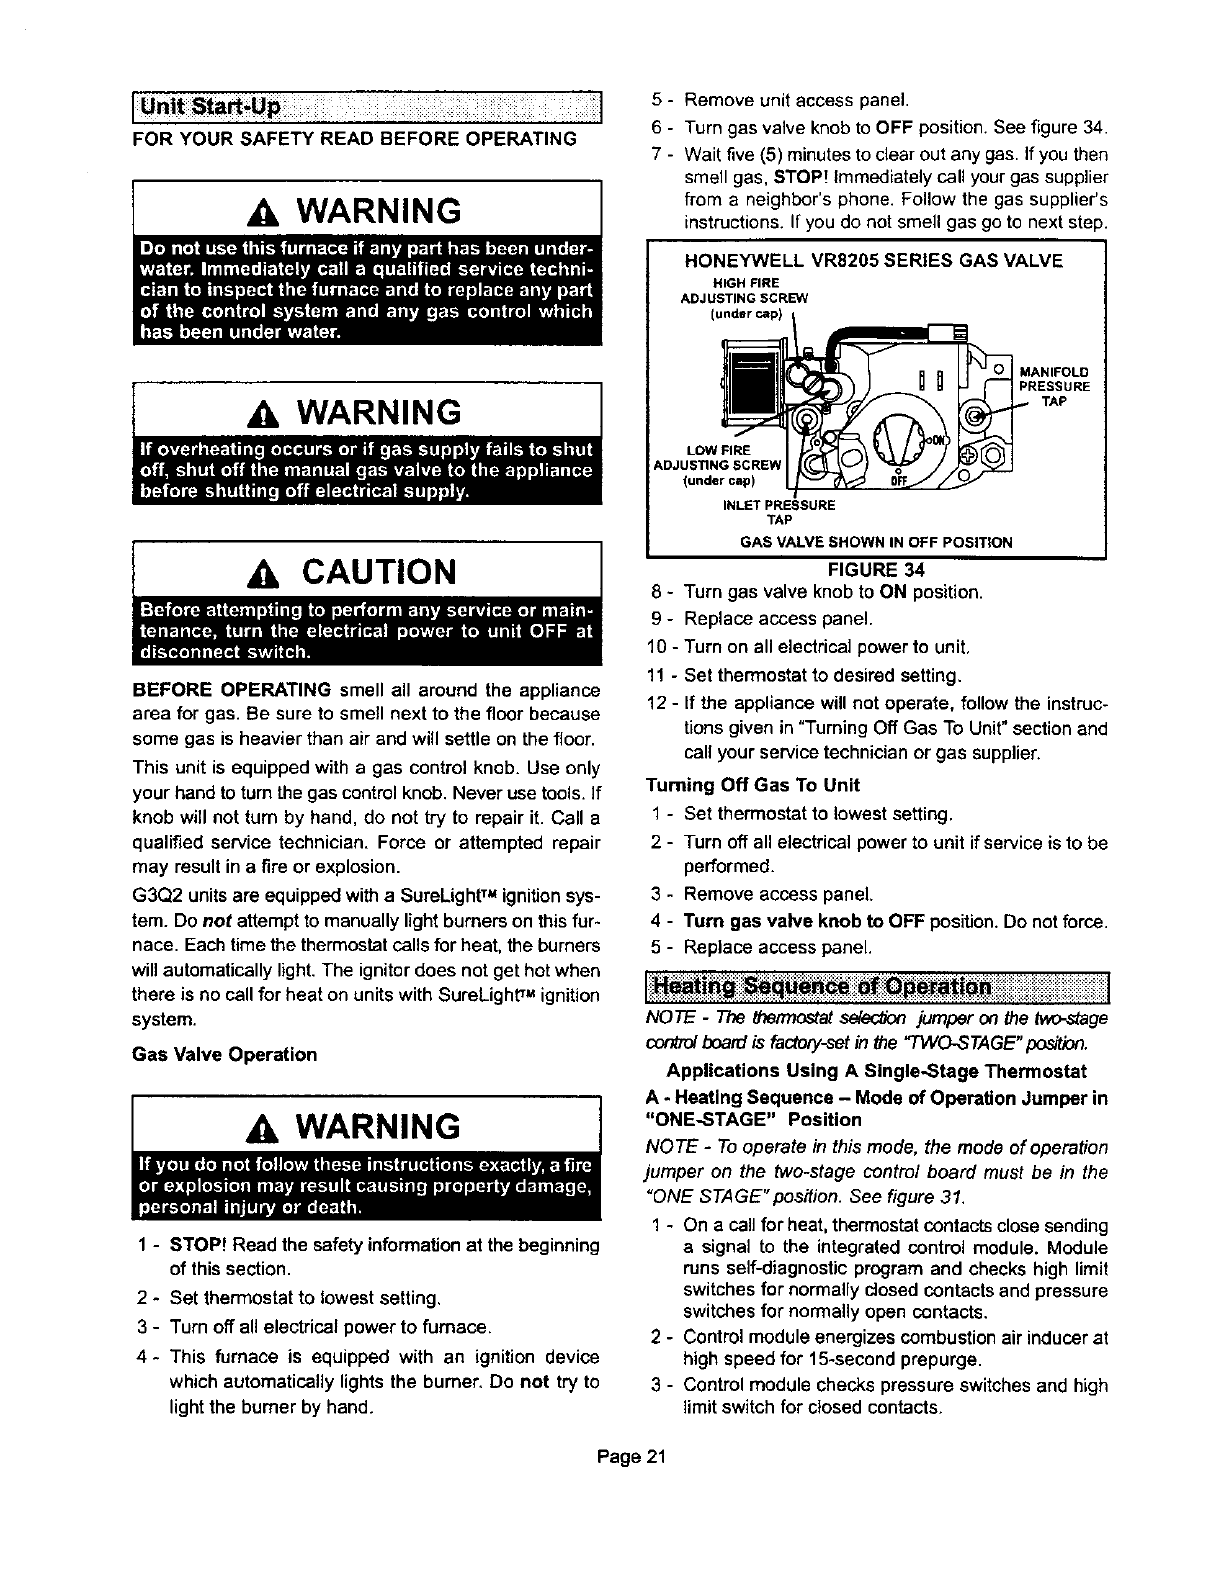
6 - Turn gas valve knob to OFF position. See figure 34.
7 - Wait five (5) minutes to clear out any gas. If you then
smell gas, STOP! Immediately call your gas supplier
from a neighbor's phone. Follow the gas supplier's
instructions. If you do not smell gas go to next step.
HONEYWELL VR8205 SERIES GAS VALVE
HIGH FIRE
ADJUSTING SCREW
(under cap)
MANIFOLD
PRESSURE
TAP
LOW FIRE
ADJUSTING SCREW
(under cap)
INLET PRESSURE
TAP
GAS VALVE SHOWN IN OFF POSITION
FIGURE 34
8 - Turn gas valve knob toON position,
9 - Replace access panel.
10 - Turn on all electrical power to unit,
11 - Set thermostat to desired setting,
12 - If the appliance will not operate, follow the instruc-
tions given in "Turning Off Gas To Unit" section and
call your service technician or gas supplier.
Turning Off Gas To Unit
1 - Set thermostatto lowest setting,
2 - Turn off all electrice]powerto unitifserviceis to be
performed.
3 - Remove access panel.
4 - Turn gas valve knob to OFF position, Do not force.
5 - Replace access panel.
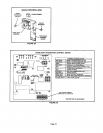
NOTE - The thermostatselec_on jumper on the two-stage
controlboard is factory-setin the "TWO-STAGE"_,
Applications Using A Single, Stage Thermostat
A * Heating Sequence - Mode of Operation Jumper in
"ONE-STAGE" Position
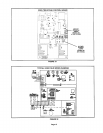
NOTE - To operate in this mode, the mode of operation
jumper on the two-stage control board must be in the
"ONE STAGE" position. See figure 31,
1 - On a call for heat, thermostat contacts close sending
a signal to the integrated control module. Module
runs self-diagnostic program and checks high limit
switches for normally dosed contacts and pressure
switches for normally open contacts.
2 - Control module energizes combustion air inducer at
high speed for 15-second prepurge.
3 - Control module checks pressure switches and high
limit switch for closed contacts.
Page 21


