


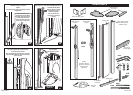

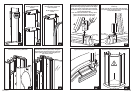
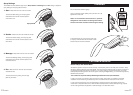
Drill 4 x 8mm holes
Fit plugs
Loosely fit
4 x screws
A
Carefully lift the panel
back into postion
Seal behind
the wall channel
and tighten
screws
A
B
A
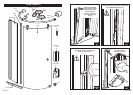
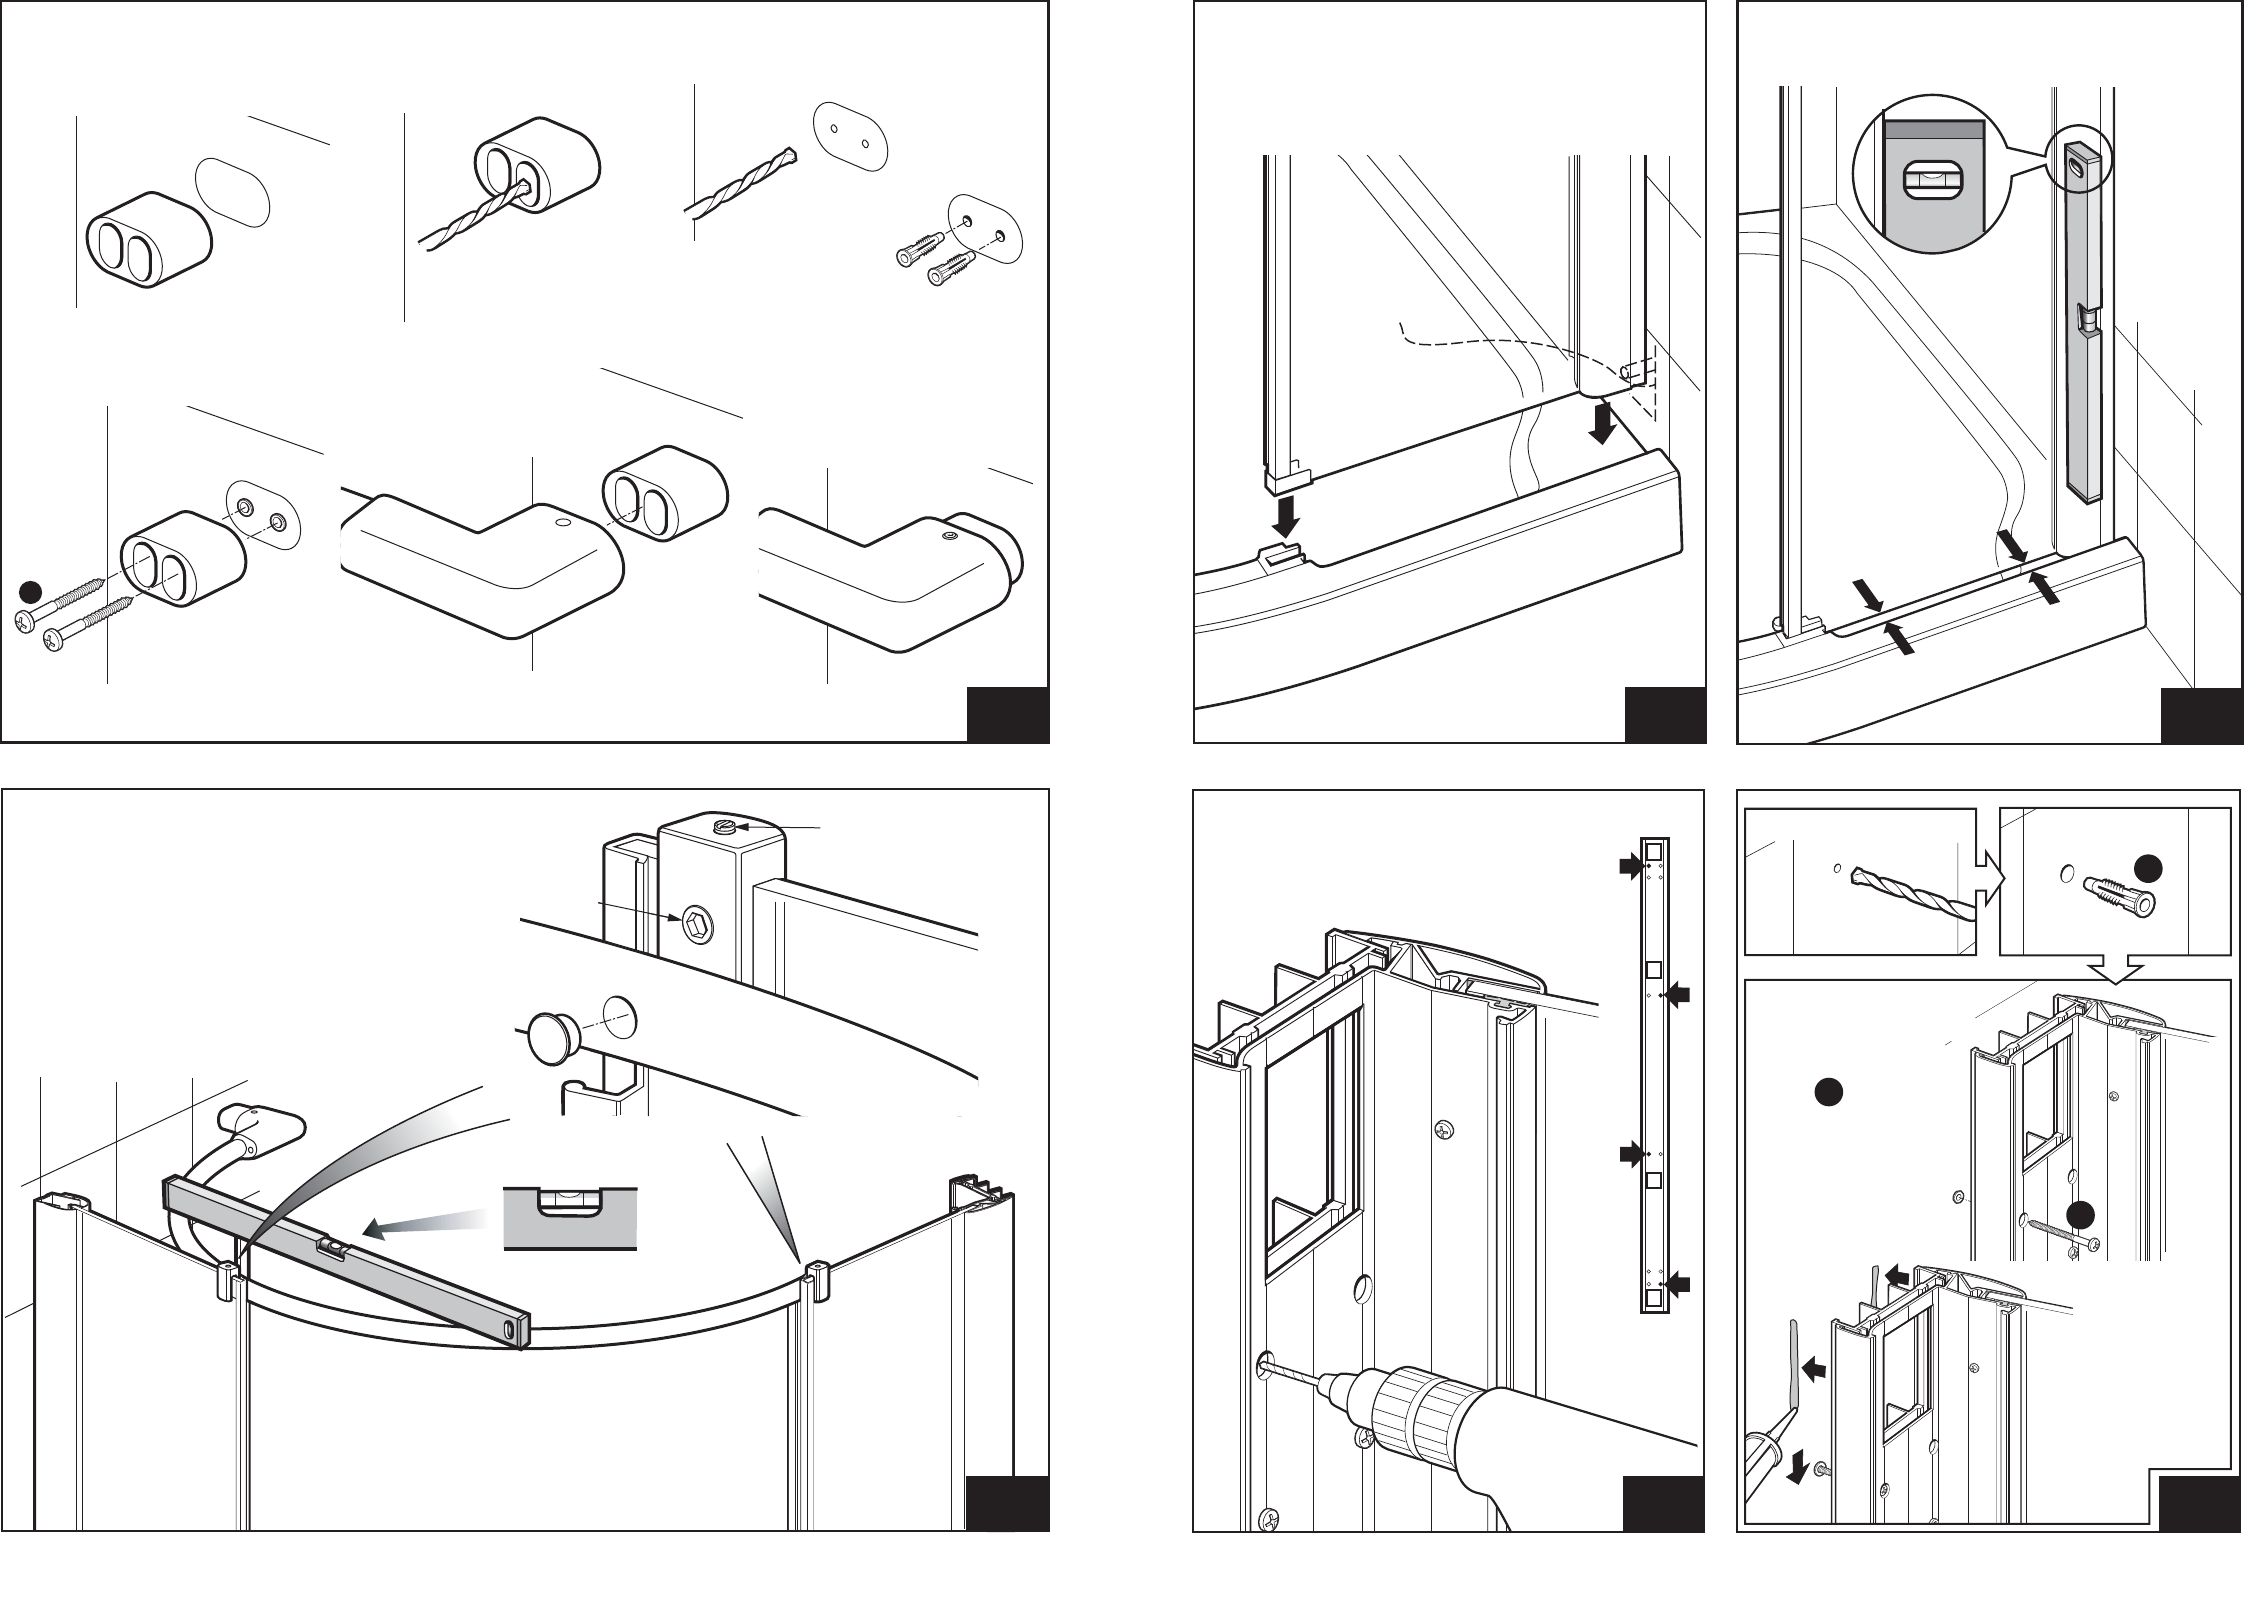
Spot drill through 4 fixing holes in the
wall jamb and mark the wall. Only 4 of the
8 holes are using alternate sides ‘A’.
Carefully remove the panel from the tray
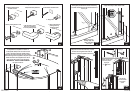
A
B
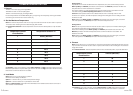
Adjust wall jamb until glass is parallel to the
edge of the tray ‘A’ and vertical at ‘B’.
20
CFI230J
9
CFI230J
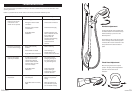
Carefully lift the assembly onto the tray. The end
of the glass panel fits into slot ‘A’ on the tray.
The wall channel end sits on the flat section of
the tray ‘B’
A
B
STEP
14
STEP
15
STEP
16
STEP
17
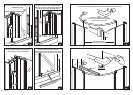
Take care not to
damage pipe and
cable protruding
from wall
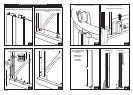
Check the lintel is level.
If adjustment is required turn screw ‘A’
on the panel clamps to lift or lower the rail.
Note: If the lintel cannot be made level by
adjusting the clamps remove the grub screws
and fit the longer ones supplied in the parts pack.
When the lintel is level tighten screw ‘B’ on
each panel clamp until it grips the glass.
IMPORTANT - DO NOT OVER TIGHTEN
Fit caps to lintel ‘C’
A
B
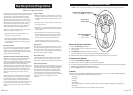
Remove the lintel from glass and remove the parking block
1. Match parking block
to mark on wall
5. Screw parking block to wall
3. Drill holes with 6mm drill
4. Plug holes
6. Re-fit lintel to glass
and push wall mount
on to the parking block
7. Secure the lintel to
parking block by
tightening allen
screw ‘A’
A
A
2. Spot drill hole positions
C
STEP
24
STEP
25
±0mm
mm0±