


If after manually operating the valve, it fails to completely reset
and continues to release water, immediately close the cold water
inlet to the water heater, follow the draining instructions, and
replace the temperature-pressure relief valve with a new one.
Failure to install and maintain a new properly listed temperature-
pressure relief valve wilt release the manufacturer from any claim
which might result from excessive temperature or pressure.
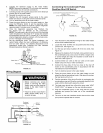
If the temperature-pressure relief valve on the appliance weeps
or discharges periodically, this may be due to thermal expansion.
Your water heater may have a check valve installed in the water
line or a water meter with a check valve. Consult your local
Sears Service Center for further information. Do not plug the
temperature-pressure relief valve.
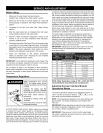
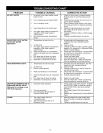
Draining and Flushing
W I,7-4 qtW
• Burn hazard
• Hotwater discharge.
• Keep hands clear of drain
valve discharge.
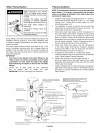
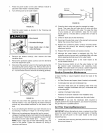
It is recommended that the tank be drained and flushed
every 6 months to remove sediment which may build up
during operation. The water heater should be drained
if being shut down during freezing temperatures.
To drain the tank, perform the following steps:
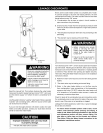
Before removing any access
panels or servicing the water
heater, make sure the electrical
supply to the water heater is
turned "OFF".
Failure to do this could result in
death, serious bodily injury, or
property damage.
1.
2.
3.
Place the water heater in Standby Mode by pressing the
power button on the user interface module.
Turn off the power to the water heater at the circuit breaker/
fuse box.
Open a nearby hot water faucet until the water is no longer
hot.
4.
5.
6.
7.
8.
Close the cold water inlet valve.
Connect a hose to the drain valve and terminate it to an
adequate drain or external to the building,
Open the water heater drain valve and allow all of the
water to drain from the tank, Flush the tank with water as
needed to remove sediment,
Close the drain valve, refill the tank (open the cold water
inlet valve), and restart the heater as directed in this manual.
IMPORTANT: Do not turn on power to the water heater
unless it is completely filled with water. To ensure that the
tank is full, open a hot water faucet and allow the water to
run until the air is purged and the water flows uninterrupted
from the faucet.
Press the power button to turn the water heater on.
NOTE: The water heater will conduct a system diagnostic
prior to operation.
If the water heater is going to be shut down for an extended
)eriod, the drain valve should be left open.
Improper installation and use may result
in property damage.
• Fill tank with water before operation.
Never use this water heater unless it is completely full of water.
To prevent damage to the tank and heating element, the tank
must be filled with water. Water must flow from the hot water
faucet before turning "ON" power.
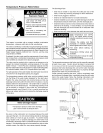
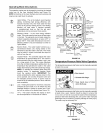
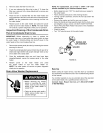
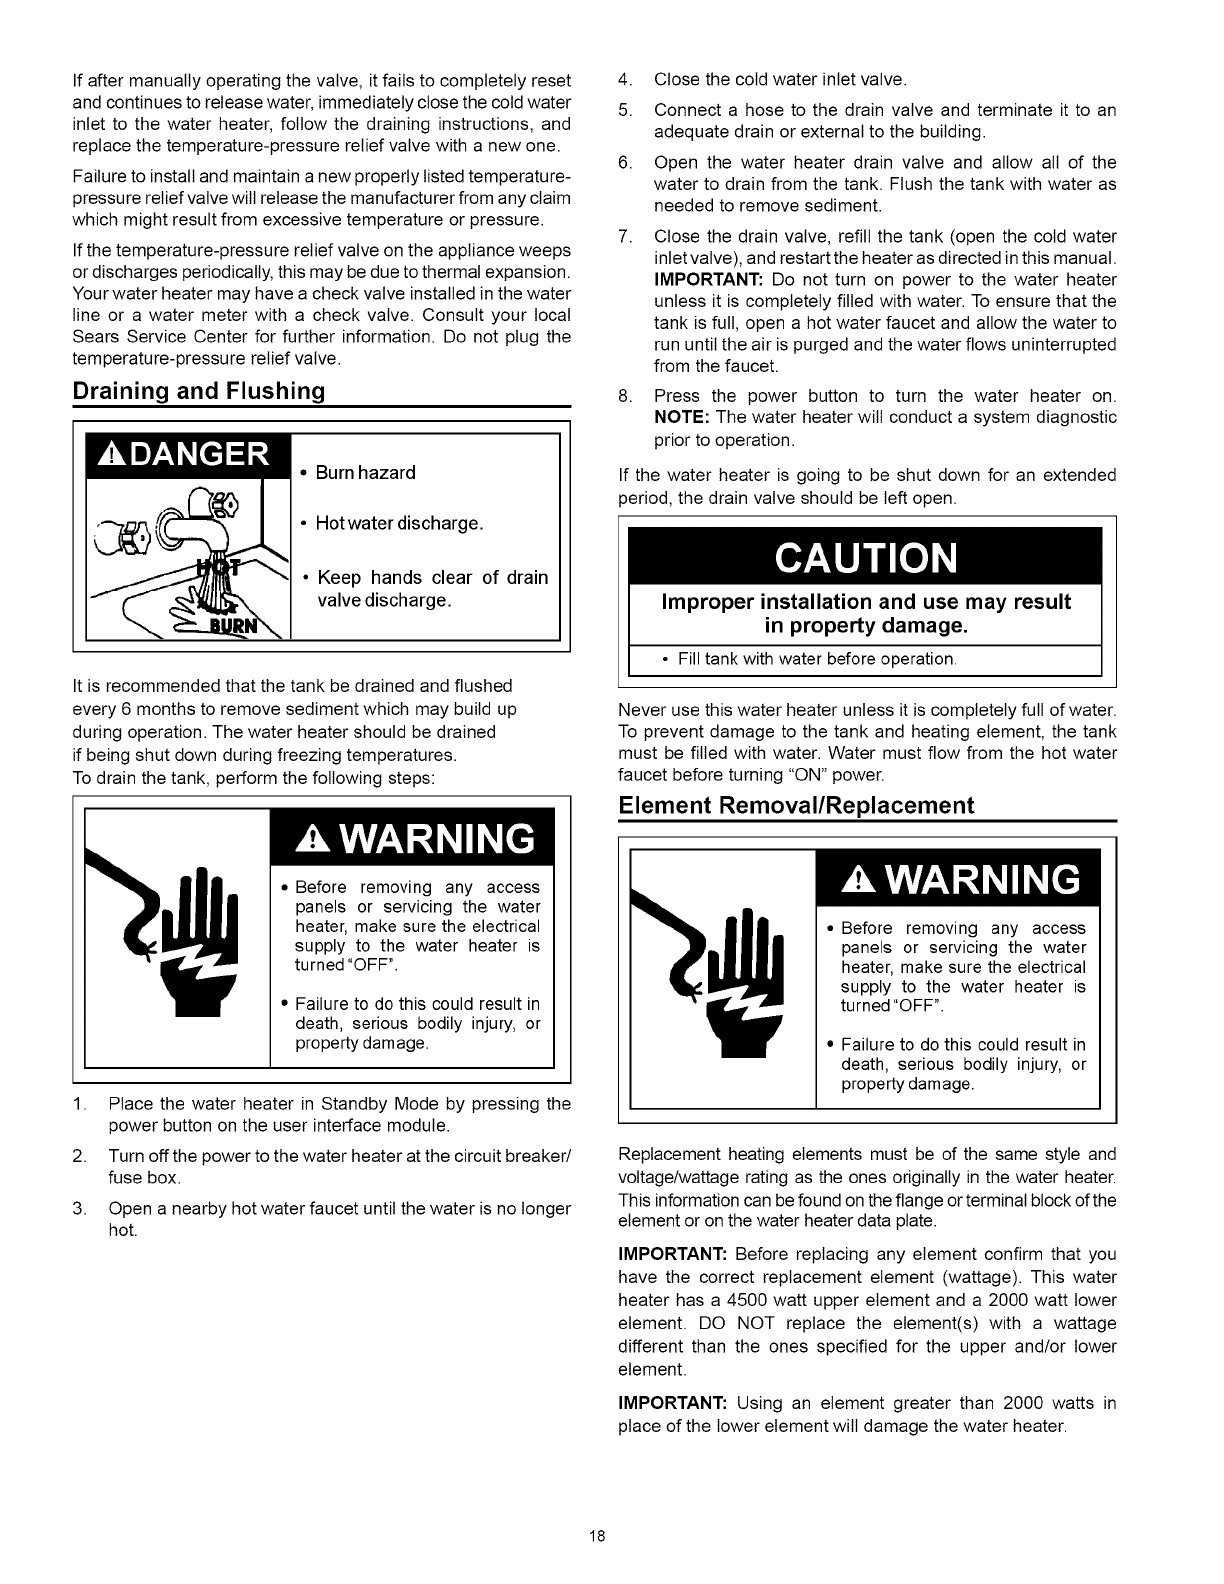
Element Removal/Replacement
• Before removing any access
panels or servicing the water
heater, make sure the electrical
supply to the water heater is
turned "OFF".
• Failure to do this could result in
death, serious bodily injury, or
property damage.
Replacement heating elements must be of the same style and
voltage/wattage rating as the ones originally in the water heater.
This information can be found on the flange or terminal block of the
element or on the water heater data plate.
IMPORTANT: Before replacing any element confirm that you
have the correct replacement element (wattage). This water
heater has a 4500 watt upper element and a 2000 watt lower
element. DO NOT replace the element(s) with a wattage
different than the ones specified for the upper and/or lower
element.
IMPORTANT: Using an element greater than 2000 watts in
place of the lower element will damage the water heater.
18