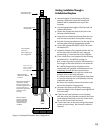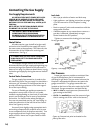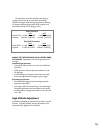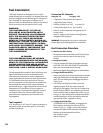
3
Table of Contents
Specifications ............................. 4
Installation & Service Tools .......... 4
General Information ................... 5
Safety Information.......................... 6
Installation
Fireplace Requirements ............ 4
Clearances ....................................... 8
Hearth Protection ......................... 9
Vent Requirements .....................10
Masonry Fireplace .......................11
Prefabricated Fire ........................12
Fireplace Assembly
Gas Connection ............................ 14
Gas Pressure.................................. 14
High Altitude Adjustment ........ 15
Fuel Conversion............................16
Wall Thermostat ..........................18
Remote Control ............................ 18
Antique Brick Kit .......................... 19
Log Set Installation .....................20
Surround Assembly..................... 21
System Check................................22
Operation
Burner Controls ........................... 24
Blower............................................ 25
Maintenance
Annual Cleaning ......................... 26
Glass Replacement ..................... 26
Illustrated Part Breakdown ...... 28
Replacement Parts List ............. 29
Service Log ................................ 30
Lighting Instructions ................ 31
Unpacking the Fireplace
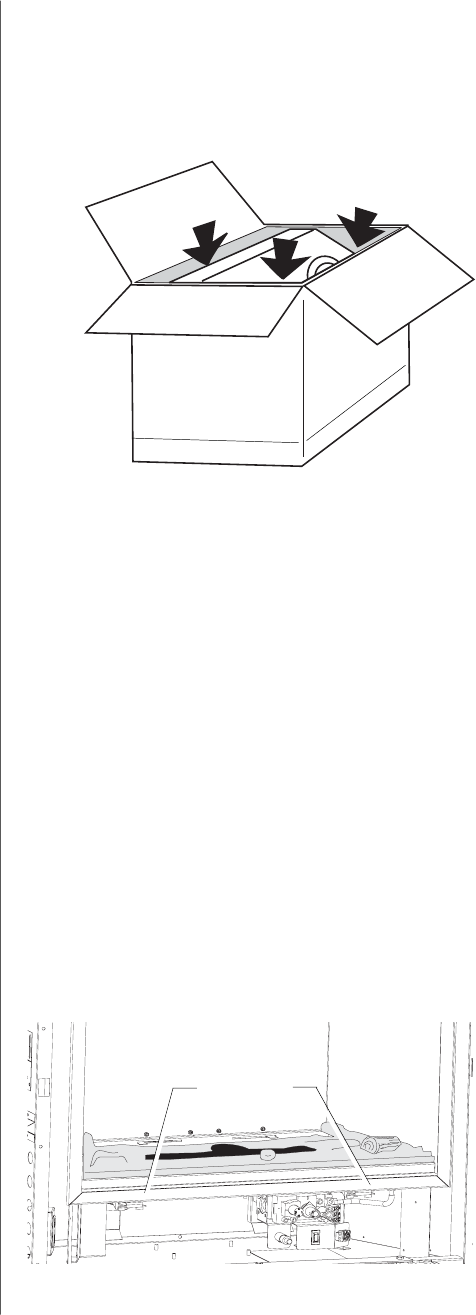
1. Before you remove the carton, remove the cast
iron parts that are packed around the fireplace
firebox.
2. Lift the shipping carton off of the fireplace
cabinet.
3. Unpack the Firebox. The Logset is packaged inside
the firebox. Remove the Glass Panel Frame to
unpack the firebox:
• Locate the right and left spring latches on the
underside of the firebox floor. Release each latch
by pulling them forward to disengage the Frame
from the Firebox body.
• Pull the Glass Frame away from the Firebox and
lift to disengage it from the three steel retainer
tabs located at the top of the firebox. Set the
glass out of the way.
Do not unpack the log parts until you are ready
to install them.
4. Install the Levelling Bolts. Five round head
carriage bolts are included in the Hardware Bag.
Tilt the insert cabinet back on the pallet to allow
clearance for installation of these bolts into the
Cabinet Base, one at each corner and one in the
center.
Pull each Spring Latch to disengage them from the
Glass Frame.
Spring Latch


