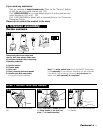
How to replace
Disconnect cleaner from electrical
outlet.
Remove bottom plate, belt and agi-
tator following directions in “The
belt” section beginning with Fig. 3-
10.
Discard old agitator.
Continue following the directions in
“The belt” section to reposition belt,
new agitator and bottom plate.
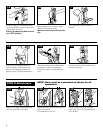
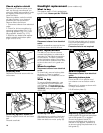
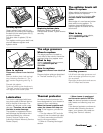
Installing groomers
Lift off both old edge groomers and
slide new edge groomers into posi-
tion as shown.
Reposition bottom plate and secure
with 4 Phillips head screws.
11
F
G
3-16
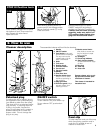
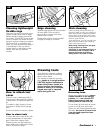
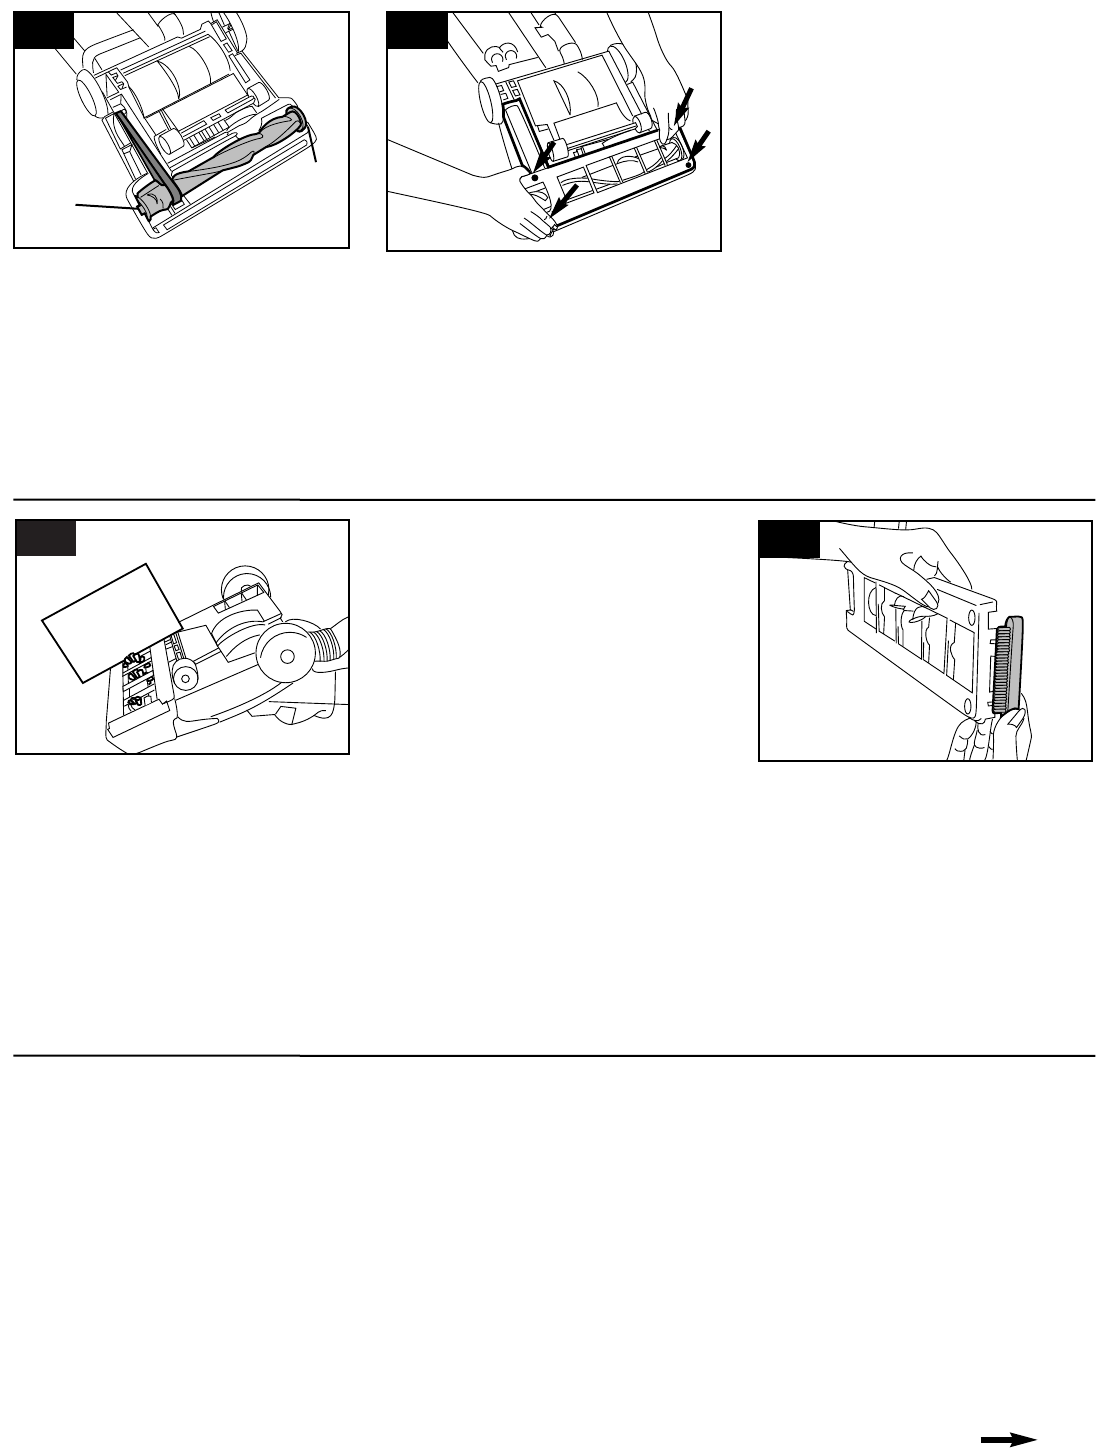
Securing agitator
Grasp agitator firmly and fit it into
position by first sliding end opposite
the belt into the rectangular slot (F)
on side of cleaner.
Pull other side of agitator (G) into
place.
Turn agitator making sure belt is not
pinched between agitator and
agitator shield.
Continued
The agitator brush roll
The edge groomers
3-17
When to replace
The edge groomers, located on
both sides of the nozzle, should be
replaced when they appear worn.
What to buy
When purchasing edge groomers,
ask for HOOVER part No.
39511004.
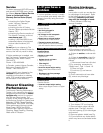
How to replace
Disconnect cleaner from electrical
outlet.
Remove bottom plate as described
in “The belt” section (Fig. 3-10).
3-14
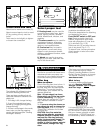
When to replace
When agitator brushes are worn, the
agitator should be replaced.
To check condition of brushes, dis-
connect cleaner from electrical
outlet.
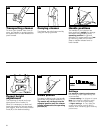
Move edge of a card across bottom
plate while turning agitator. To
maintain cleaning effectiveness,
replace agitator if brushes do not
touch card.
What to buy
When purchasing a new agitator,
ask for HOOVER part No.
48414110.
Lubrication
The motor is equipped with bear-
ings that contain sufficient lubrica-
tion for the life of the motor. The
addition of lubricant could cause
damage. Therefore, do not add
lubricant to motor bearings.
The agitator is equipped with two
ball bearings that should be lubri-
cated periodically by a Hoover
Factory Service Center or an
Authorized Hoover Warranty Service
Dealer (Depot).
Thermal protector
An internal thermal protector has
been designed into your cleaner to
protect it from overheating.
When the thermal protector acti-
vates, the cleaner will stop run-
ning. If this happens, proceed as
follows:
1. Turn the cleaner OFF and dis-
connect it from the electrical outlet.
2. Check secondary and final fil-
ters for dirt accumulation.
3. Refer to “Clearing blockages”
section.
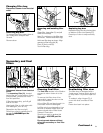
Replacing bottom plate
Reposition bottom plate and 4
Phillips head screws. Tighten screws
securely
.
3-15
4. When cleaner is unplugged
and the motor cools for 30 min-
utes, the thermal protector automati-
cally resets and cleaning may con-
tinue.
If the thermal protector continues to
activate after following the above
steps, your cleaner may need ser-
vicing (see “Service” section).


