


Filter bag
When to replace
Check the bag when the “CHECK BAG”
indicator shows red. When bag is filled
with dirt, the cleaner will not operate effi-
ciently. Discard used bag.
CAUTION: Very fine materials, such
as face powder, cornstarch, fireplace
ashes or fireplace soot, may seal the
paper bag and may cause it to burst
even though it is only partially full of
dirt. When the cleaner is used to
remove material of this nature,
change the bag often.
Where to buy
Filter bags may be purchased from
Authorized Hoover Dealers (Depots),
Leading Retailers, Hoover Factory
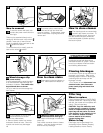
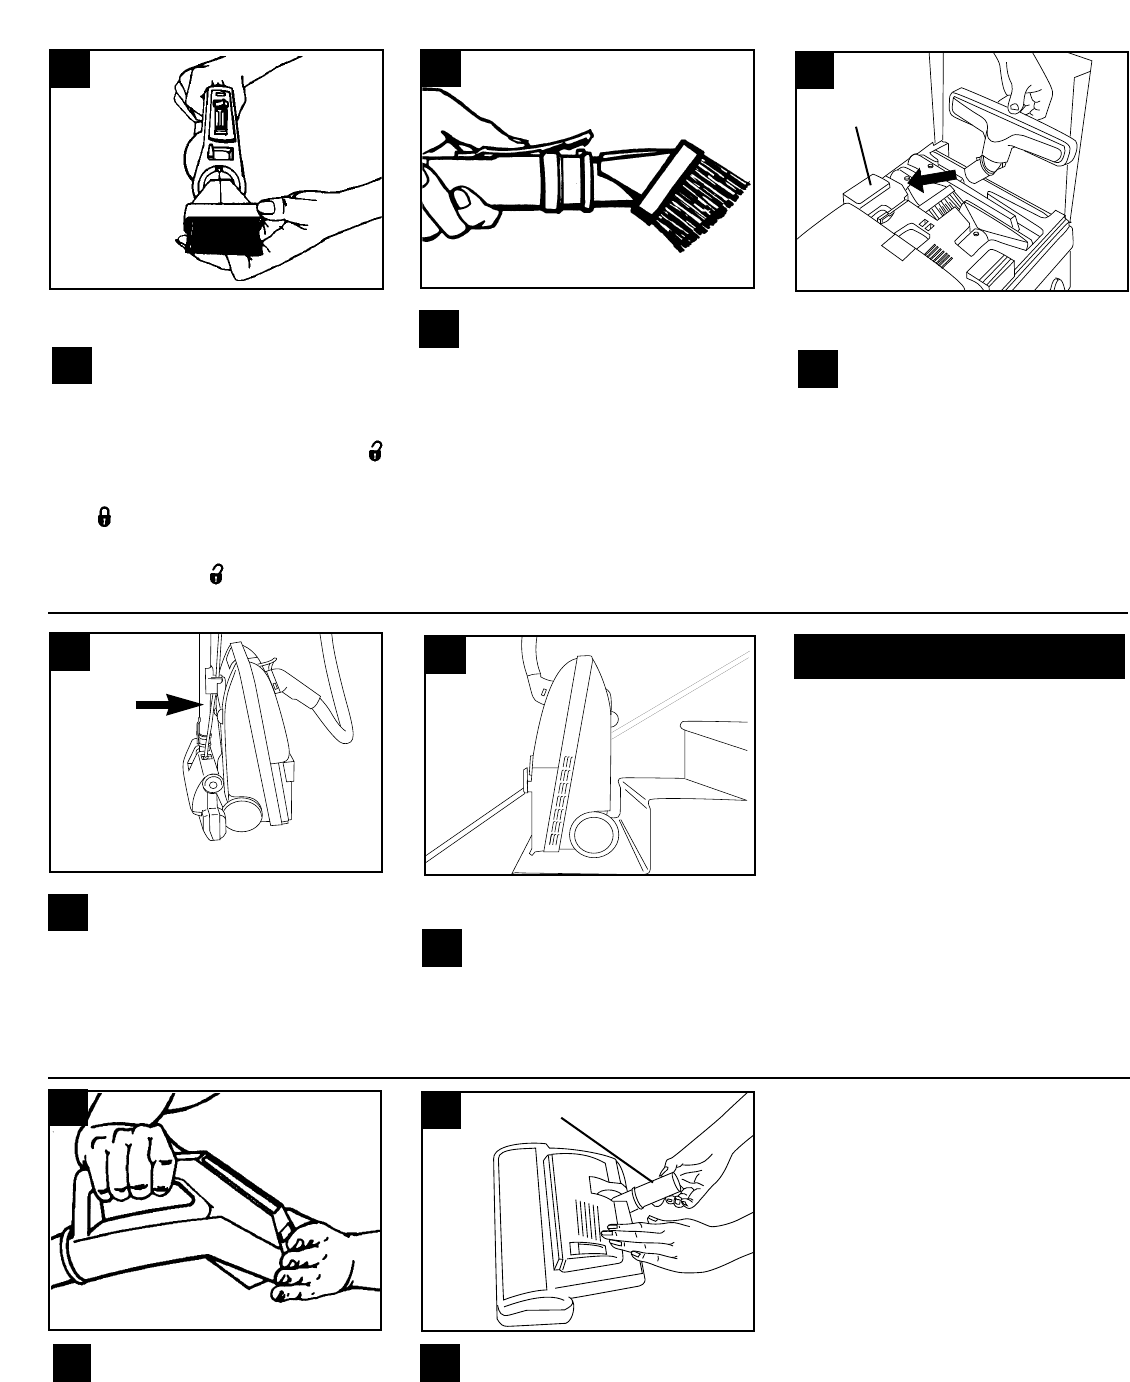
4.Make sure power nozzle plug is
disconnected from hand grip.
Then check for blockage in nozzle con-
nector (A).
Push nozzle connector down to lowest
position. Look into nozzle connector
and remove any blockage.
2. Plug cleaner in, turn on, and
check hose end for suction.
Remove any obstructions.
Clearing blockages
Low suction or pick up may be due to a
blockage in the system. Refer to the
following steps to check for blockages,
continuing with each step until the
blockage is found:
1.Turn cleaner off and disconnect from
electrical outlet; then disconnect
power nozzle plug and wands from
hand grip.
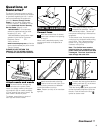
How to clean stairs
Clean stairs by placing cleaner on
end. Clean stairs from bottom to
top.
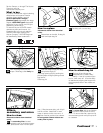
Wand storage clip
(some models)
To save storage space, stand the clean-
er on end and hook wand storage clip
on bottom of cleaner. The nozzle must
be positioned down as shown.
Lift up on wand to remove storage clip
from cleaner.
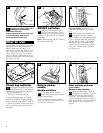
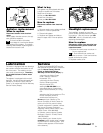
How to store cleaner
The cleaning tools are conveniently
stored in the cleaner, as shown. To
replace the wall/floor brush, be sure to
turn the nozzle connector toward the
cord rewind pedal (A) before pushing
the brush in place.
To connect tools to metal wands,
insert end of tool into wand and
snap into position. To disconnect, press
down on the center of spring latch and
remove tool.
6
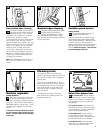
How to connect
To use the cleaner with tools, dis-
connect the power nozzle from the
hand grip.
Tools may be attached directly to the
hand grip. With the latch in the unlock
position, insert tool (or wand if extra
length is needed), then push latch to the
lock position to secure.
To remove the tool (or wand), push the
latch to the unlock position.
19
19
20
21
22
24
25
25
24
22
23
23
21
20
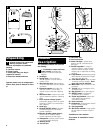
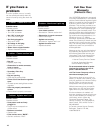
Familiarize yourself with these home
maintenance tasks as proper use and
care of your cleaner will ensure contin-
ued cleaning effectiveness.
A
3. Remove power nozzle from wands
and attach wands to hose. Check for
suction and remove any blockages.
A
Maintenance