


Installation and Use
69-2108EFS—01 6
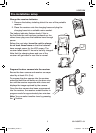
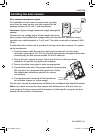
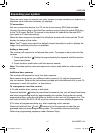
3. Fix the door camera base in place using the screws and
wall plugs provided.
4. Hook the door camera into the base at the top first, then
push and click it in at the bottom. Check that the unit is
evenly pressed in place to seal the unit from rain damage.
Make sure that the sealing strip on the camera front
remains in place. Insert the two screws underneath, and
tighten.
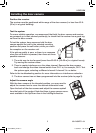
Check that the unit is working after installation by pressing the
call button, the confidence light should illuminate.
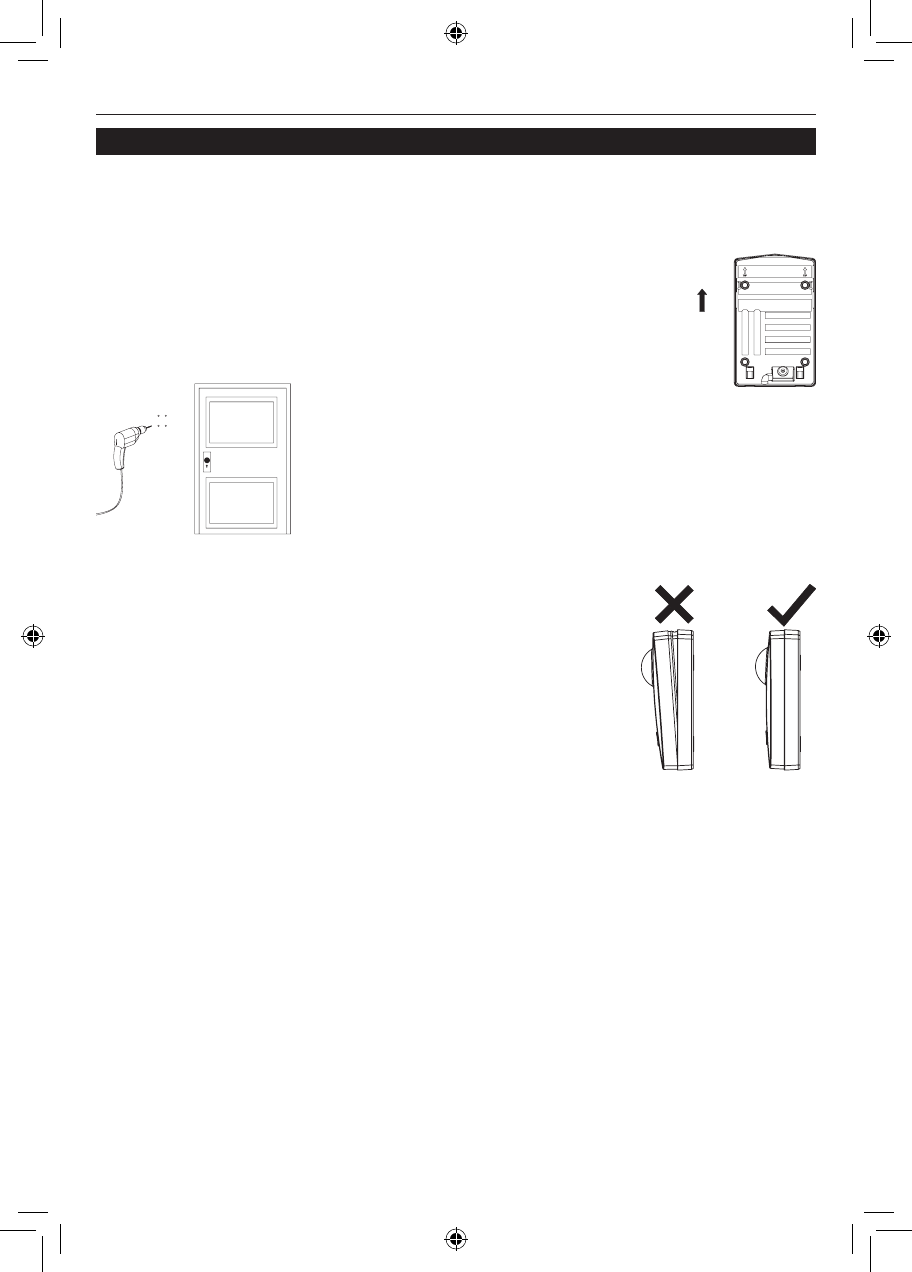
Installing the door camera
Mount the door camera
Do not mount the camera in wet conditions as moisture or condensation will affect
the internal parts.
Once you have tested the system in place, mount the camera onto a
wall or door as follows:
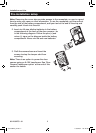
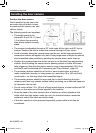
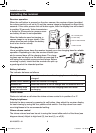
1. Remove the two screws underneath the door camera. Unhook
and release the front and pull it away from the base. Note the
TOP arrow on the base.
TOP
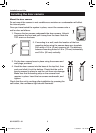
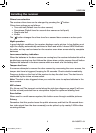
2. If mounting to a wall, mark the location of the four
mounting holes using the camera base as a template.
Drill using a 1/4-in. (6 mm) masonry bit. The distance
between mounting holes is 2.8 in. (72 mm) horizontally
and 3.6 in. (92 mm) vertically.
69-2108EFS_A.indd 6 11/30/2007 1:51:47 PM