Place Bar Code Here
69- 1285- 2
OWNER’S GUIDE
® U.S. Re
istered Trademark
Cop
ri
ht © 2001 Hone
well • •All Ri
hts Reserved
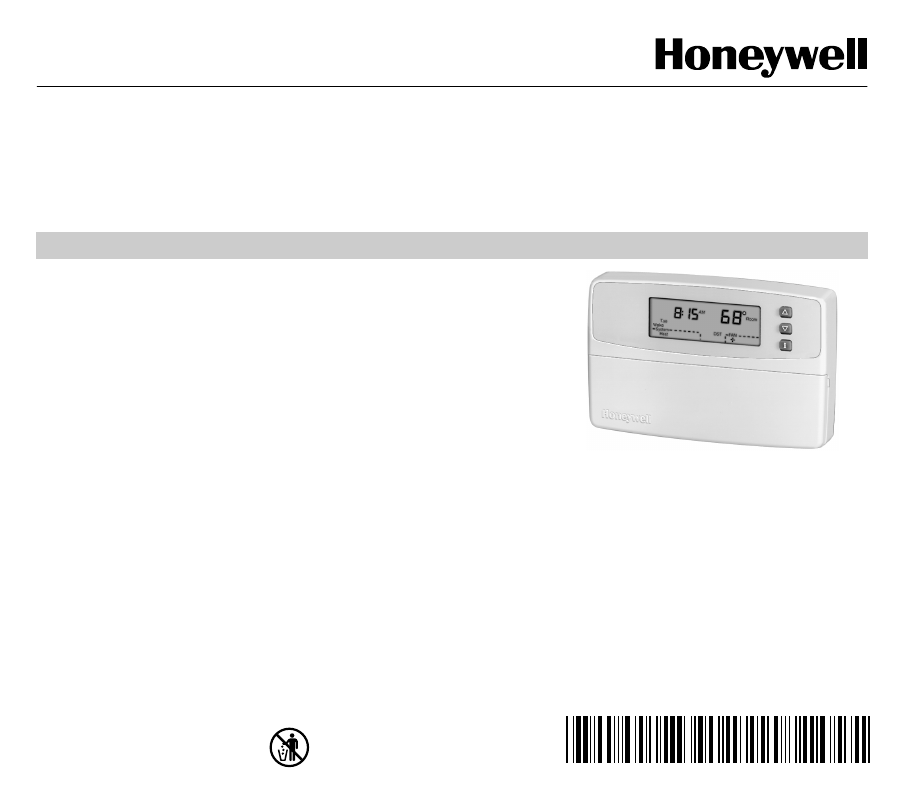
Honeywell CT3650
PROGRAMMABLE THERMOSTAT
Seven Da
Pro
rammable Heat and/or Cool
Low Volta
e
20 to 30 Vac
Thermostat and Wallplate
Model CT3650
Para pedir estas instrucciones en español, llame al 1-800-468-1502.
Pour obtenir ce ode demploi en fran
ais, composer le 1-800-468-1502.
Table of Contents
Step 1. Prepare for Installation ................................................................................................................................... 5
Step 2. Remove Old Thermostat ................................................................................................................................ 6
Step 3. Mount thermostat Wallplate ........................................................................................................................... 7
Step 4. Wire Wallplate Terminals ................................................................................................................................ 8
Step 5. Install the Batteries ........................................................................................................................................ 9
Step 6. Mount the Thermostat .................................................................................................................................... 10
Step 7. Customize Your Thermostat ........................................................................................................................... 11
Step 8. Set the Clock .................................................................................................................................................. 13
Step 9. Pro
rammin
................................................................................................................................................. 13
Step 10. Operatin
Your Thermostat .......................................................................................................................... 17
Step 11. Set the Fan and S
stem Ke
....................................................................................................................... 18
If You Have a Problem ................................................................................................................................................ 19
Smart Response™ Technolo
.................................................................................................................................. 20
Wirin
Dia
rams ......................................................................................................................................................... 21
