– 16 –
FORM 34055 Rev. A (2-99) PRINTED IN U.S.A.
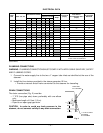
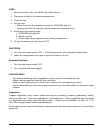
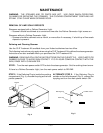
STEP 3. Insert the plastic tube in the deliming port. Connect the funnel to the other end of the tube.
Pour 28 fl.oz. of CLR liquid into the generator slowly to avoid spillage. Remove tube and funnel.
Thoroughly rinse the tube, funnel, and beaker before storing or disposing. Replace deliming plug so
it seals tightly.
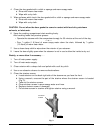
STEP 4. Turn main power switch ON (if not previously done in Alternate Step 2 above). When READY
light comes on, wait 1
1
/2 hours. Turn main power switch OFF and allow to drain.
STEP 5. Turn main power switch ON. When the READY light comes on, turn main power switch OFF
to drain. Repeat this step three times to completely flush generator.
STEP 6. Clean exterior and interior. Use a mild solution of soap and water. Rinse with clean water.
Dry with a soft cloth. Leave compartment door open when not in use.
The steamer is now ready for use or can be turned off for overnight shutdown.
COLD WATER CONDENSER
The steamer is equipped with a cold water condenser in the rear of the cooking compartment which
helps to condense the steam prior to discharge into the drain.
The steamer freely vents itself by the negative pressure created by the condensate water drainage.
This negative pressure prevents steam leakage around the door gasket and helps draw the steam
through the cooking compartment.
Steam leakage at the door may indicate a plugged or improperly installed drain.
SERVICE
Contact your local Hobart-authorized service office for any repairs or adjustments needed on this
equipment.


