


13
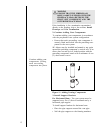
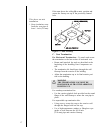
WARNING
ENSURE THAT THE FIBERGLASS
ROPE GASKET SUPPLIED WITH THE
FIREPLACE SEALS BETWEEN THE
FIRST VENT COMPONENT AND THE
OUTER FIREPLACE WRAP.
If the installation is for a termination cap attached
directly to the fireplace, skip to the sections, Install
Firestops and Vent Termination.
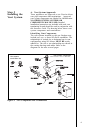
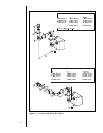
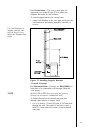
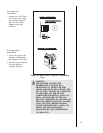
2. Continue Adding Vent Components
To continue adding vent components in accordance
with the pre-planned vent system configuration:
Ensure that each succeeding vent component is
securely fitted and locked into the preceding com-
ponent in the vent system.
90° elbows may be installed and rotated to any point
around the preceding components vertical axis. If an
elbow does not end up in a locked position with the
preceding component, attach with a minimum of two
(2) sheet metal screws.
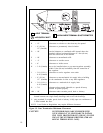
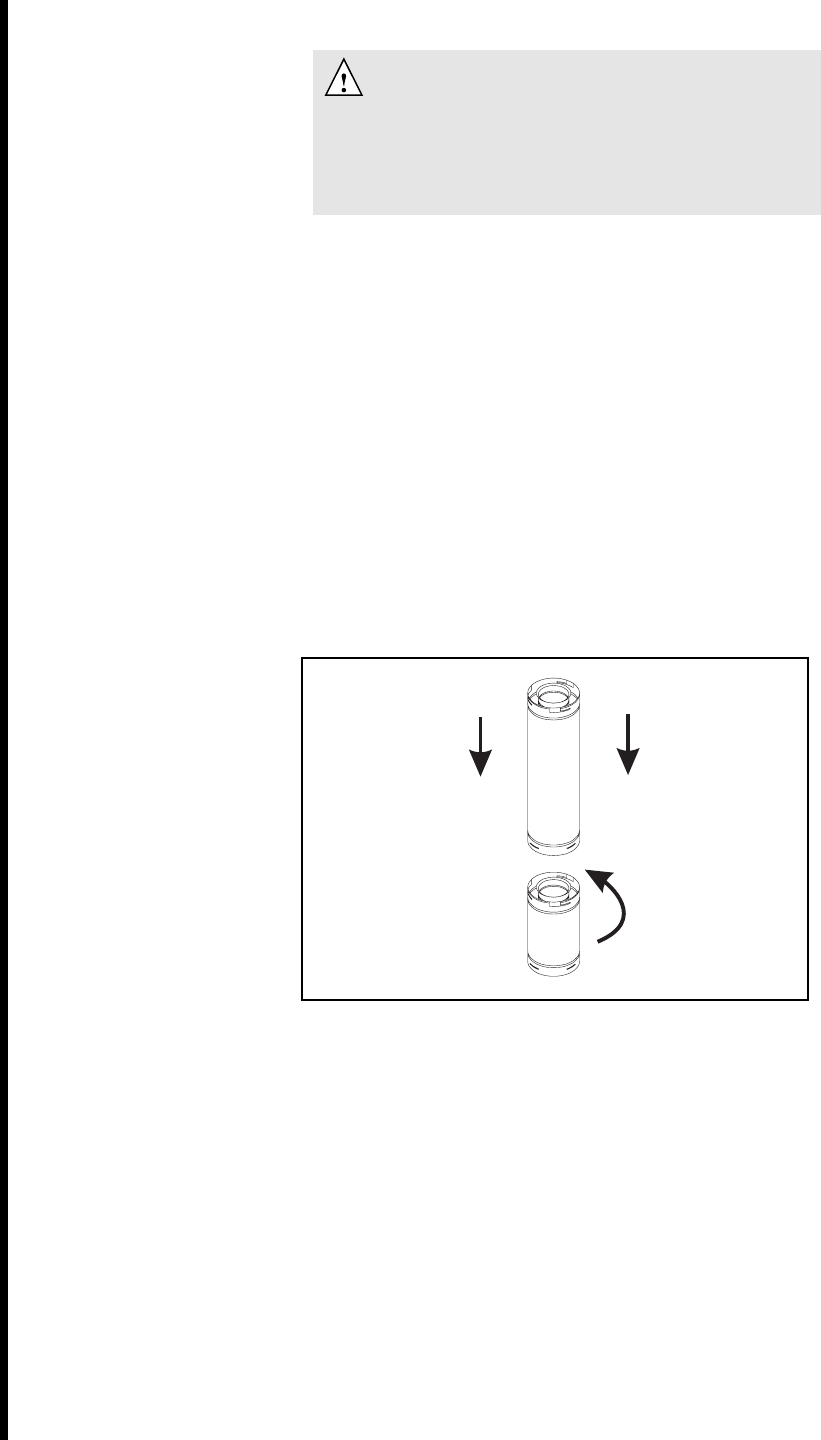
Continue adding vent
components, locking
each succeeding
component into place.
Figure 11. Adding Venting Components
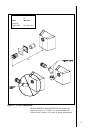
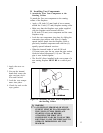
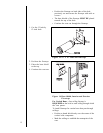
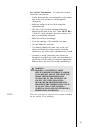
3. Install Support Brackets
For Horizontal Runs - The vent system must be
supported every five (5) feet of horizontal run by a
horizontal pipe support.
To install support brackets for horizontal runs:
Place the pipe supports around the vent pipe.
Nail the pipe supports to the framing members.