


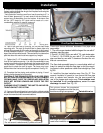

17
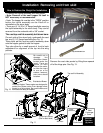
Installation
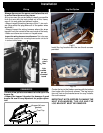
Cast Side Panel Installation
•
The stove body must be pulled out of the mounting
frame several inches to install the cast side panels.
•
Slide the cast side panel down over the hinge pins.
•
Slide the stove body in and latch into place.
•
Note: The cast side panels must be left in the open
position to allow access to the latches.
•
Slide the ash lip into place. (This would be inward
until the rear of the cast iron touches the mounting
frame front.)
•
Close the cast side panels.
•
Check the gap alignment and the top and bottom
gap spacing.
•
The top and bottom spacing can be adjusted by loos-
ening the 3 bolts and sliding the hinge up or down
until the spacing suits.
•
With the front door closed and latched, check the
vertical space alignment. The only method of chang-
ing or adjusting this gap is by bending (slightly) the
hinge angle. See fig. 39.
•
Due to the use of all cast iron parts, some small
amounts of misalignment are expected. Since some
parts are angled and some have rounded edges, this
misalignment is very seldom noticable.
•
It is very important that the cast side panels open
and close freely for good control board access.
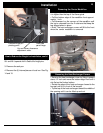
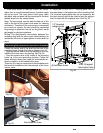
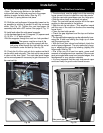
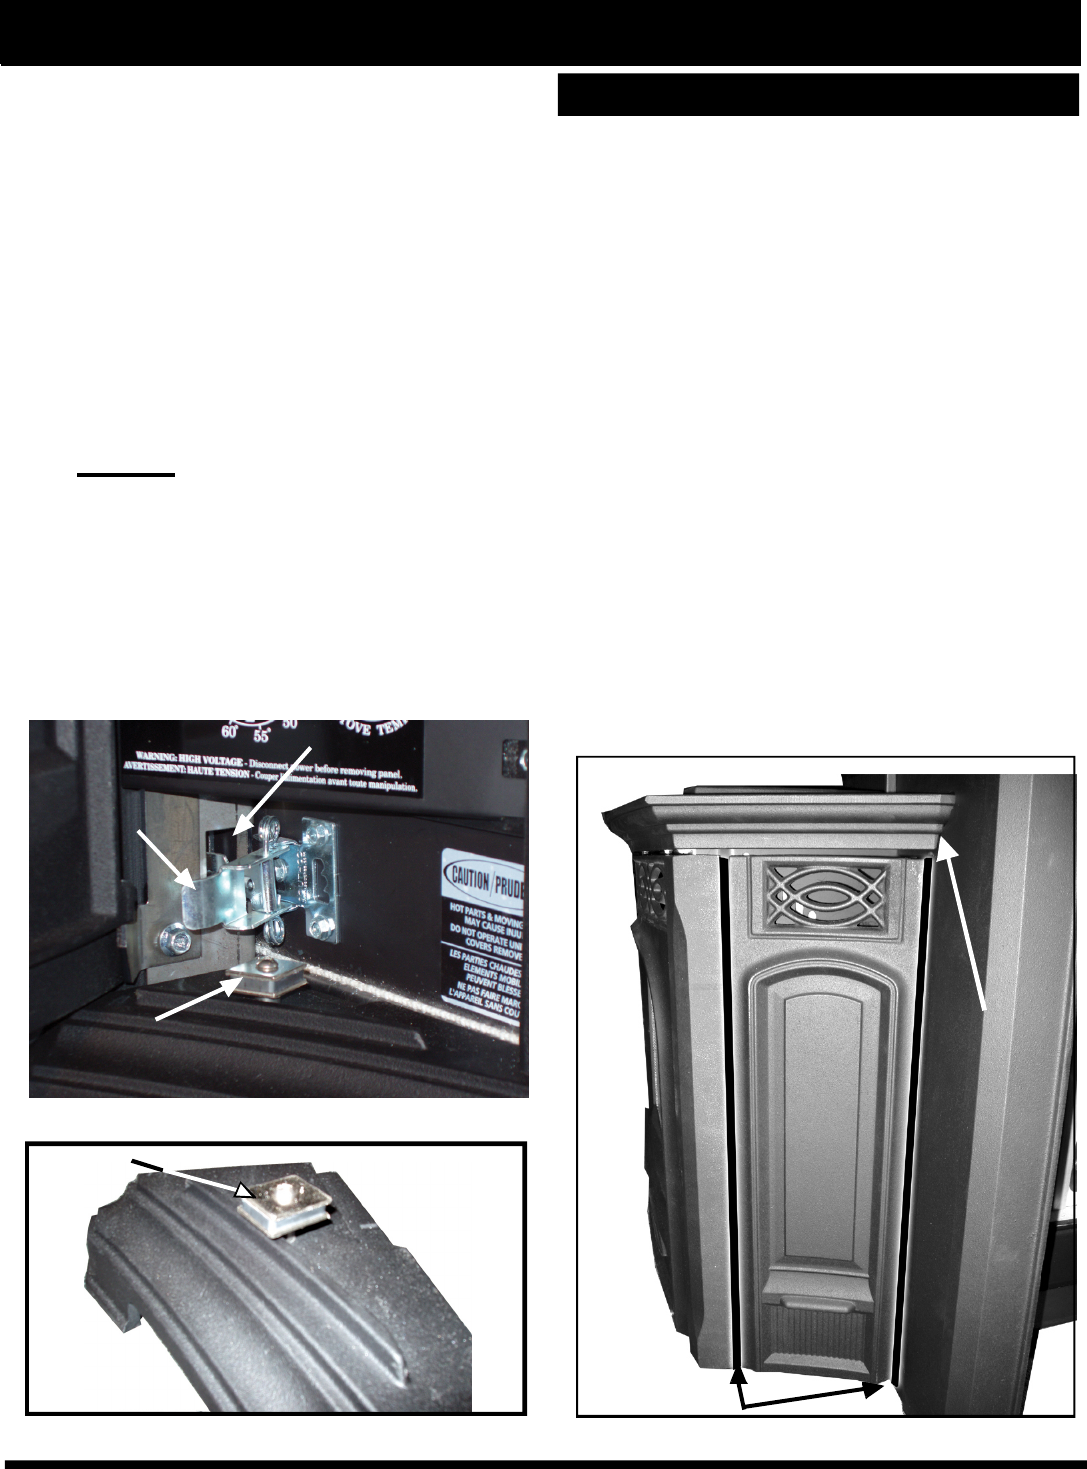
22. Slide the stove body into the mounting frame.
• Note: The two spring latches on the bottom
right and left side of the body must be in the proper
position to enter the latch holes. (See fig. 37).
• Latch the (2) spring latches into place.
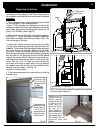
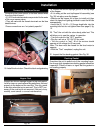
23. Shift the cast top/hopper lid assembly inward as far
as possible to achieve a parallel fit with the surround
sides. See Fig. 39. Tighten the cast top/hopper lid
assembly bolts with a 3/8" socket. See page 8, Fig. 12.
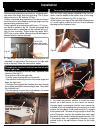
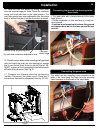
24.Install and adjust the side panel magnets.
•
In the hardware pack are (2) magnets, (2) spacers and
(2) 10-32 x 1 1/4" bolts and nuts.
•
Bolt the magnets through the cast iron hole provided.
Important: The spacer must be on top of the
hole, the magnet on top of the spacer with the
bolt going down through the hole with the nut at
the bottom, under the ash lip. See fig. 38.
25. Check the fit of the cast ash lip to make sure that it
can be slid in and out easily. The cast ash lip can remain
in place at this time. Note: The cast side panel hinges
can be moved upward if necessary to gain clearance for
the cast ash lip.
Fig. 37
Fig. 38
Spring Latch
Latch Hole
Magnet
Magnet
Fig. 39
Fit cast
top/
hopper
lid
parallel
with
surround.
Side panel gap
Fit cast
top/
hopper
lid
parallel
with
surround.
Evaluation notes were added to the output document. To get rid of these notes, please order your copy of ePrint IV now.