16
Installation
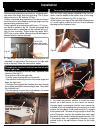
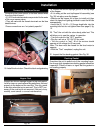
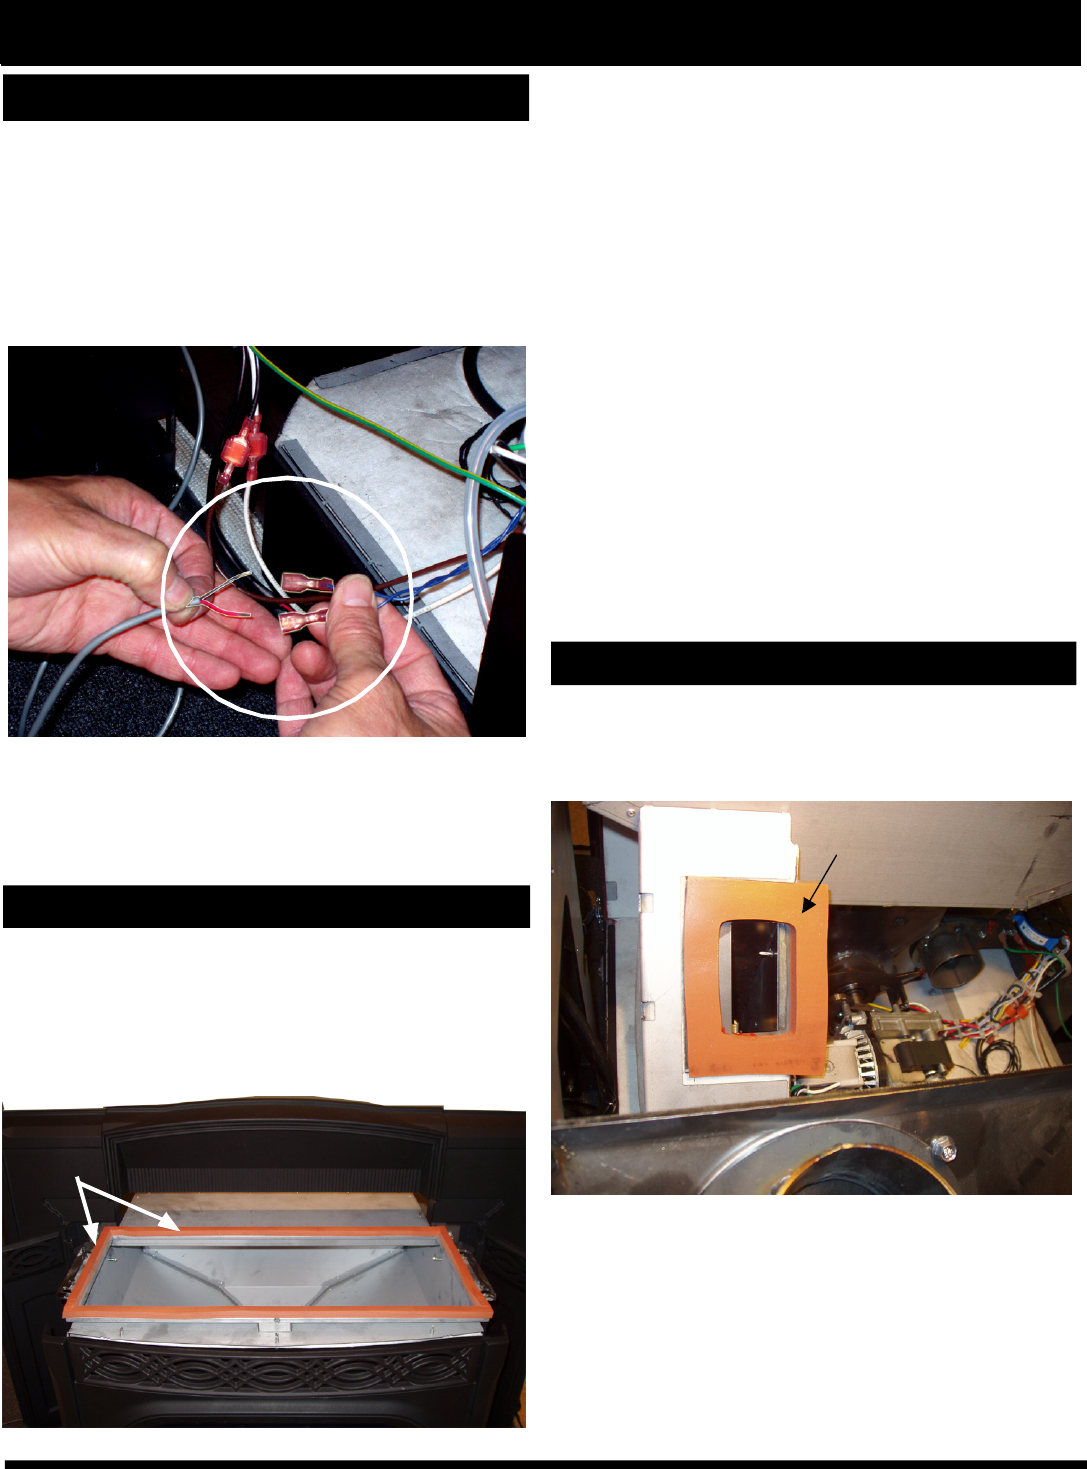
Connecting the Room Sensor
Connecting the room sensor to the blue twisted wires
from the control board:
• (2) 3/16 inch male terminals are provided for the ends
of the room sensor wires.
• They will mate with the female terminals on the blue
twisted wires.
•These connections are “not polarity specific.”
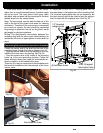
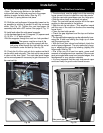
Hopper Seal
Inspect the silicone sponge hopper to top seal gasket.
Look for tears or areas where the gasket may not seal
properly to the bottom of the cast top. This only needs
to be done when the top is removed. This is NOT nec-
essary if the cast top is not removed. (Not part of any
monthly, semi-annual or annual maintenance.)
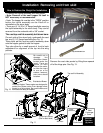
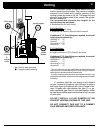
Fig. 34
Fig. 35
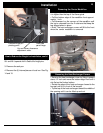
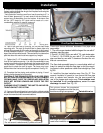
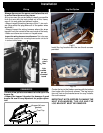
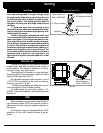
Docking Gasket
Everytime the unit is pulled out of the mounting frame,
the orange high temperature docking gasket should be
inspected. Check for tears or signs that the gasket is
not sealing properly.
Fig. 36
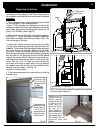
19. Inspect the silicone sponge gasket on the top edge
of the hopper.
•
If it is okay, put the cast top/hopper lid assembly (see
Fig. 35) into place over the hopper.
•
Make sure the hopper lid is open to install unit, then
close it to keep from getting pinched in case the lid falls
unexpectedly.
•
Insert the (4) 1/4-20 x 1/2 flange head bolts into the
mounting hole but do not tighten them.See page 8, fig.
12.
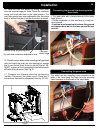
20. "Test" the unit with the stove body pulled out. This
will allow you to see the motors in operation.
• Turn the control to the "OFF" position.
• Plug the unit into a 120 VAC 60 hz outlet.
• Turn the control to "test". All of the motors should
operate at full voltage for 60 seconds.
Note: The door must be closed for the feed motor to
operate.
•
With the "Test" completed, unplug the unit.
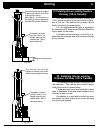
21. Inspect the flue docking gasket. See Fig. 36.
Hopper seal gasket (gray or orange)
18. Install the front door. Check the latch and gasketing.
Docking Gasket
Evaluation notes were added to the output document. To get rid of these notes, please order your copy of ePrint IV now.


