


2
6
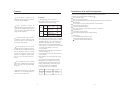
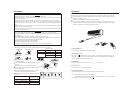
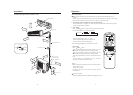
Localize the Installation:
Install the indoor unit where the weight of the unit can be supported.
Install the indoor unit where the head source and steam source are not close and the unit inlet and
outlet are not blocked.
Install the indoor unit where the drainage is easy and the outdoor unit can easily connected.
Install the indoor unit where its cold air and hot air can be easily sent to all the corners of the room.
Install the indoor unit where the power socket is near and there is sufficient space around the indoor
unit.
Install the indoor unit where there is no T.V set, radio set, and wireless appliance underneath, and the
sunlight lamp is over one meter away.
If the remote controller is installed on the wall, the indoor unit shall be ensured to receive the signal
while the sunlight lamp is on.
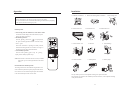
The location shall bear the weight of the unit and will not produce a big vibration and noise.
The location shall be in good ventilation,and the airflow blew out and noise produced shall not affect
the neighbors.
The location shall not be directly drenched in rain,sun,or blew by sea wind.
The location shall not be near anywhere the corrosive gas(SO ),flammable gas(thinner or gasoline),oil
mist,or steam are probably produced(for example in kitchen).
Sufficient space shall be left for air inlet and outlet.
The location shall be easily maintained and repaired.
It cannot be installed on a non-professional metal structure(like anti-burglary net).
2
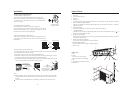
Indoor Unit
Outdoor Unit
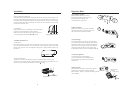
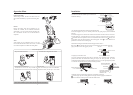
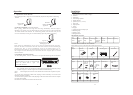
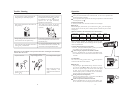
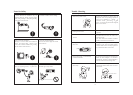
Method for Cutting and Expanding Pipes:
Piping Connection
When the pipe is too long or its mouth is damaged,the pipe needs to cut or expand.
1. Connecting Method
To ensure the efficiency,the pipe should be as short as
possible.
Apply refrigerant oil at half union and flare nut.
To bend a pipe,five the roundness as large as possible
not to crash the pipe.
When connecting pipe,hold the pipe center to center
then screw nut on by hand,refer to the Drawing.
Be careful not to let foreign matters,such as sands enter
the pipe.
Liquid hose
Gas hose
Expansion Size
Hose dia.
6.35 mm(1/4")
9.52 mm(3/8")
12.7 mm(1/2")
Size(mm)
0.8-1.5
1.0-1.8
1.2-2.0
Pipe dia.
Recommended
Fastening Torque
18 N.m
42 N.m
50 N.m
Liquid pipe 6.35mm(1/4")
Gas Pipe 9.52mm(3/8")
Gas Pipe 12.7mm(1/2")
Correct
Not Correct
Tilting burr
incomplete too long
cracks on
expanded
mouth
Spanner
Spanner
Refrigeration Oil
Connector Nut
A
Hose Expander
1.Cutting hose
3.Put on nut
2.Removing burr
4.Expand Hose
Installat
i
on
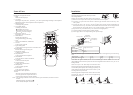
Remote Controller
,
s Operation
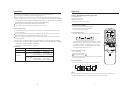
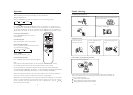
Loading of Batteries
Remove Battery Cover:
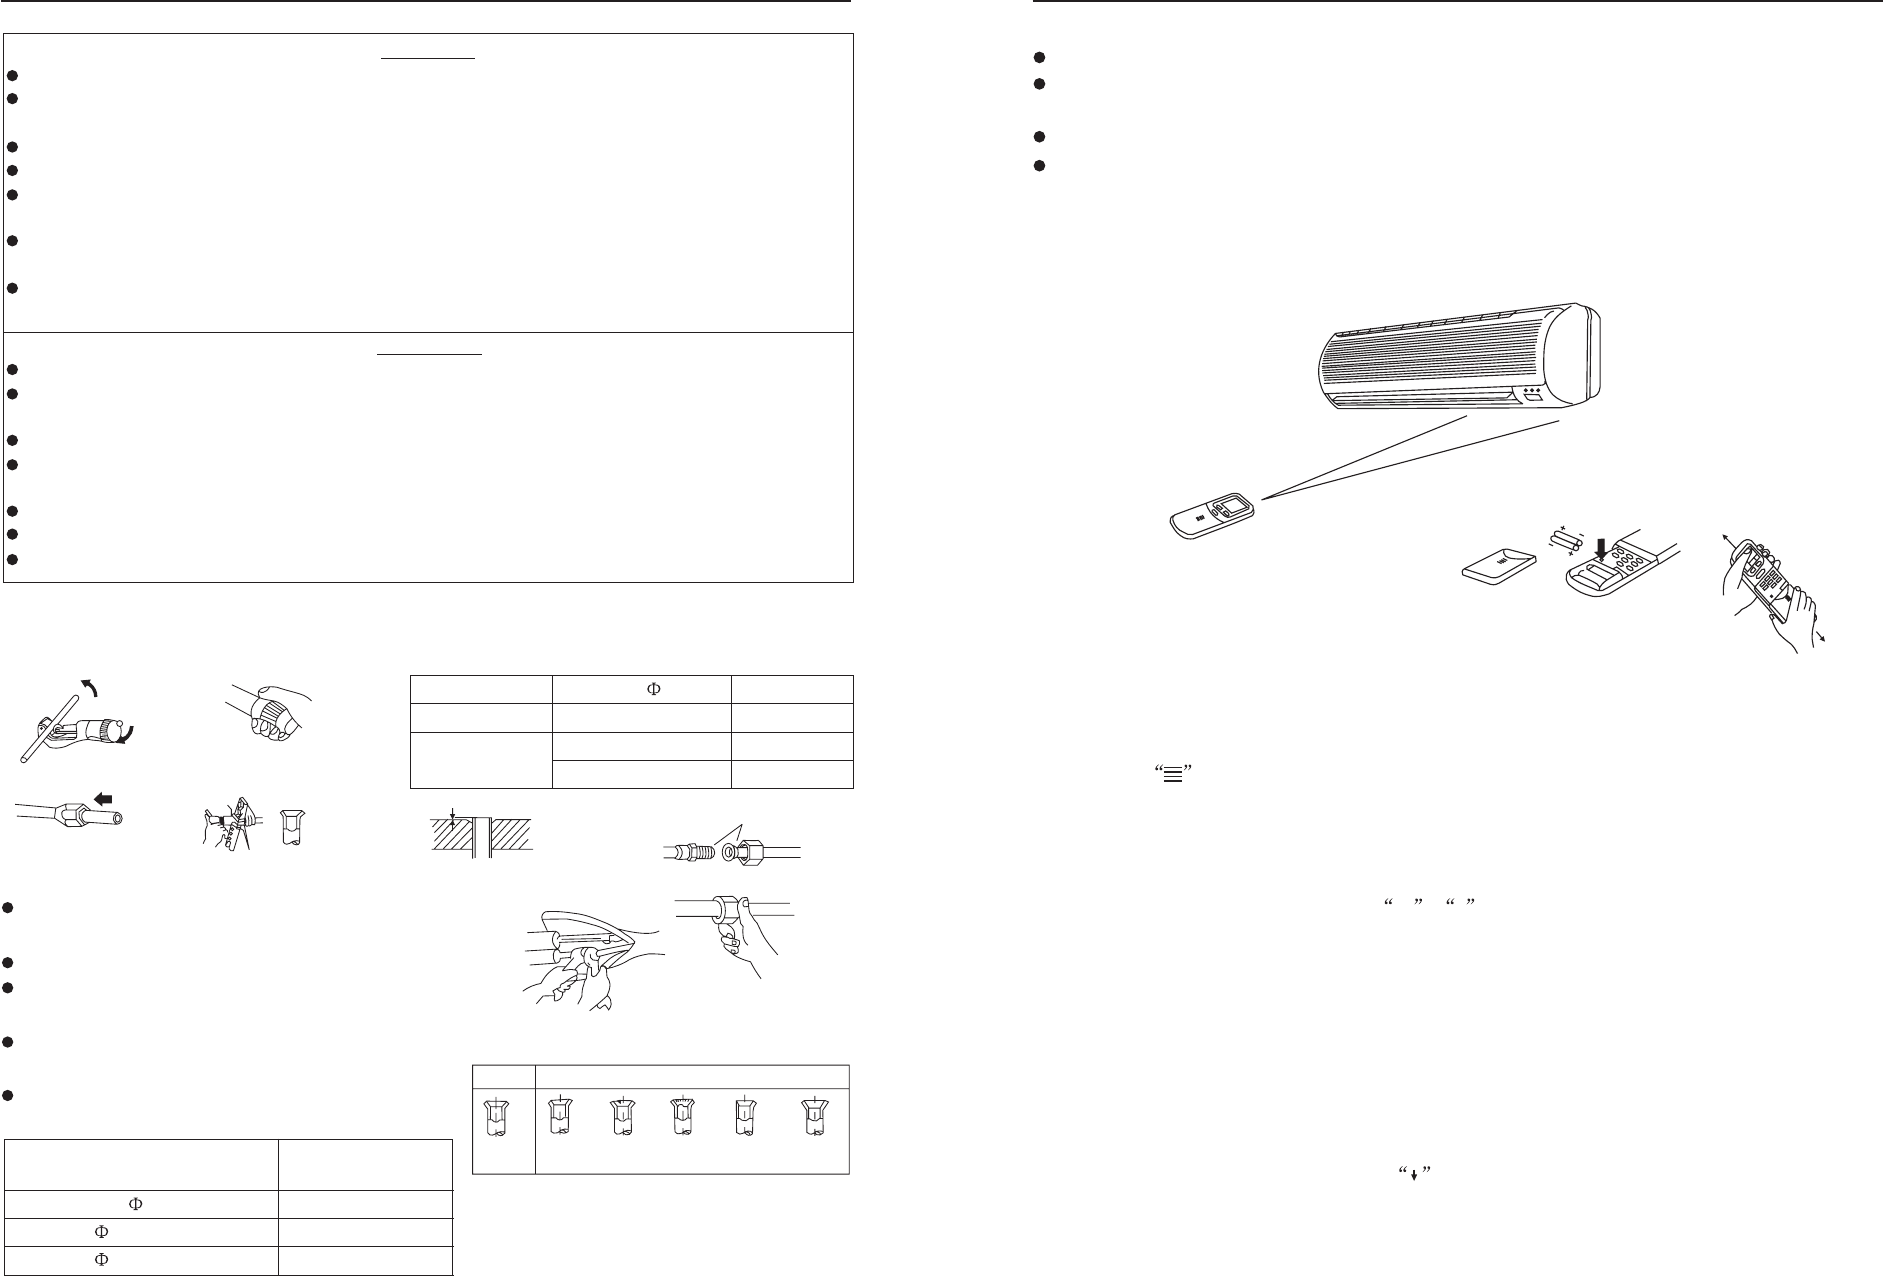
When in use, point the signal sending head directly to the receiver window on the indoor unit.
The distance between the signal sending head and the receiver window should be within 7 m
without any obstacle as well.
Don't throw the controller, prevent it from being damaged.
When electronic-started type fluorescent lamp or change-over type fluorescent lamp or
wireless telephone is installed in the room, the receiver is apt to be disturbed in receiving the
signals so the distance to the indoor unit should be shorter.
Load the batteries as illustrated in the drawing below:
Slightly press and push down the cover. Then , as the drawing, hold the upper end of
the remote controller with left hand, and slightly hold the cover with right hand, push slightly in
the arrow direction to remove the battery cover .
Be sure that the loading is in line with the + / - as illustrated.
Put back the cover in the reverse procedure.
If there is no display after pressing the on/off button, reload the batteries.
Notes: Use two same-typed batteries when loading.
If the remote controller cannot run normally or doesn't work at all, use a sharp pointed
item to press the reset button (with the mark ).
Load Batteries:
Put back Cover:
Confirmation Indicator:
7
Operat
i
on