


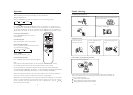
Cold Air Prevention
Defrost
Notes
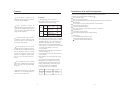
When heating is started, the fan in the indoor unit will
not be started immediately to prevent cold air being blew
out.
During the heating, when the heat exchanger in the
outdoor unit is frosted, the air conditioner will defrost
automatically for a few minutes. During the defrost, the
fan in the outdoor unit does not run until the defrost is
completed.
When heating, the air conditioner takes a lot of heat
from outdoor and release the heat into the room , therefore
the outdoor temperature will affect the heating effect.
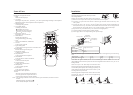
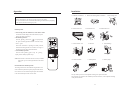
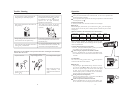
Adjust the air flow direction
Set a proper room temperature
Too cold and too hot are not only harmful for
health but also will consume too much electricity.
Notes: After installation, please confirm that the refrigerant is not leaked.
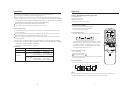
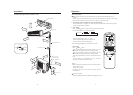
Use of Timer
Time set can make your room in a comfortable
temperature when you wake up or come back.
Avoid the direct sunlight and hot air flow
Instructions Operation
6
Wait a moment
Best
temperature
Operat
i
on H
i
nts
2
7
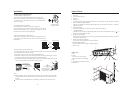
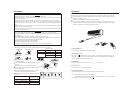
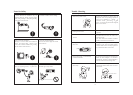
Installation of Indoor Unit
The indoor unit shall be installed as per the indoor unit
installation drawing:
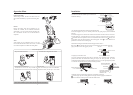
1.Fix the Mounting Plate and Localize the Wall-through Hole
Fix the mounting plate as per the selected position and the piping layout (see the installation
drawing).
Fix the mounting plate on a smooth wall surface under the beam or beside a column. First fix the
mounting plate with a steel nail,then level it with a level meter or a drop line, then fix it with A4
50 cement nails.If the expansion screws are used,first drill holes into the wall( 4.8mm), then
put the plastic sleeve into the holes,then fix the mounting plate with 4 25 screws. Measure the
position the wall hole with a measuring tape.
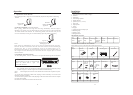
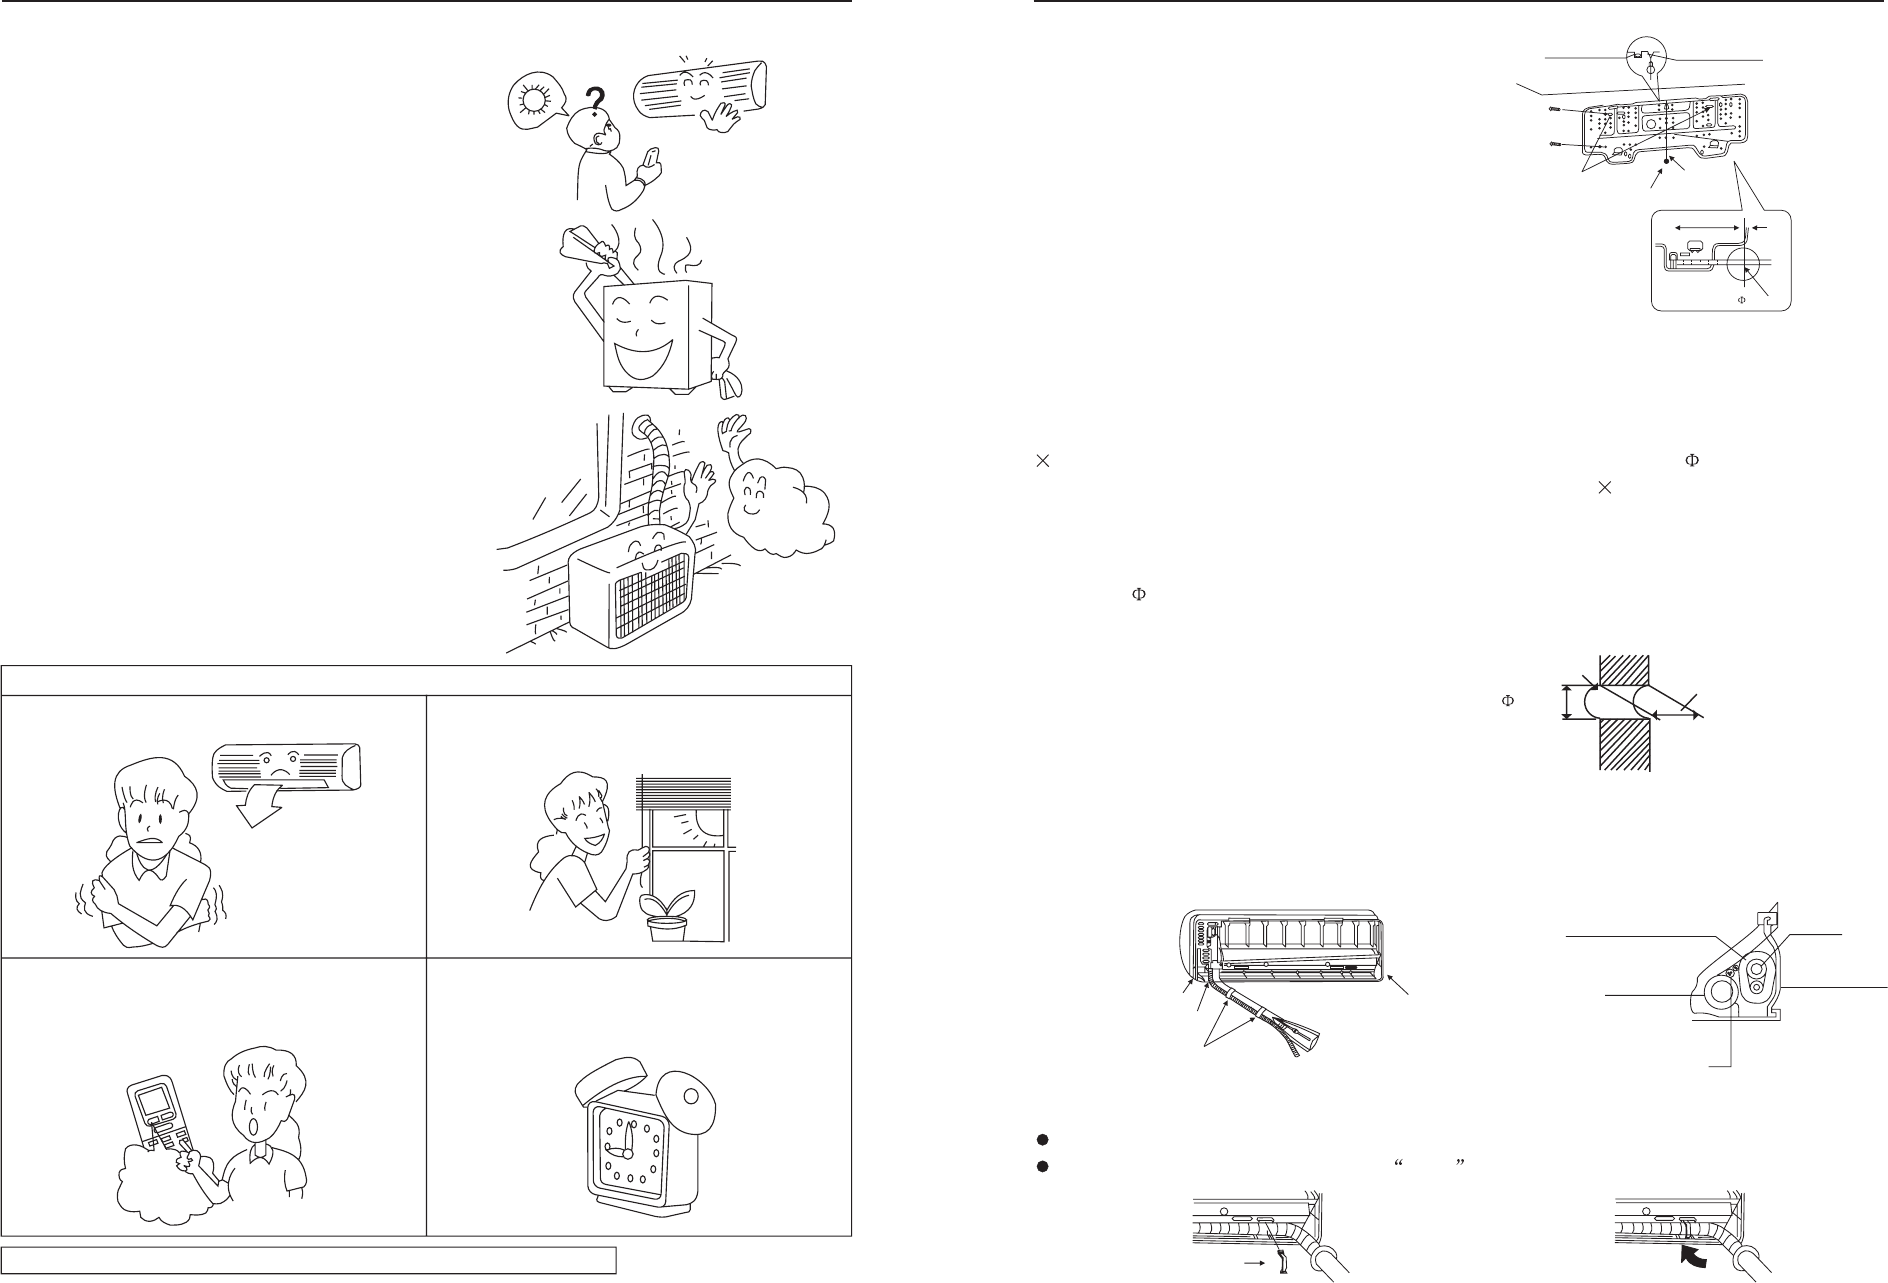
2.Drill a Hole through the Wall and Install the Piping Protective Sleeve
Drill a hole 60mm through the wall with the outer side slightly downward,then install the
piping sleeve,then seal it with gypsum powder.
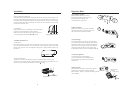
Installation of the Connection Pipe Clips(Left or Left-Back Connection):
Insert the pipe clip into the fixing position of the pipe with the upper part inserted first.
Press the bottom of the clip until a sound Ka Ta is heard.
3.Piping Layout for Indoor Unit
Lay out the connection pipe,drain pipe, and the connection wires according to the installation
position of the indoor and outdoor units. During the layout, the drain pipe shall be placed
underneath,and the connection wires shall be placed on the top; the drain pipe(especially indoor
or inside the unit)shall be wound up with the insulating material.
Pipe Clamp
Electrical Connection
between Indoor and
Outdoor Units
Drain Pipe
Insulating Material
Pipe
Pipe Clamp
Left Connection
Tape
Low Connect oni
Right Connection
(Section plan of wall hole)
Thickness of wall
Wall hole
60mm
Inter side Outer side
HangingWire
HolesforFixing
DroppingWeight
Wire
A145mm
A=185mm
60mm
Find outtheLevelPosition
DropWireHere
MountingPlate
3
Installat
i
on