WaterMax 60 Series Owner’s Manual 11/10/2008 14
Blending Valve
In some situations, the blending valve may be used to decrease water softness. The amount of hardness
blended back into the water line is determined by the hardness of the incoming water and the setting of the
blending valve. Where extremely hard water is present, the blending valve may only need to be “cracked” open.
Where the incoming water has relatively low levels of hardness, the blending valve will need to be opened
further.
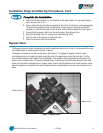
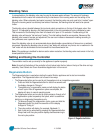
The blending valve is located between the input and output connections on the top of the bypass valve. See
Figure 3. It is adjusted by placing a flat blade screwdriver in the slot provided and turning clockwise to open.
Total movement of the blending valve from full closed to full open is 1/4 revolution. Precise setting of the
blending valve will require “trial and error” testing. The initial setting should be conservative. Because of the
blending valve’s ease of access and adjustment, the user can increase or decrease the setting according to
their preference over a period of time.
Use of the blending valve is not recommended where objectionable concentrations of ferrous iron or sediment
are present. Because the blending valve is mixing “raw” water with softened, any ferrous iron or sediment in the
“raw” water will also be blended and reintroduced into the softened water line.
Note: If the appliance is installed for barium and/or radium reduction, the blending valve must remain in the fully
closed position at all times.
Setting and Using the Controller
The controller must be set up correctly for the appliance to perform properly.
Note: Ensure that the bottom of the controller is firmly locked onto the four tabs on the top of the drive end cap
assembly. See Cabinet and Cover Assemblies diagram later in this manual.
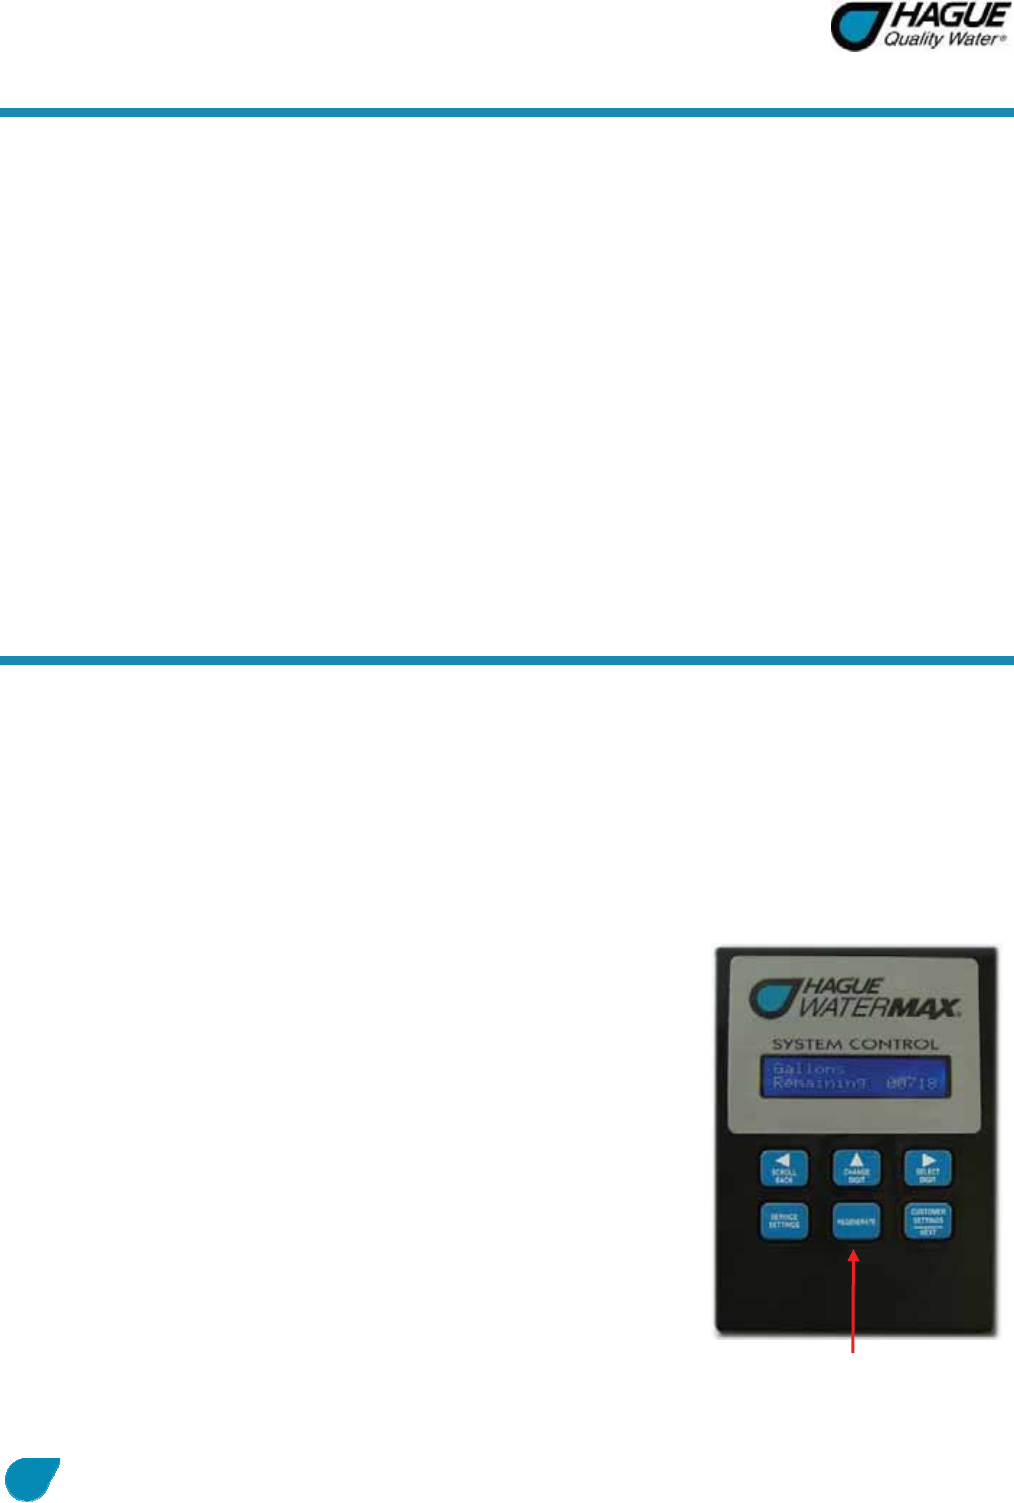
Regenerate Button
The Regenerate button is used when starting the water filtration appliance and to start an immediate
regeneration. The Regenerate button can be used in two ways:
1. The Regenerate button can be used to put the appliance into an immediate regeneration.
A. Press and hold the Regenerate button for about five seconds until
the display changes to “Going to.”
B. The appliance is in regeneration mode and will display the status
of each cycle. After all regeneration cycles are complete, the
display will return to normal operating mode.
2. The Regenerate button can be used to quickly advance through all of
the regeneration cycles to speed up the cycles, which is used when
starting up or diagnosing the appliance only.
A. To advance through the regeneration cycles, press and hold the
Regenerate button for about five seconds until the display
changes to “Going to.”
B. The cycle position will display (for example, Backwash 1).
C. Each cycle can be advanced by pressing the Regenerate button.
Always wait until the cycle position displays before advancing to
the next cycle position.
Figure 4: Regenerate Button


