Troubleshooting
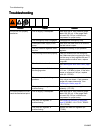
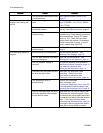
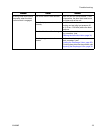
ProblemProblem
Problem
CauseCause
Cause
SolutionSolution
Solution
The pneumatic blast control circuit
is malfunctioning.
See Pneumatic Blast Control Circuit,
page 27.
The main air regulator is stuck
open.
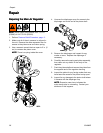
See Repairing the Main Air Regulator,
page 28 (EQ600 – Kit 17C131, EQ300
– Kit 17C129).
The blast control tubing is not
connected properly.
Ensure air tubing is routed and connected
properly. See Hose Schematic, page 42.
Electric blast control circuit is
malfunctioning.
Inspect hose cable for damaged or
shorted wiring. Check battery and control
panel connections. Ensure DC power
source is 12V. Check 3A fuse inside
control panel and replace it if necessary.
Check current ow in circuit, if current
exists, replace relay (EQ5179).
The blast control is not
engaged but blasting still
occurs.
Pneumatic blast control circuit is
malfunctioning.
See Pneumatic Blast Control Circuit,
page 27.
Incorrect abrasive is being used.
Use the correct abrasive. See
Metering Valve Settings, page 16.
The pot does not have a sufcient
amount of abrasive.
Rell the pot with abrasive. See
Relling the Pot with Abrasive, page 18.
The pot pressure setting is
incorrect.
Perform the pressure relief procedure
(see Pressure Relief Procedure, page 8 )
and reset pot pressure (see
Setting Up the Equipment, page 11).
The Auto-Vent valve does not vent
air when the pot is lled.
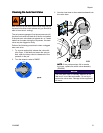
Make sure the Auto-Vent valve
is working. Perform the Auto-
Vent cleaning procedure (see
Cleaning the Auto-Vent Valve, page 31).
The diaphragm valve is
malfunctioning.
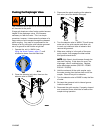
Perform the diaphragm
ush procedure (see
Flushing the Diaphragm Valve, page 29).
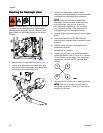
If ushing does not solve problem, see
Repairing the Diaphragm Valve, page 30.
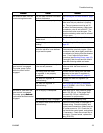
The blast spray pattern is
irregular.
There is blockage inside the pot or
inside the abrasive hose between
the pot and the panel.
Make sure the ball valve is closed, then
disconnect the cam-lock coupler. Open
the abrasive ball valve slightly and make
sure abrasive is owing form the abrasive
hose. If not, follow the shut down
procedure (see Shutting Down, page 19).
Thoroughly ush the pot and the media
hose after draining media and water.
24
334666B


