17
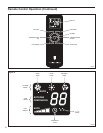
SET POINT
F
AUTO FAN
Timer Start Time
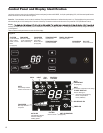
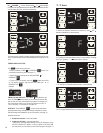
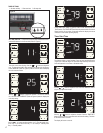
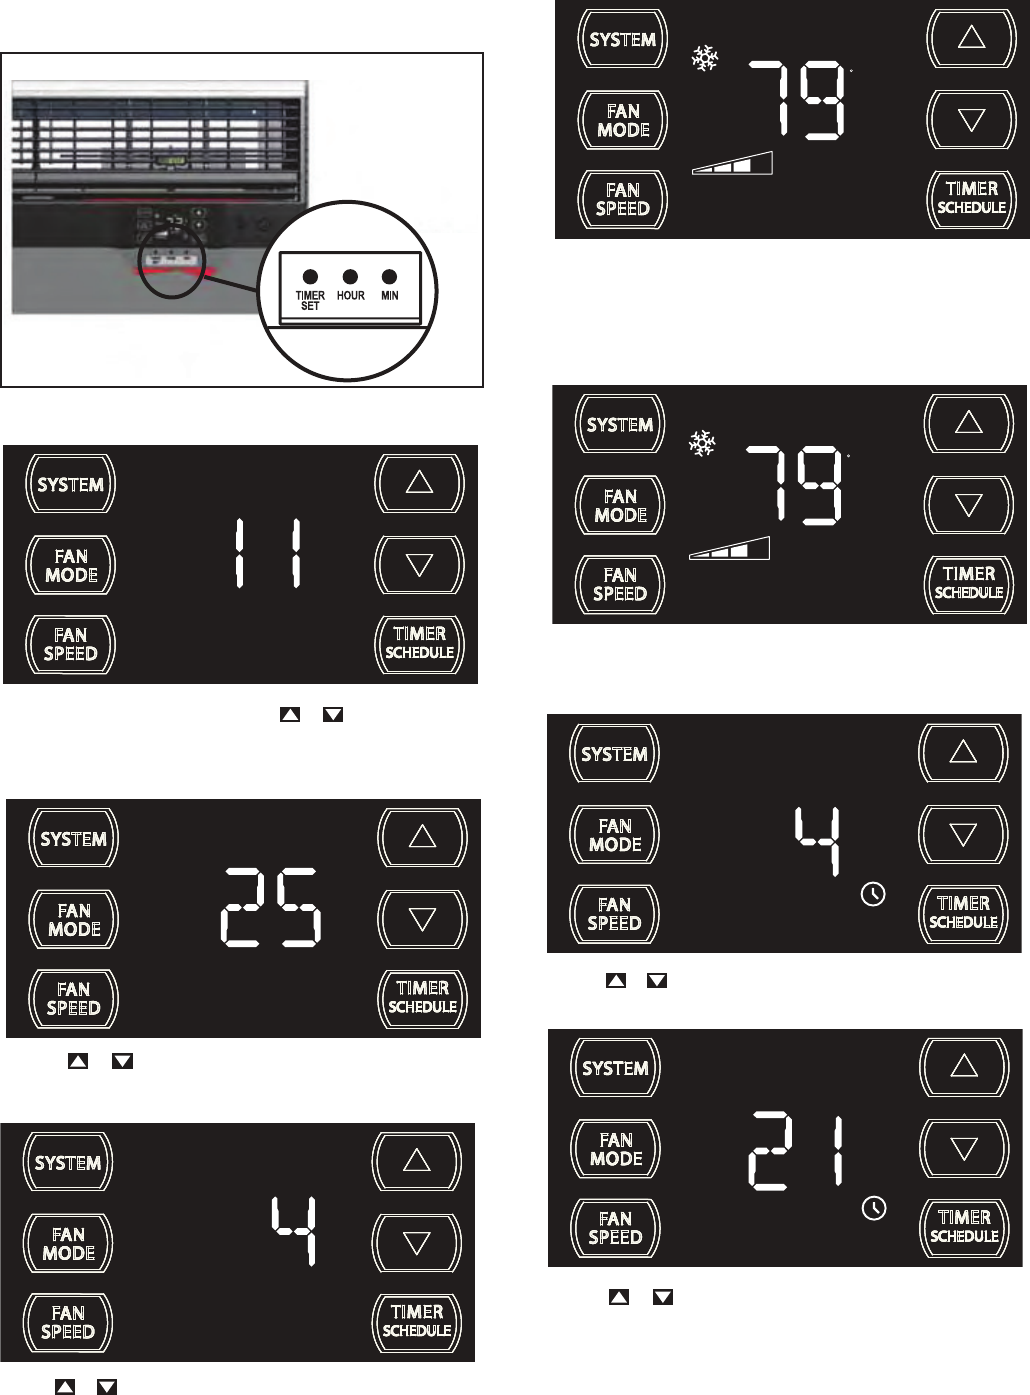
The display shows a normal system. Press and hold the HOUR button
(Figure 4) for 3 seconds. Note: The Timer start-stop times may be set even
when the system is in the Timer or Schedule mode.
FRR140
AM
ON
FRR141
Use the or button to adjust the hour. Press the TIMER SET button
(Figure 4) to adjust the minutes.
ON
FRR142
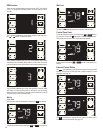
Use the or button to adjust the minutes. Press the TIMER SET
button (Figure 4) within 15 seconds to exit and save the setting. The timer
is now set to start at 4:21 AM.
The display will return to normal.
TIMER SETTINGS
1. Set time and day 2. Set start time 3. Set stop time
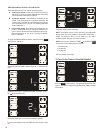
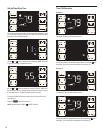
SET TIME AND DAY - To adjust the unit's time press and hold the HOUR
and the MIN buttons for three seconds (Refer to Figure 4).
AM
FRR128
FRR129
The unit's current hour displays. Use the or buttons to adjust the
hour. To change from AM to PM continue to increment (roll) the display.
Press TIMER SET (Refer to Figure 4) button to save the hour and display
the unit’s current minutes.
Use the
or buttons to adjust the minutes. The clock is now set
for 11:25 AM. Press TIMER SET (Refer to Figure 4) button to display the
unit's day setting.
FRR130
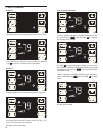
Use the or buttons to adjust the day (1 to 7). The day setting is up
to the user. If you set the current day = 1. So if today is Tuesday, then
Day 1 = Tuesday, select 1.
SET POINT
F
AUTO FAN
FRR131
Press TIMER SET (Refer to Figure 4) button to exit and save the SET
TIME function. The TIMER SET button must be pressed within 15 second.
Button inactivity for more than 15 seconds causes the display to time out
and return to the normal operating display.
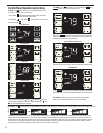
Figure 4


