16
NOTE: The schedule options 1 and 2 have factory pre-programmed
settings which can only be changed by using the WiFi FriedrichLink™
adaptor (an accessory). With it, you can create your own custom
schedule program. See page 10 for more information.
NOTE: Once you have selected the TIMER or SCHEDULE
we must first set the following before turning it on.
1. Set time and day
2. Set start time
3. Set stop time
See timer settings on next page.
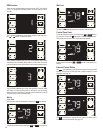
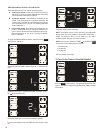
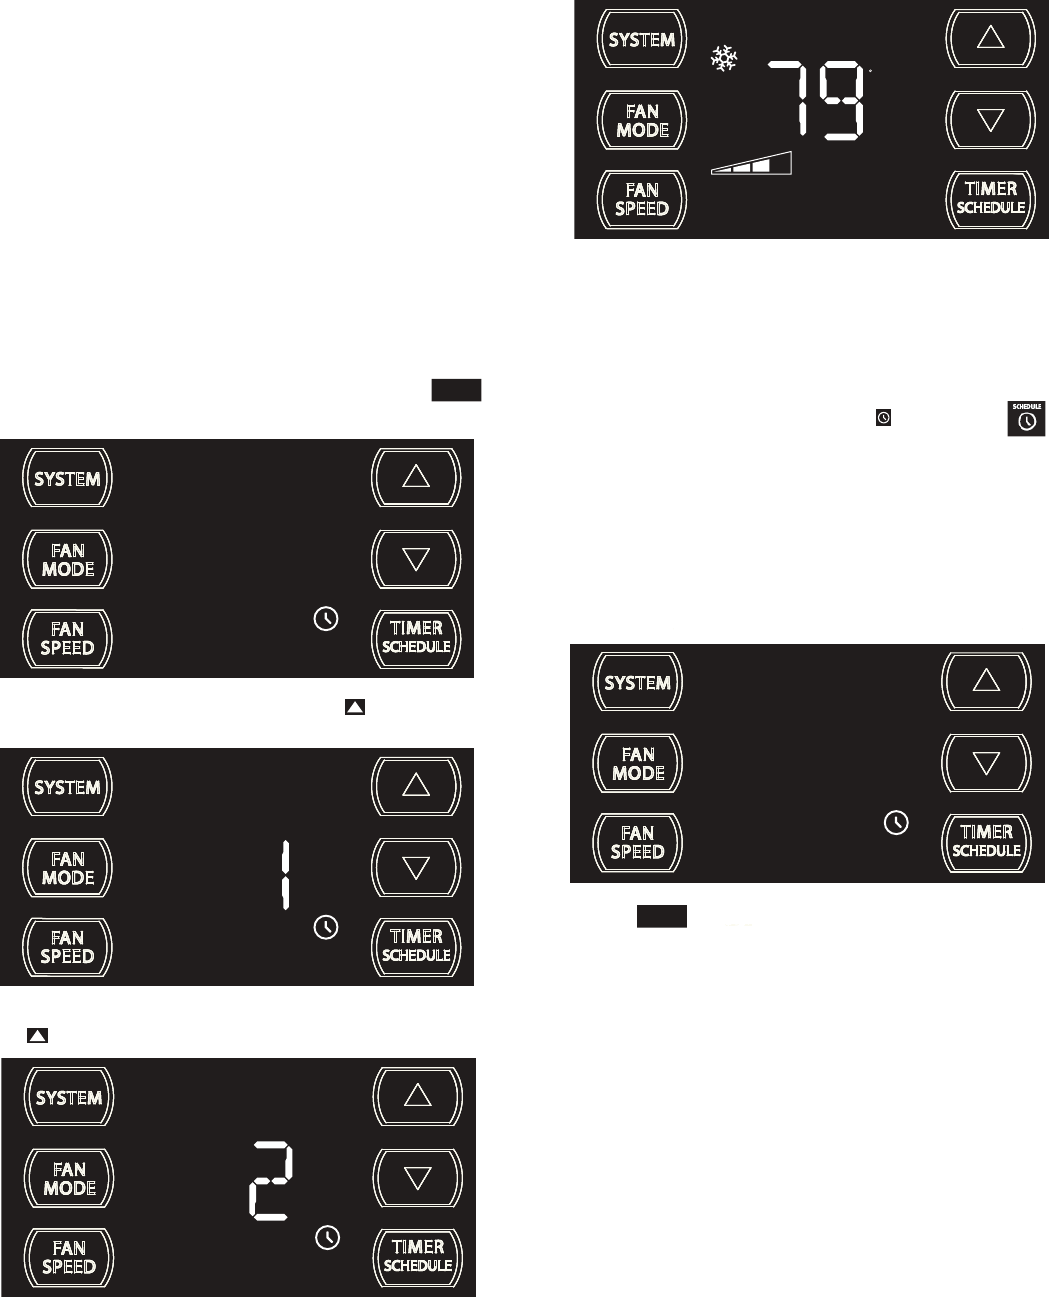
The display shows option 2 (Commercial Schedule) is selected.
To save and exit selection, press the TIMER SET button (Figure 4, Page
18).
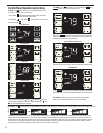
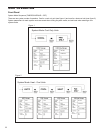
The control system has one Timer and two Schedule functions:
A. Timer (factory default) - Allows you to command the unit to turn
ON and OFF at a time you program. Setting the start, stop and day
can be found latter in this manual on page 18.
B.
SCHEDULE
FRR137
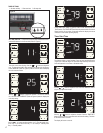
To change the TIMER/SCHEDULE selection, press and hold the
button for 3 sec, then let go.
The display shows the TIMER is selected. Press the button once and
let go.
SCHEDULE
FRR138
TIMER OR SCHEDULE OPTIONS 1 OR 2 SELECTION
C.
Residential Schedule - When selection #1 is selected, the unit
follows a pre-programmed set of operational parameters that
covers 5 days of the week with 4 time windows during each day.
Each time window has it's own set of 8 operating parameters.
Refer to Addendum 1.
Commercial Schedule - When selection #2 is selected, the unit
follows a pre-programmed set of operational parameters that
covers 7 days of the week with 2 time windows during each day.
Each time window has it's own set of 8 operating parameters.
Refer
to Addendum 1.
TIMER
SCHEDULE
FRR139
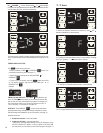
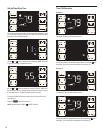
The display shows option 1 (Residential Schedule) is selected. Press
the button once and let go.
SET POINT
F
AUTO FAN
FRR136
The display reverts to the normal display.
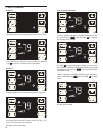
To Turn On the Timer or Schedule Selected
FRR139
Press the button and let go. The system will operate in the mode
option (1, 2 or Timer) you selected. At the above image, TIMER is selected
and turned on.
TIMER
SCHEDULE


