15
MODEL F80A
S
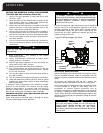
ETTING THE MANIFOLD (Outlet) GAS PRESSURE
(F92-1003 36G Valve Pressure Check Kit)
1. Shut off the gas upstream of valve and move valve
switch to “OFF”.
2. Using the 3/32 inch hex wrench that is included in the
v
alve pressure check kit, rotate outlet pressure tap
s
crew one revolution counter-clockwise.
3
. Attach the 5/16 inch hose that is included in the valve
pressure check kit to the outlet pressure boss of the
valve. Hose should overlap boss 3/8 inch.
4. Connect 5/16 inch side of connector that is included in
the valve pressure check kit to the hose on outlet boss.
C
onnect 1/4 inch side of connector to manometer hose.
5. Turn on gas supply to valve and move valve switch to
the “ON” position.
6. Turn on furnace following manufacturer’s instructions.
7. Using a leak detection solution check for leaks at hose
connections.
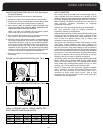
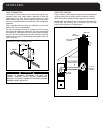
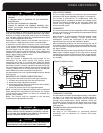
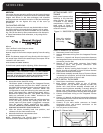
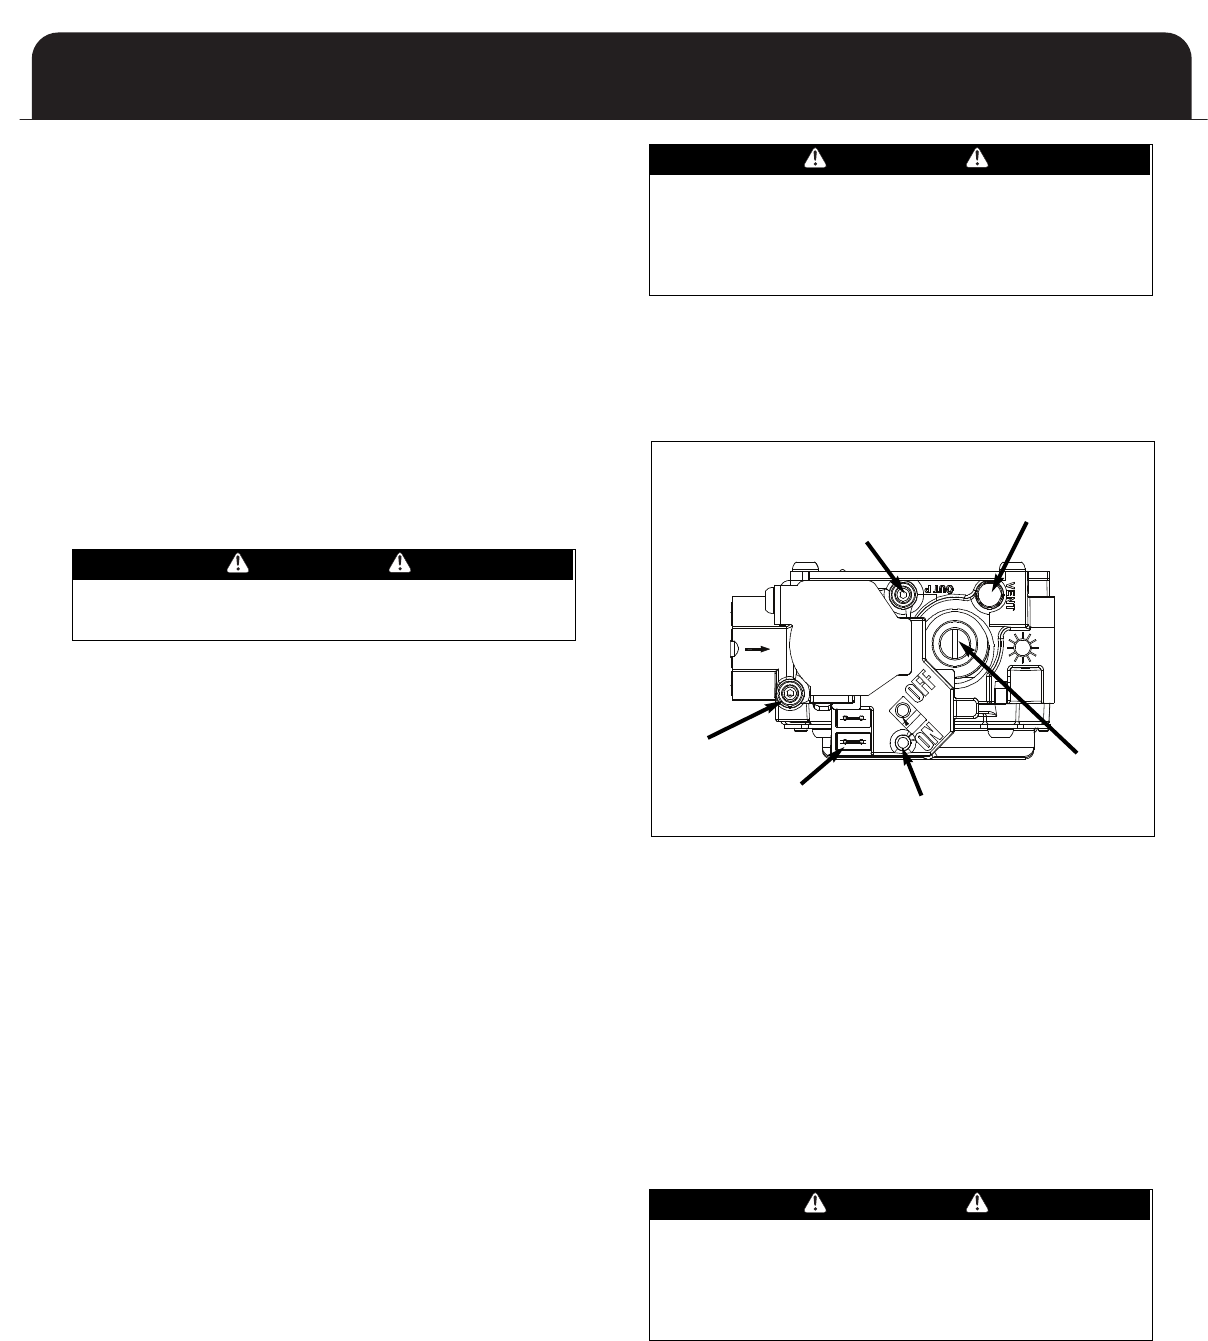
Figure 8: White-Rodgers Gas valve
DANGER
A
TRAINED, QUALIFIED TECHNICIAN MUST DO ALL
REGULATOR ADJUSTMENTS. IMPROPER MODIFICATIONS
OR ADJUSTMENTS CAN RESULT IN FIRE OR EXPLOSION
CAUSING PROPERTY DAMAGE, SEVERE PERSONAL
INJURY OR LOSS OF LIFE.
In some circumstances, high inlet pressure can be remedied
with the use of an inline appliance regulator. If an inline
appliance regulator is used, ensure that it has the capacity
t
o adequately handle the gas volume required by the
furnace and any other appliances receiving gas from the
header serving the furnace.
ELECTRICAL SPECIFICATIONS
Before proceeding with the electrical connections, ensure
that the available electrical supply is compatible with the
voltage, frequency, and phase listed on the appliance rating
plate.
All furnaces are rated 120 VAC, 60 Hz, 1 phase. The
amperage rating is indicated on the furnace rating plate.
Each furnace requires a dedicated overcurrent device either
a circuit breaker or a Type D, time delay fuse. It is
permissible to connect furnace accessories such as
humidifier transformers, condensate pumps and electronic
air cleaners. If adding accessory equipment to the furnace
circuit, ensure that the combined amperages listed on the
appliance rating plates do not exceed the rating of the over
current device.
DANGER
SHUT OFF ELECTRICAL POWER AT THE FUSE BOX OR
SERVICE PANEL BEFORE MAKING ANY ELECTRICAL
CONNECTIONS. FAILURE TO DO SO CAN CAUSE
ELECTRICAL SHOCK RESUL
TING IN PERSONAL INJUR
Y OR
LOSS OF LIFE.
DANGER
SHUT OFF GAS AND FIX LEAKS IMMEDIATELY BEFORE
PROCEEDING.
Outlet
Pressure
Boss
Inlet
Pressure
Boss
(Optional)
Regulator
Vent
On/Off Switch
Regulator
Adjustment
Connection
Terminals
8. Read manometer. This reading is the system
outlet/supply pressure.
9. Follow manufacturer’s instructions to adjust outlet
/supply pressure, if necessary.
10. Shut off gas supply upstream of valve and move the
valve switch to the “OFF” position.
11. Remove manometer and hose from outlet boss.
12. Turn outlet pressure tap screw clockwise to seal the
pressure point using the supplied hex wrench. Tighten
to 13 in-lbs. minimum.
13. Turn on gas supply to valve and move valve switch to
the “ON” position.
14. Turn on furnace following manufacturer’s instructions.
15. Using leak detection solution check for leaks at outlet
pressure tap. Shut off gas and fix all leaks immediately
before proceeding.
If problems were encountered with obtaining enough
pressure on the manifold, first examine the gas piping
system to ensure that it is correctly sized. Pipe sizing is
specified in ANSI Z223.1 / NFPA 54 in the U.S., or the B148
Natural Gas and Propane Installation Code in Canada.
CHECKING THE SUPPLY (Inlet) GAS PRESSURE (F92-1003
Valve Pressure Check Kit)
Check inlet pressure following steps 1 through 15 above
using the inlet/supply pressure tap boss.


