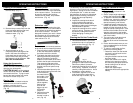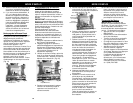
Fig. 19
Threads
Beater Brush
OPERATING INSTRUCTIONS
9
Clearing Blockages
IMPORTANT: Damages caused while
clearing or attempting to clear blockages
are not covered under your product’s
limited warranty.
CAUTION: Beware of sharp objects
when clearing blockages.
IMPORTANT: Replace parts of the
vacuum securely before using again.
WARNING: Turn off and unplug the
unit before searching for or removing
any blockage or debris.
Occasionally the vacuum may become
blocked by a build up of debris which will
require cleaning. To reduce the risk of
electric shock, the power cord must be
disconnected before clearing a blockage
or performing maintenance or trouble
shooting checks.
If you suspect there is a blockage, it is
important to locate where it is. Once
found, carefully remove it using an
appropriate tool that will not cause
damage to yourself, the unit or anything
else. Follow the following steps to try to
find the blockage.
1. First make sure that the dust cup,
dust cup screen, filter and pre-motor
filter frame are free of debris as this
may cause poor suction if dirty.
2. Be sure to check all the accessories
for blockages as well as different
parts of the vacuum cleaner. Shine
a light through them to see if there
is anything lodged inside.
3. If you are using the handle as an
extension, be sure to check inside
the handle as well.
4. Check the flexible hose for blockages
by removing the hose from the hose
connector. The other end may be
detached as well by squeezing the
ribbed tabs on the sides of the hose
and pulling. Straighten the hose and
shine a light through in order to find
any blockages.
5. Check inside both openings where
the two ends of the hose were
attached to the main body.
6. There is an intake opening where
the beater brush is underneath the
unit where debris may collect,
reducing suction. You can check
this area by releasing the handle
with the handle release pedal to
make the vacuum cleaner straight.
Lay the vacuum on it’s front and look
inside the opening with the aid of a
flashlight.
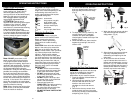
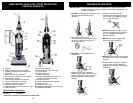
Cleaning the Beater Brush
To inspect the beater brush, release the
handle with the handle release pedal to
make the vacuum cleaner straight and
lay the vacuum on it’s front to expose
the beater brush on the bottom of the
unit. An accumulation of hair, string,
thread and other debris may become
caught and wrap around the beater
brush. The beater brush must be free of
debris for effective cleaning. If a build-
up of debris is present, remove by
carefully cutting with scissors. Avoid
damaging or cutting the bristles.
(Fig. 19)
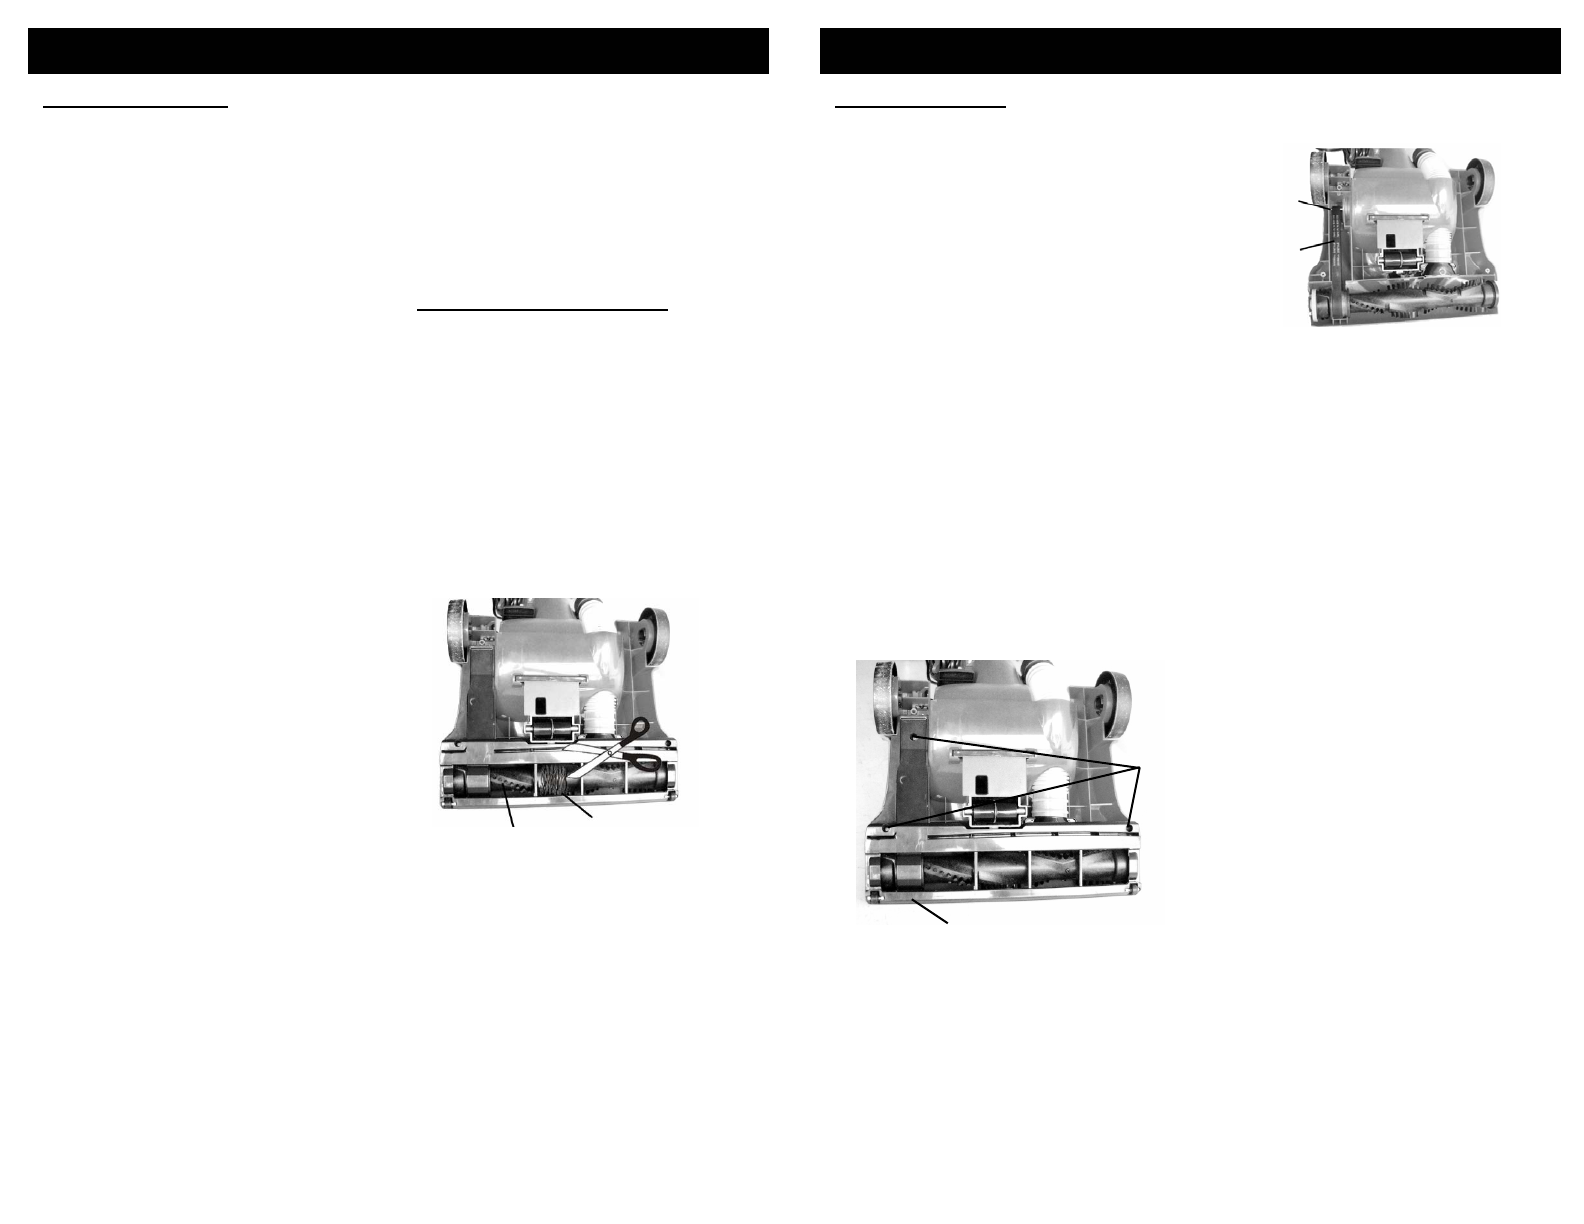
Fig. 21
Motor Drive
Shaft
Drive
Belt
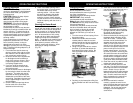
Fig. 20
Screws
Base Plate
OPERATING INSTRUCTIONS
4. Carefully pry the base plate off by first
pulling forward from the front and lifting
up.
10
6. Remove the beater brush by lifting
the right side first, then the left side.
Be careful as the belt is being
stretched and has tension.
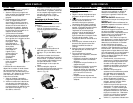
7. Remove the belt by first sliding it off
the beater brush and then off the
motor drive shaft. To better reach
the other end of the belt where it is
wrapped around the motor drive
shaft, you can lay the vacuum
cleaner on it’s right side and remove
the small cover panel located on the
power nozzle just in front of the
handle release pedal. It is held on
by three (3) screws. Removing this
will reveal the motor drive shaft and
provide easier access to the part of
the belt which is wrapped around it.
Be sure to set the screws and small
cover panel aside somewhere safe.
8. Clean the area of any debris or belt
residue that may be present.
9. Install the new belt just as the old
one was. First loop it onto the motor
drive shaft and then onto the beater
brush. Stretch it as you put the
beater brush back into place starting
with the left side first, then the right
side. Check to make sure that the
belt is centered on the motor drive
shaft and that the beater brush
rotates.
10.Once the new belt is installed
correctly, replace the small cover
panel and base plate and ensure that
all the screws are back in place and
tightened. Do not turn the screws
too tightly to avoid stripping the
screw holes.
Changing the Belt
WARNING: To reduce the risk of electric
shock, the power cord must be
disconnected before removing the dust
cup, filter or performing
maintenance/trouble shooting checks.
IMPORTANT: Only use belts
recommended by the manufacturer.
Note: Be very careful with the new belt
and DO NOT use any sharp tools to install
it that could damage it.
Occasionally the power nozzle drive belt
that turns the beater brush will become
worn or break or start to slip and will
require changing, the frequency will
depend on how much your vacuum is
used.
1. Turn the vacuum off and unplug it from
the power supply.
2. Release the handle with the handle
release pedal to make the vacuum
cleaner straight and lay the vacuum on
it’s front so you can see the bottom of
the vacuum clearly.
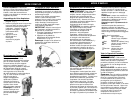
3. Using a Philips screw driver, remove
the three (3) screws that attach the
base plate to the power nozzle. Be
sure to set them aside somewhere
safe. (Fig. 20)
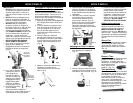
5. Take note of where the belt is so that
you can be sure that the new one is
in the same position. (Fig. 21)


