Seven Step Installation
Congratulations on the purchase of your new
central vacuum system. It will make cleaning your
home easier and improve indoor air quality. The
system typically can be installed in virtually any home
with no costly alterations and very little mess. This
guide will show how to install your central vacuum
system in your home in just seven steps.
Before you begin installation, read this guide. Also
review local building codes so your installation
complies with them.
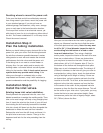
Components of a central vacuum system
installation.
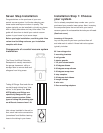
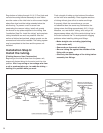
The Power Unit/Dust Collection
Receptacle is usually mounted in
the garage, basement, utility or
storage room to remove dust and
allergens from living areas.
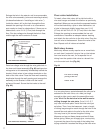
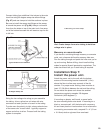
Tubing & Fittings: Dust and dirt are
carried through tubing from “inlet
valves” to the power unit. Note:
ASTM tubing and fi ttings are
specifi cally designed for your
central vacuum system. Other
types of tubing like plumbing pipe
are different sizes and won’t fi t.
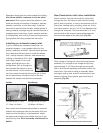
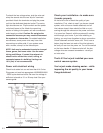
Inlet valves: Installed in the wall or
fl oor, each inlet valve connects the
“powerhead” and fl exible cleaning
hose to the tubing in your home.
Installation Step 1: Choose
your system.
You’ve already completed step number one...you’ve
purchased your powerful new system. Next, inventory
the component parts that arrived with your central
vacuum system kit and assemble the tools you will need.
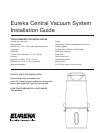
(See front cover.)
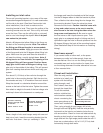
Inventory all the parts.
Lay out the parts so you know you have them all
and what each is called. A three-inlet valve system
typically includes:
80' low-voltage wire
3 mounting brackets
6 nail guards
3 plaster guards
1-1/4 pint solvent sealer
6 45 degree elbows
9 90 degree sweep elbows
2 90 degree sweep tees
6 stop couplers
3 90 degree dual elbows
6 hanger clamps
6 wire nuts
3 fl oor mounting adapters
3


