


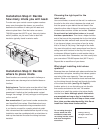
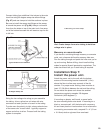

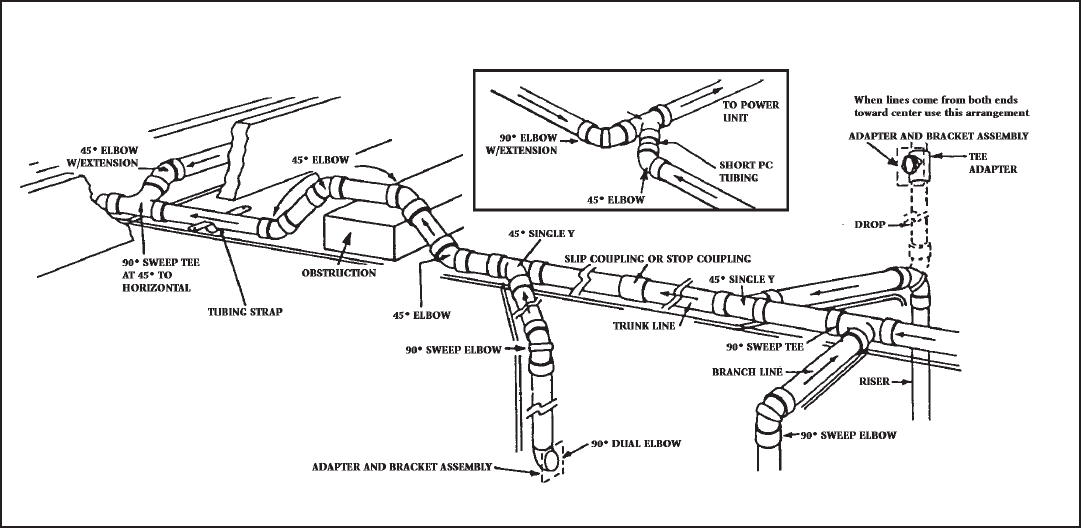
Push a length of tubing up into bottom of the elbow
on the inlet valve assembly. Piece together sections
of tubing without glue at fi rst to make sure things
fi t properly. Mark the connections so you can
re-assemble them the same way. Remember, the
tubing enters the fi tting approximately 3/4" (1.9cm).
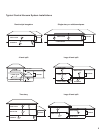
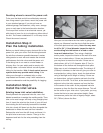
Measure, cut, and de-burr tubing, and, using a 90
degree sweep elbow, slip-fi t the vertical tubing line to
the main horizontal line. To avoid potential clogging
problems when installing tubing and fi ttings:
• Make straight cuts on tubing (pipe/tubing
cutter works well).
• Remove burrs from ends of tubing.
• Be sure tubing fi ts against the shoulder of the
fi tting with no gaps.
• Glue only the outside edge of the tubing before
assembly into fi ttings.
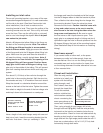
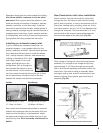
Drop bottom of tubing through 2-1/4" (5.7cm) hole and
nail stud-mounting bracket assembly to stud. Make
sure the center of the inlet hole is at the correct height
above fl oor level and the tubing extends below the
sub-fl ooring. To prevent a nail or screw from
penetrating the vacuum tubing, install nail guards
on the sole or top plates adjacent to the tubing. See
“Installation Step Six: Install the tubing” and complete
tubing installation as much as possible. After the
walls are fi nished and painted, plaster guards can be
removed and inlet valves installed. The tubing system
may be completed at that time and the power unit
installed.
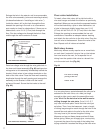
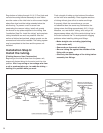
Installation Step 6:
Install the tubing.
(Existing Home or New Construction)
Beginning at the inlet farthest from the power unit,
temporarily fasten tubing for the main trunk line into
position. Hint: Loop string or low-voltage wire from
a nail or overhead pipe, etc., to cradle the tubing —
holding it in position while you work.
9