


6
i
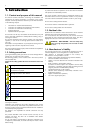
INDICATION - If a Ground Fault Interrupt protection is in-
stalled: every month test the safety of the circuit by press-
ing the Test button of the circuit breaker. The protection ought
to trip. If it does not, call a technician immediately, as the safety
of the equipment is impaired.
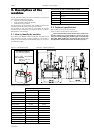
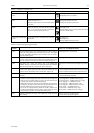
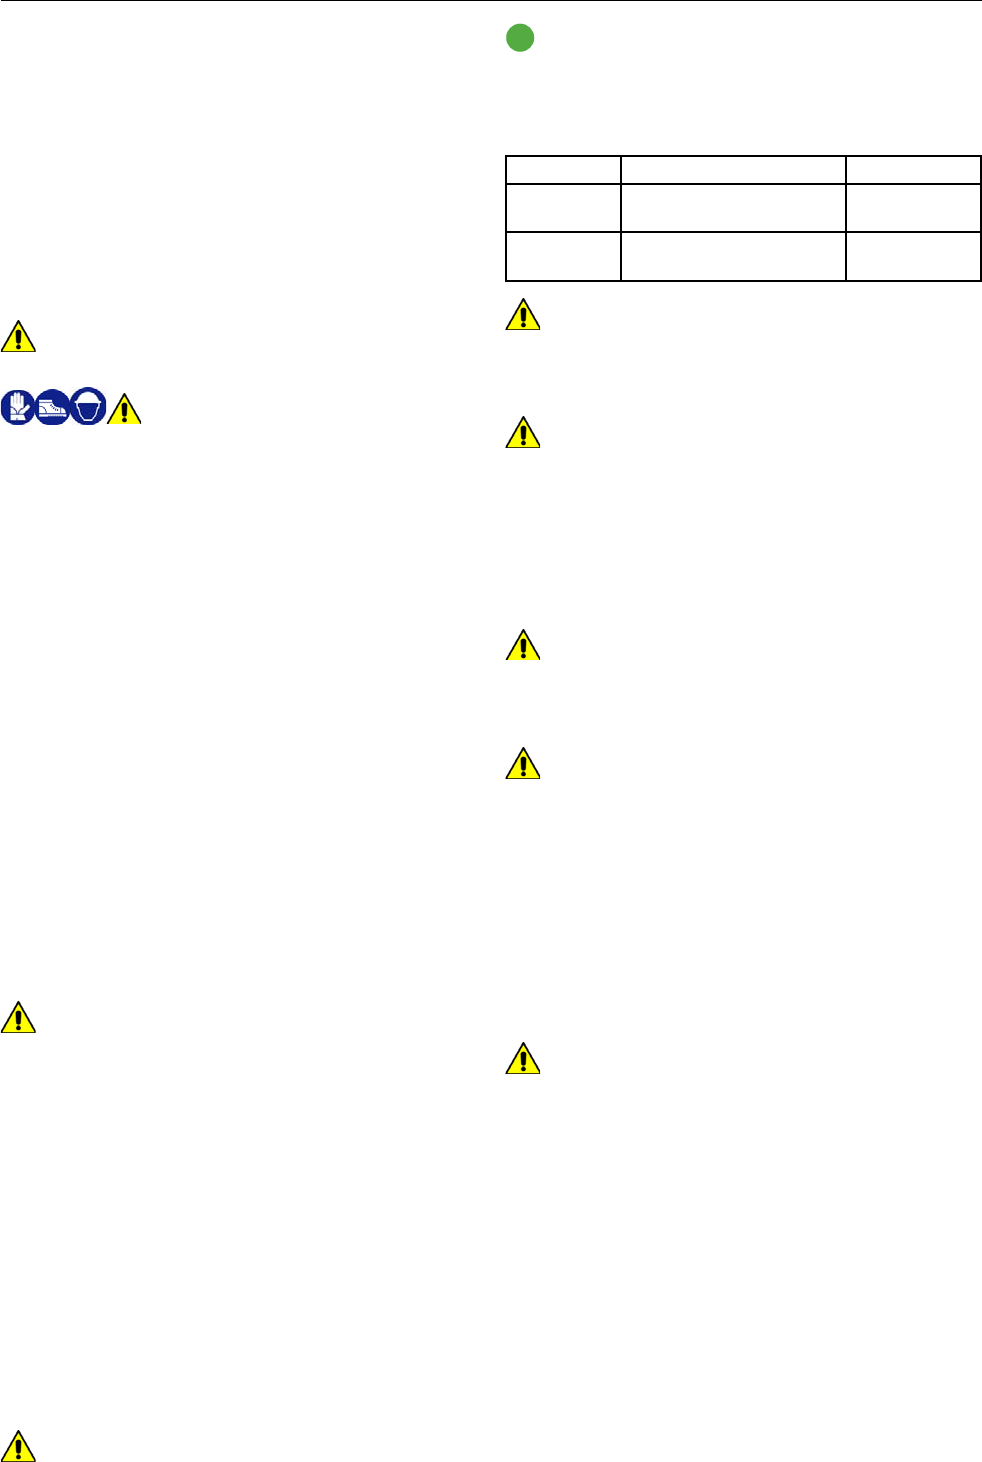
Table 3.5 - Data for electric connection
Installation Plug Power cord
400V 50Hz
Plug 3P+N+T 400V 3N 16A
as per standard IEC60309
Type H05VV-F
5 x 1,5mm
2
210-240V
60Hz
3P+T 210-240V 3 25A Type H05VV5-F
4 x 14AWG
WARNING - The power cord can be replaced only by an
authorised service center.
3.4. Compressed air connection
WARNING - The steam connection is to be made by a li-
censed technician only and according to local safety regu-
lations.
Refer to Figure 3.4.
1. Connect the machine to a compressed air source with pressure
6 bar (90 PSI) minimum
2. Make connections as indicated
3. Set the general pressure regulator on the machine at 6 bar (90
PSI)
WARNING - Do not set the pressure higher than 6 bar.
Risk of damage to the machine.
3.5. Steam connection
WARNING - The steam connection is to be made by a li-
censed technician only and according to local safety regu-
lations.
Refer to Figure 3.5.
Connect the machine to a steam source with steam pressure at 5 bar
(75 PSI) capable of providing 30 Kg/h (66 lbs/hr) of steam.
The numbers in the figure indicate the following parts (not supplied
with the machine):
1 – Steam line
2 – Condensate return line
3 – Ball valve
4 – Check valve
5 – Steam trap
WARNING - Do not connect the machine to a steam line
having pressure exceeding recommended values. Risk of
serious damage to the machine and injury to people.
Installation
3. Installation
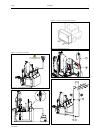
3.1. Upon receiving the goods
The machine is delivered mounted on crate and protected by a plastic
film and, in some cases, by a cardboard box.
1. Position the crated machine near to the final location of in-
stallation. The crated machine must be moved using suitable
devices, such as a forklift (Figure 3.1)
2. Unpack the machine and separate cardboard from plastic. Dis-
pose of carton and plastic according to local regulations.
3. Unscrew the bolts that fix the machine to the crate
4. Move the machine from the crate to its final position.
CAUTION - To avoid damaging the machine, do not move
the machine by grabbing the form or the clamps.
CAUTION - The machine can be moved by
hand by experienced personnel only. Wear
gloves, helmet and protective shoes when moving the ma-
chine.
3.2. Packing list
The package contains:
1. Machine, complete with all mechanical parts and tensioning
devices.
2. Plastic bag containing covers and padding (if not already in
place on the machine).
3. Mirror.
4. Instruction manual.
5. Boxes of optional items ordered with the machine (if any)
Upon receiving the goods, check that the package contains all the
above listed items.
3.2.1 Assembling disassembled parts
The machine is supplied with the control panel folded against the side
of the machine. Rotate the support of the control panel to bring it in
the most comfortable position.
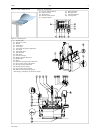
Mount the mirror on the machine cabinet (see Figure 3.2):
1. Loosen the screws that hold support (2) in place;
2. Insert the tube (1) into the support (2);
3. Choose the right position for the mirror and tighten the
screws.
3.3. Electrical connections
WARNING - The electrical connection is to be made by
a licensed electrician only and according to local safety
regulations.
The manufacturer is not responsible for damage or injury caused by
improper installation.
Refer to Figure 3.3.
1. Install a multi-pole switch (circuit breaker) to facilitate installation
and service operations. See table 3.5 for rating and type of
connection.
2. In most countries the circuit breaker should include a
protection against overcurrents (e.g. thermal-magnetic circuit
breaker or fuse). If using a fuse, see power absorbtion on
the identification plate of the appliance (see figure 2.1).
In some countries the circuit breaker must include a ground
fault interrupt protection.
3. Mount a plug on the power cord, see table 3.5 for rating
4. Connect the plug to the circuit breaker. The cable should hang
in a gentle curve.
5. Check that the motor is rotating counterclockwise, otherwise
switch two of three phases wires.
WARNING -The electrical line must be properly grounded
to insure the safety of the operator.
F4VA1-ed3605
F4VA1