ENGLISH10
Battery-Powered Systems Installation Guidelines
INSTALLING THE REGULATOR
Follow the instruction manual included with the
alternator/regulator. Here are a few additional tips.
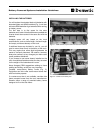
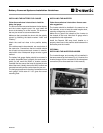
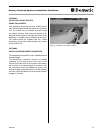
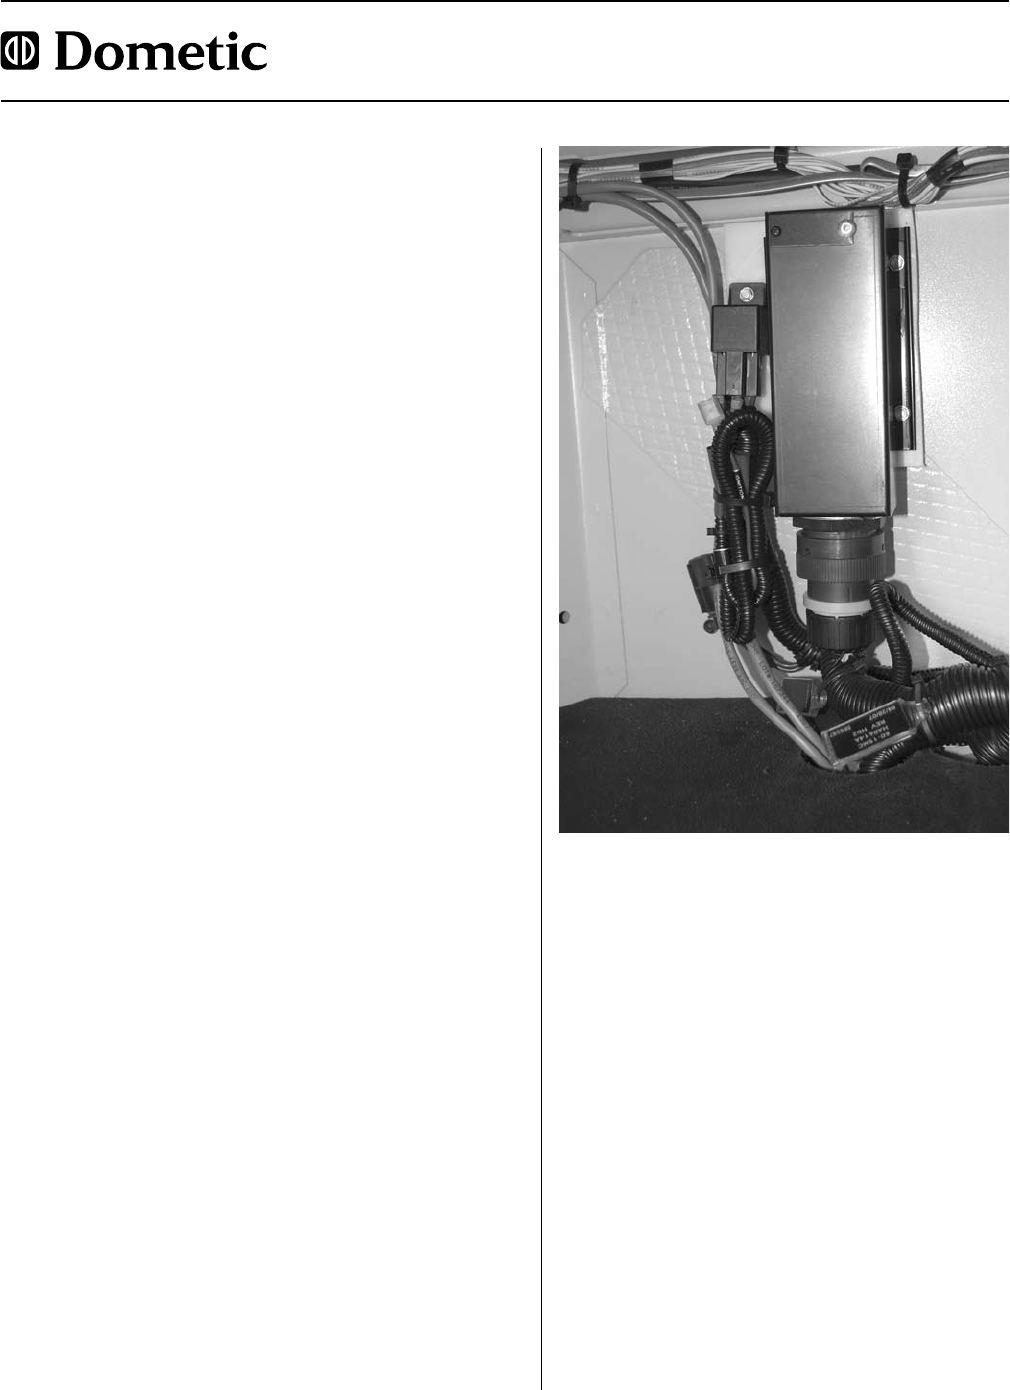
Mount the regulator inside the truck (Fig. 7), in an
accessible area, so that the LED display can be
seen.
The wiring harness has two main separate harnesses.
One goes to the battery box and one to the alternator.
Follow the wiring directions included.
Only one of the wires marked “Ignition” will be used.
Use whichever lead is most convenient.
The two wires with blue butt-connectors and heat
shrink will not be used.
Secure the relay and fuse holders using a mounting
screw or a cable tie.
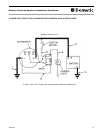
A connection wire is required from the “F-” post on top
of the alternator to the “Negative” connection on the
back of the alternator. This wire may not be provided;
and should be made with at least 14-gauge wire.
Route and clip wires safely to prevent chafing.
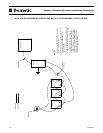
• Ifyourexistingalternatorhasa“Sense”wire
attached, you will need to add a relay to make the
“Alternator” or “Charge” dash light work correctly.
See drawing “Charge Light Circuit for Alternators”
below. The relay required is a small flange-mount
12VAC relay, like Song Chaun #792H, Tyco
#V23234A0001X036 or Bosch #0 332 209 150.
Figure 7 – Regulator mounted inside truck


