ENGLISH 9
Battery-Powered Systems Installation Guidelines
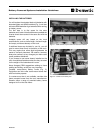
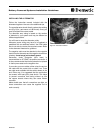
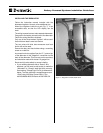
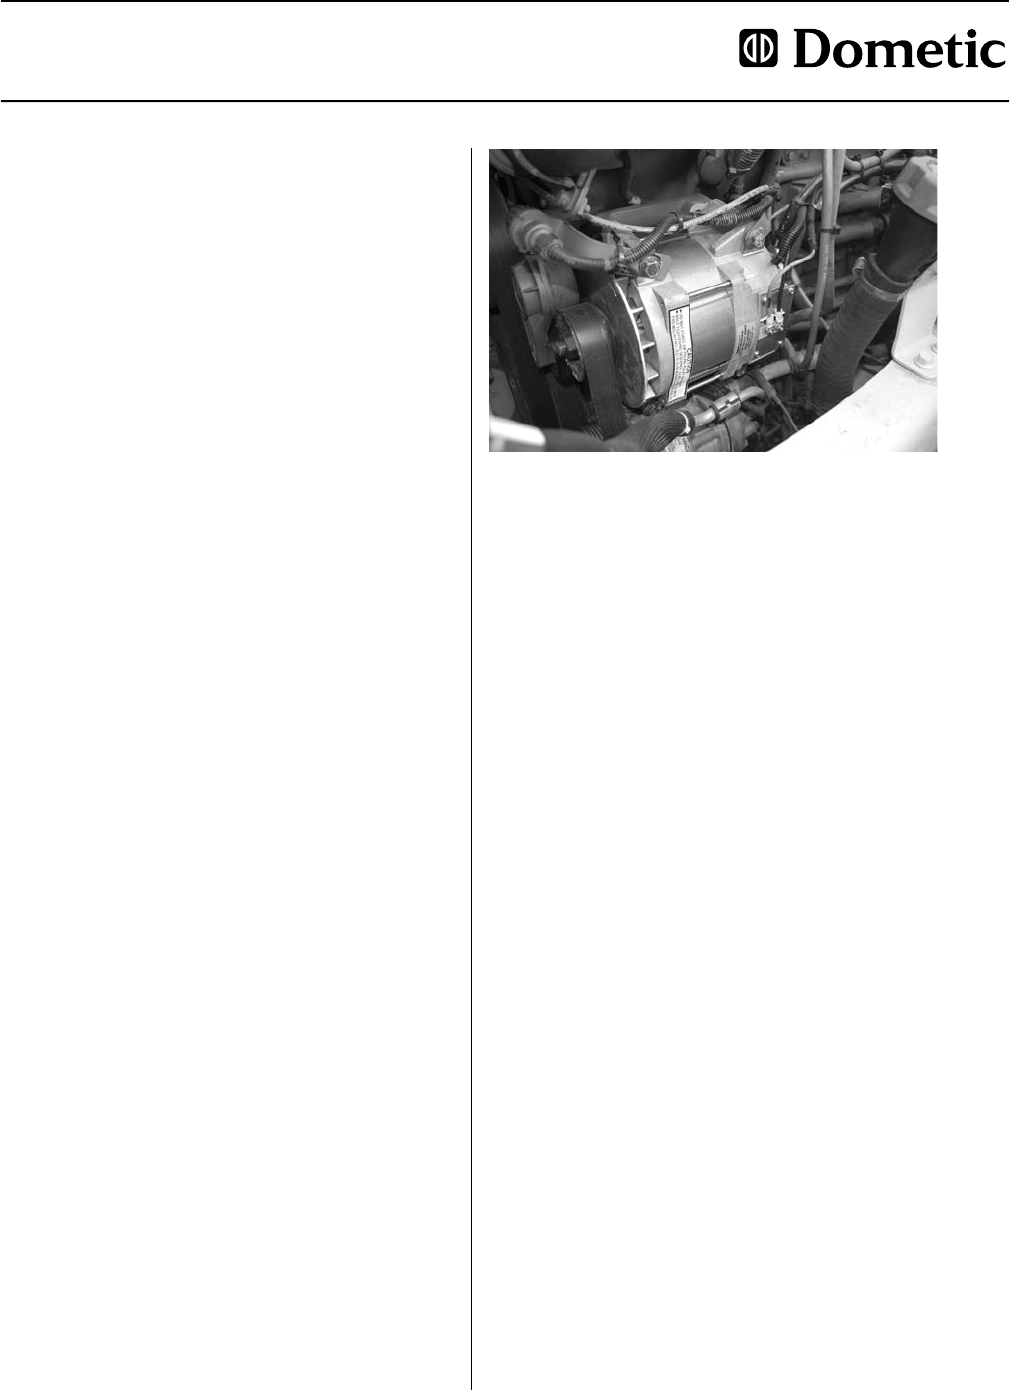
Figure 6 – Alternator installed
INSTALLING THE ALTERNATOR
Follow the instruction manual included with the
alternator/regulator. Here are a few additional tips.
The new alternator should directly replace the existing
one (Fig. 6) (i.e., pad mount or J180 mount). If not, you
need to request the correct model.
The alternator amp rating is based on the number
of batteries in your system and may be different on
different applications.
You will have to reuse the alternator pulley.
Alternator power wiringmay haveto be upsizedor
paralleledwithanadditionalcableiftheOEMcable
sizeisnotabletoconducttherequiredcurrent.Refer
to the alternator literature for guidance.
The negative cable must be attached to the negative
terminal on the alternator and the negative terminal on
a battery.
It must not go just to chassis ground.
Secondary chafe protection (wire loom) is
recommended on AT LEAST the positive conductor. It
is also recommended that chafe protection be placed
in chafe-prone areas on the negative wire.
If you make your own cables, either crimp the end on
the cable with the correct tool or solder it on. There
are cable ends available with the solder already in the
end. Either way, it is suggested that the connection
be covered with heavy-duty heat shrink. This helps
to prevent corrosives from being wicked up into
the copper strands where they can cause hidden
corrosion.
Makedouble surethat allconnections aretight,as
loose connections can cause the regulator not to
work correctly.


