


www.desatech.com
9113261-01A
INSTALLATION
Continued
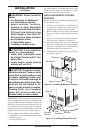
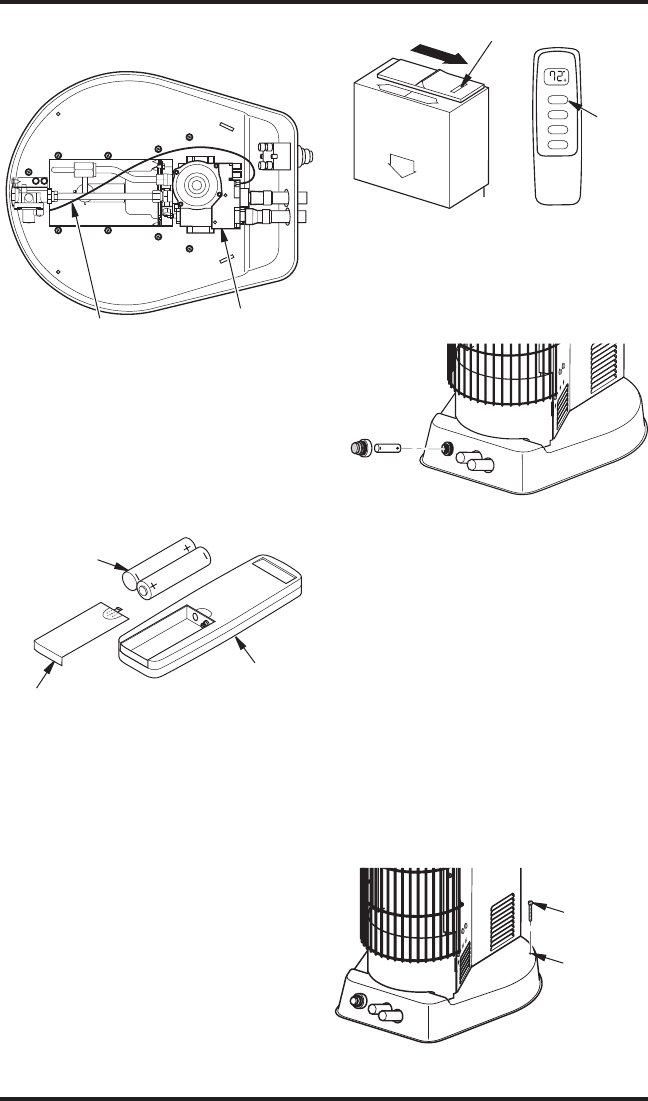
INSTALLING BATTERIES INTO
REMOTE
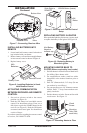
1. Locate hand-held remote control in hardware
bag included with your heater.
2. Remove battery cover and insert supplied batter
-
ies into remote control as shown in Figure 8.
3. Replace battery cover.
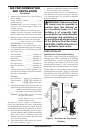
ACTIVATING COMMUNICATION
BETWEEN RECEIVER AND REMOTE
CONTROL
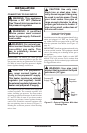
1. Set receiver selector switch to the remote
position (see Figure 9).
2. Push the ON button on hand-held remote
control. You should hear a beep. If not, use a
dull object to push the
LEARN button in the
receiver (see Figure 9). Push the ON button
on remote control once again. You should hear
a series of beeps.
If you have questions regarding the remote control
or receiver, call 1-888-673-8929.
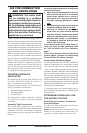
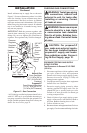
REPLACING BATTERY IN IGNITOR
If the spark that lights the pilot lessons, you may need
to replace the battery in the ignitor. See Figure 10.
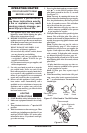
Figure 7 - Connecting Receiver Wire
Valve
Receiver Wire
Bottom View
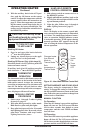
Figure 8 - Installing Batteries in Hand-
Held Remote Control
AAA
Batteries
Battery Cover
Remote Control
RE
MOTE
OF
F
F
TEMPSET
ON
ROOM
OFF
MODE
SET
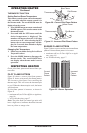
Figure 9 - Receiver and Remote Control
Setup
ON
Button
LEARN Button (Inside)
Slide Right to
REMOTE
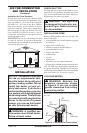
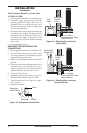
Figure 11 - Mounting Heater to Floor
Wood
Screw
Mounting
Hole (One
each side)
MOUNTING HEATER BASE TO
FLOOR (Where required by local codes)
1. Position heater in desired location. Mark holes
for drilling. Move heater aside.
2. For carpeted floors, make a small cut with a
sharp knife at the marked locations prior to
drilling.
3. Drill 1/8" (diameter hole, 3/4" deep. (Do not
use anchors in wood floors.)
4. For concrete floors, use 1/4" diameter concrete
drill bit. Drill 1
3
/
8
" deep. Insert anchors com-
pletely into holes.
5. Position heater over holes. Secure to floor with
wood screws. See Figure 11.
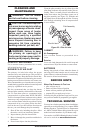
Figure 10 - Replacing Battery in
Electronic Ignitor
AAA Battery
Negative
towards cap