


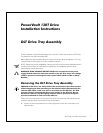
Drive Tray Conversion Instructions 5
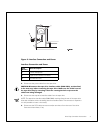
Setting TermPwr
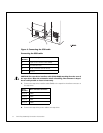
2. To check terminator power (TERMPWR), remove the two power supply cover screws
using a Torx driver with a T-15 bit, and lift the cover (pulling forward slightly) enough to
see the jumpers. For safety, do not remove the cover completely.
3. Set the TERMPWR on or off (enabled or disabled) on the new tape drive to match the
drive you are replacing. The figure shows the right side of the tape drive (as you face
its front). The drives are shipped from the factory with TERMPWR on.
•
Install the jumper on the pins as shown to set TERMPWR on.
•
Remove the jumper from the pins to set TERMPWR off. You may store the
jumper by placing it on one pin only.
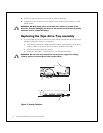
4. Return the power supply cover to its previous position and reinstall the two screws
holding it in place.
CAUTION: When sliding the drive into its bay, make sure the tape drive
interface cable (with connectors P980-P983) is out of the way. Do not force the
tape drive into the drive slot.
5. Slide the drive into its slot, being careful not to catch or crush any cables.
6. Tighten the two thumbscrews on the back of the tape drive.
CAUTION: efore connecting the external SCSI cables, make sure there is no
activity on the SCSI bus. Do not connect to a hot bus. Any third party software
must be quiesced. All signals must be terminated at each end of the SCSI bus.
Do not mix single-ended and differential terminators.
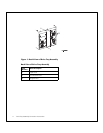
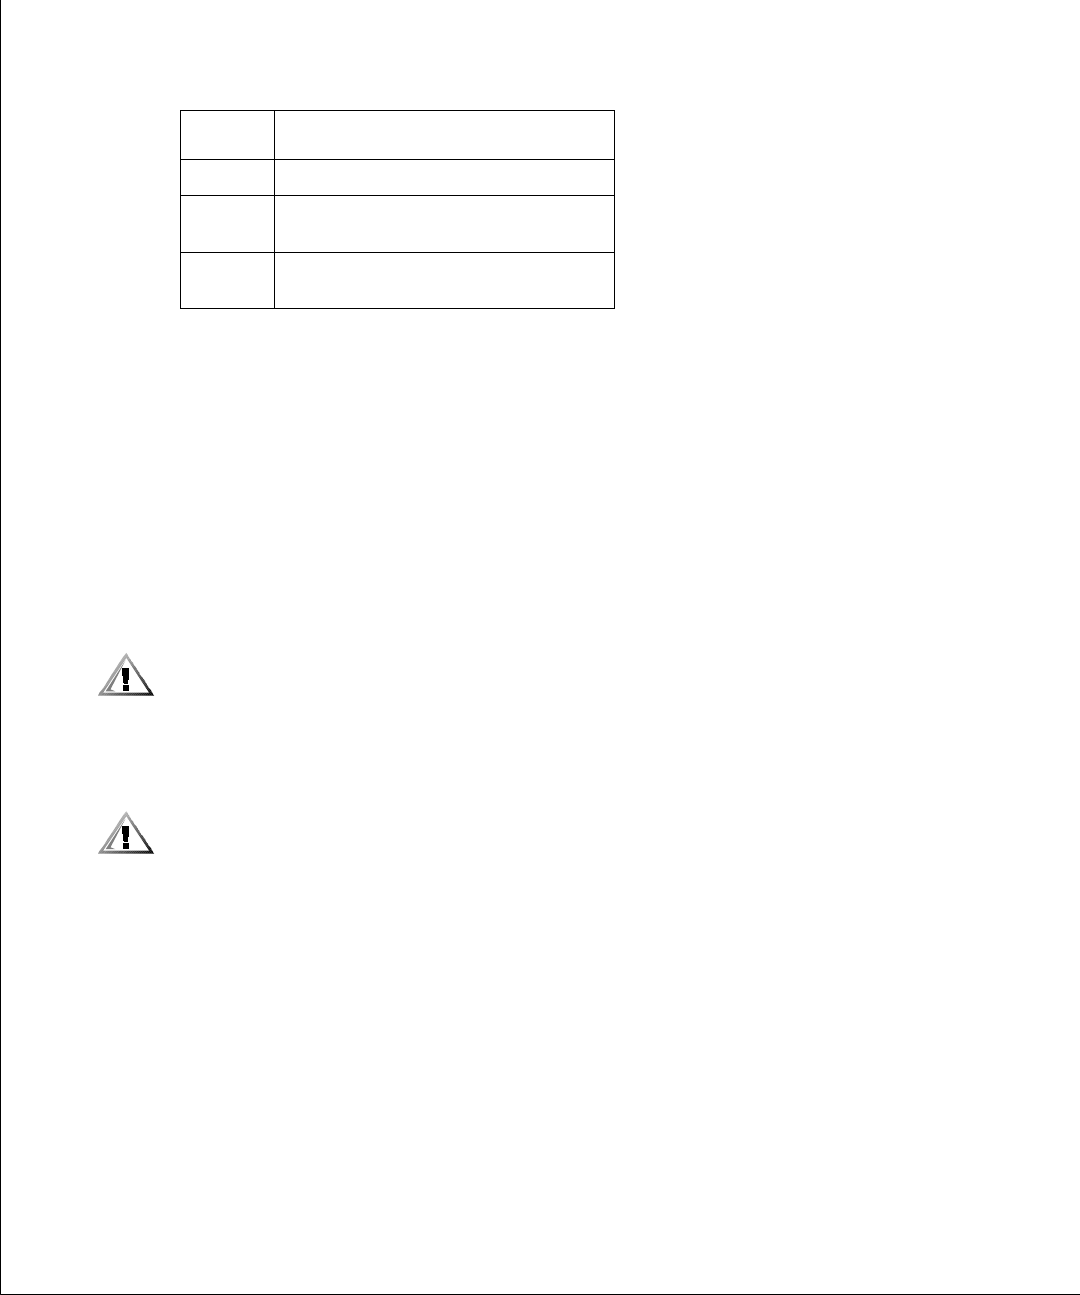
Item
Number
Parts Description
1 Power Supply Cover
2 Power Supply Cover Screw Location
(2x)
3 TermPwr Jumper, second pair of pins
from end of connector (shown enabled)