10
WinterWarm Small Insert
2000888
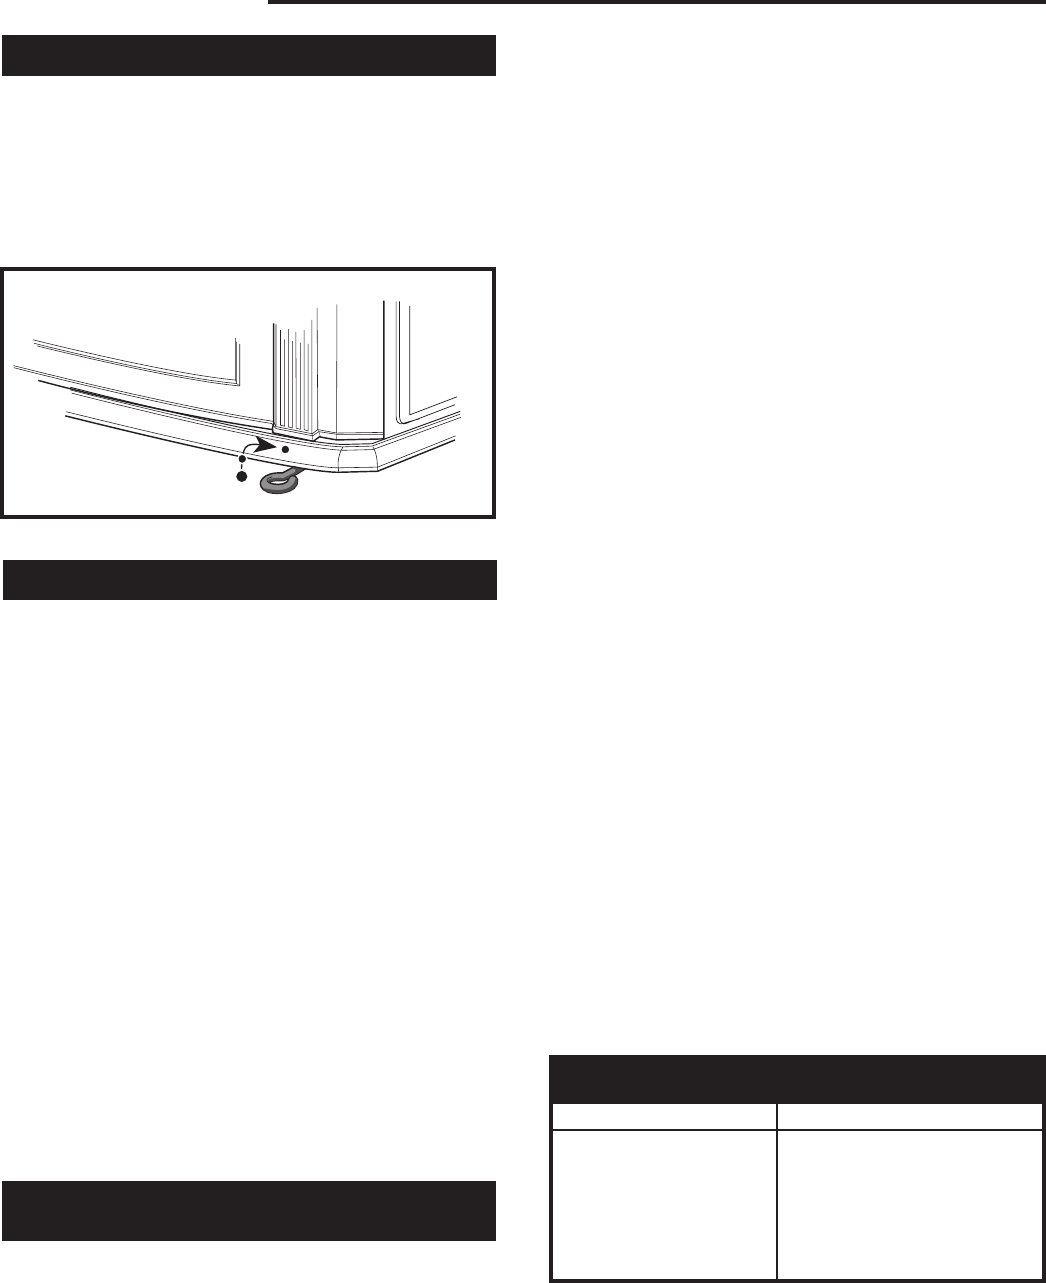
The Fans
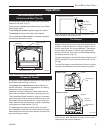
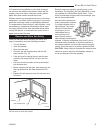
Two fans deliver a steady stream of warm air into the
room. Use the fall-away handle, (used to operate the
damper), to control fan settings. (Fig. 11)
The fan speed should be set at “low” when operating at
low to medium burn rates. The fan speed may be set
anywhere between “low” and “high” when operating at
high burn rates.
Burn Only High-Quality Wood
The WinterWarm Small Insert is designed to burn
natural wood only; do not burn fuels other than that for
which it was designed.
You’ll enjoy the best results when burning wood that
has been adequately air-dried. Avoid burning “green”
wood that has not been properly seasoned or cordwood
that is more than two years old.
The best hardwood fuels include oak, maple, beech,
ash, and hickory that has been split, stacked, and air-
dried outside under cover for at least one to two years.
For areas that do not have a supply of hardwood, com-
monly burned softwoods include tamarack, yellow pine,
white pine, Eastern red cedar, fir, and redwood. These
too should be properly dried.
Your WinterWarm Small Insert will accept wood up to
18” (460mm). Longer wood pieces work better than
short ones.
Wood should be stored under cover to maintain dry-
ness. Even for short-term storage, however, keep wood
a safe distance from the heater and keep it out of the
areas around the heater used for re-fueling and ash
removal.
Use the Air Control Settings
that Work Best for You
No single air control setting will fit every situation. Each
installation will differ depending on the quality of the
fuel, the amount of heat desired, and how long you wish
the fire to burn.
The control setting also depends on your particular
installation’s “draft,” or the force that moves air from the
stove up through the chimney. Draft is affected by such
things as the length, type, and location of the chimney,
local geography, nearby obstructions, and other factors.
Too much draft may cause excessive temperatures in
the WinterWarm Small Insert, and could even damage
the combustor. On the other hand, too little draft can
cause backpuffing into the room and/or the “plugging”
of the chimney or combustor.
How do you know if your draft is excessively high or
low? Symptoms of too much draft include an uncontrol-
lable burn or glowing-red cast iron. A sign of inadequate
draft is smoke leaking into the room through the stove
or chimney connector joints, low heat, and dirty glass.
In some newer homes that are well-insulated and
weather-tight, poor draft may result from insufficient air
in the house. In such instances, an open window near
the stove on the windward side of the house will provide
the fresh air needed.
Another option for getting more combustion air to the
stove is to duct air directly from the outside to the stove.
In fact, in some areas provisions for outside combustion
air are required in all new construction. To duct outside
air to your WinterWarm Small Insert, use Outside Air
Kit #3252 available from your Vermont Castings dealer.
Follow the installation instructions included with the kit.
When first using the stove, keep track of the settings
of the air controls. You will quickly find that a specific
setting will give you a fixed amount of heat. It may take
a week or two to determine the amount of heat and the
length of burn you should expect from various settings.
Most installations do not require a large amount of
combustion air, especially if adequate draft is available.
Do not for any reason attempt to increase the firing
of your heater by altering the air control adjustment
range outlined in these directions.
Use the following primary air control lever and fan
speed control lever settings as a starting point to help
determine the best settings for your installation.
WinterWarm Small Insert Control Settings
Primary Air Air Circulation
Burn Control Fan Control
Rate Setting Speed Position
High 2:00 High Horizontal
Medium 3:00 - 4:00 Low Turn clockwise
Low 4:30 Off Turn Counterclockwise
OFF
HIGH
LOW
FP1101
fan switch position
4/01
FP1101
Fig. 11 Fan speed control settings.


