17
Chateau™
20011956
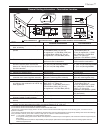
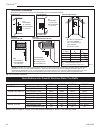
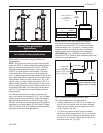
Horizontal Termination
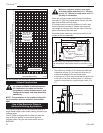
The vent must rise vertically a minimum of 24” (610mm)
off the top of the unit, before the first elbow. The hori-
zontal run may extend up to 20’ (6 m) and include a ver-
tical rise of up to 40’ (12 m). (Fig. 15) Horizontal termi-
nation must also meet the criteria shown in Figures 12
& 13.
• Approved vent systems must terminate above and
including the heavy line in Figure 15.
• Two 45° elbows may be substituted for each single
90° elbow.
• With a rise between 2’ - 4’, one (1) 90° or two (2) 45°
elbows may be used.
UP
FP1368
DVT44
5/03
Pipe Section
Pipe
Rim
Pipe
Rim
Hem
Lance
FP1368
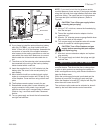
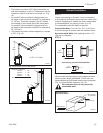
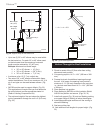
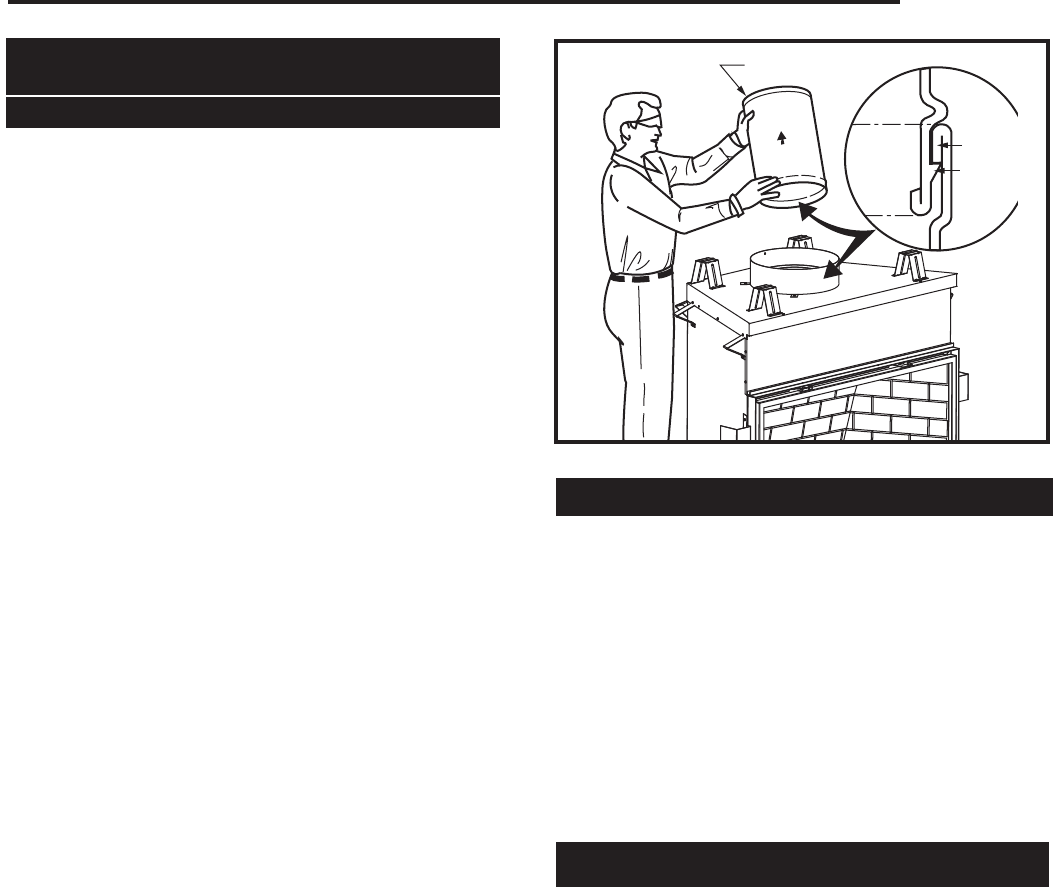
Fig. 14 Install pipe, listening for the snap-lock to fasten.
Vertical Termination
A vertical vent system must terminate no less than 12’
(3.66 m) and no more than 40’ (12 m) above the appli-
ance flue collar. A 2’ (610 mm) vertical section must be
installed before any offset. A maximum of 20’ (6.1 m)
horizontal and three (3) 90° elbows may be installed
with a minimum of 12’ (3.66 m) vertical section above
the flue collar of the unit. Refer to Page 21, Figure 26
for more information.
A vertically terminated vent system must also conform
to the following criteria:
• No more than three (3) 90° elbows may be used.
• Two (2) 45° elbows may be substituted for one (1)
90° elbow. No more than six (6) elbows may be
used.
• Vent must rise a minimum of 2’ (610 mm) before
offset is used.
• Termination height must conform to roof clearance
as specified in Figure 33.
General Information
Assembling Vent Pipes
SK8 Venting Pipes
Canadian Installations:
The venting system must be installed in accordance
with the current CSA-B149 .1 installation code.
USA Installations:
The venting system must conform with local codes and/
or the current National Fuel Gas code ANSI Z223.1/
NFPA 54.
Only venting components manufactured by CFM Cor-
poration can be used in Direct Vent systems.
NOTE: The joints of the inner pipe (flue pipe) must be
taped with 550°F or higher temperature metal adhesive
tape that meets the requirements of F.A.R. 25.853(a)
High temperature sealant milpack or stove cement
of 550°F or higher could be used instead. The joints
of The outer pipe (fresh air pipe) must be taped with
315°F or higher temperature metal adhesive tape or the
use of high temperature milpack or stove cement would
be applicable. When using the unitized 30°, 45° or 90°
elbows, apply 1/4” bead of high temperature, 550°F or
higher, sealant (milpack or stove cement) to the joint of
the inner pipe (flue pipe) and the straight section as it is
impossible to be taped. The outer pipe must be taped
with 315°F high temperature metal adhesive tape for
proper sealing.
Start by attaching the first vent pipe section to the collar
on top of the fireplace. In order to attach the first pipe
section, it may be necessary to remove the top shield.
Remove four (4) screws securing top shield, install first
pipe section and replace top shield.
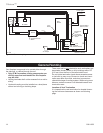
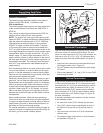
Install the pipe as shown in Figure 14. When you get a
good lock, you will hear the pipe clearly snap together.
Once sections are snap-locked in place, it is extremely
difficult to get them apart. Make sure the pipe is firmly
snapped and locked together as each pipe section is
mounted. When using 45° or 90° elbows, it is accept-
able to use three (3) screws (not supplied) at the joint
between the vertical SK8 pipe and the elbow to ensure
no separation.
When installing elbows, follow the same procedure.
The joints of inner and outer elbow must be taped with
UL approved high temperature metal adhesive tape for
proper sealing. Be sure to always attach straps on up-
per elbow to a structural framing member.
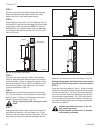
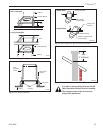
For vertical installations, continue installing the pipe as
required until pipe is installed up through the ceiling. At
this point, you must install a firestop spacer.


