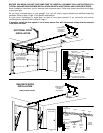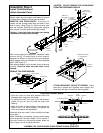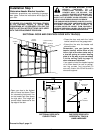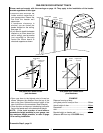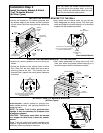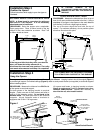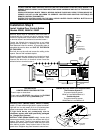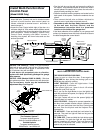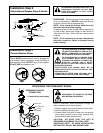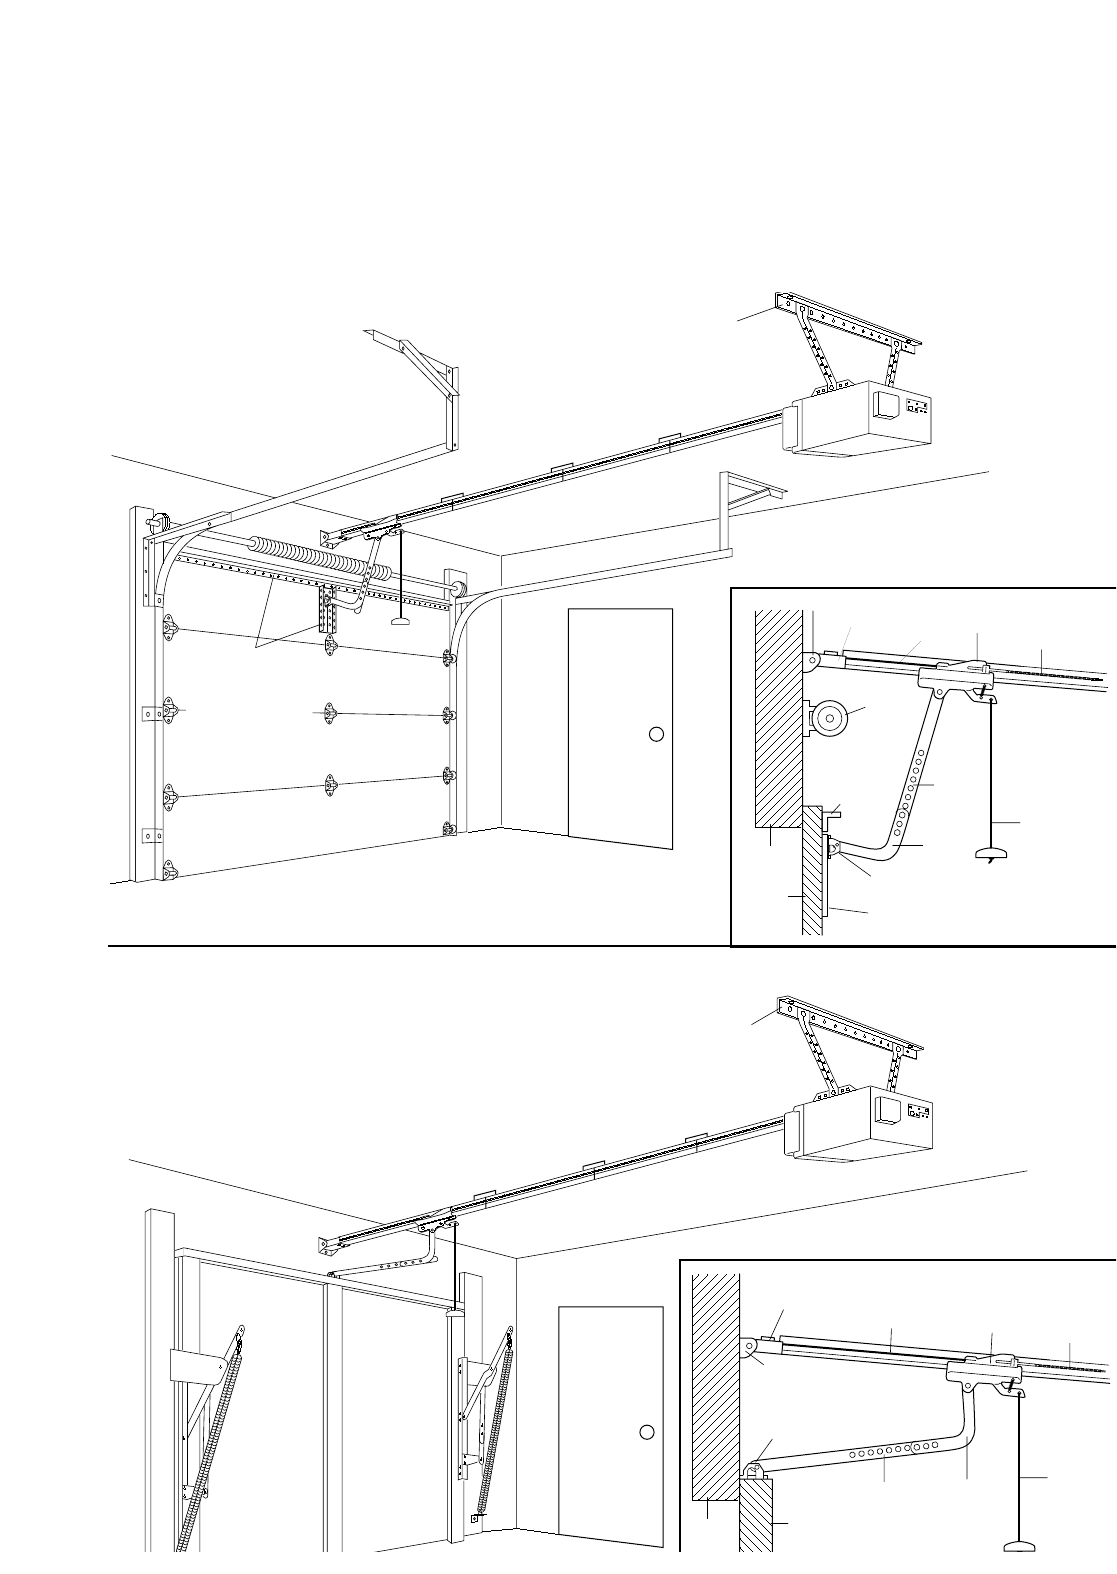
BEFORE YOU BEGIN, PLEASE TAKE SOME TIME TO CAREFULLY EXAMINE THE ILLUSTRATIONS OF A
TYPICAL GARAGE DOOR OPENER INSTALLATION ON BOTH A SECTIONAL AND A ONE-PIECE DOOR.
Some installation instructions vary for sectional and one-piece doors. Follow only those instructions which apply
to your door type.
Do you have a finished ceiling in your garage? If so, you will need a support bracket and additional fastening
hardware. Refer to Step 4, Page 13 for specific requirements.
Do you have a lightweight or metal door (or does it have glass panels)? If so, horizontal and vertical
reinforcement is required. Refer to Step 8, Page 17.
If possible, install the door opener 2.1m or more above floor with the manual release handle mounted
1.8m above the floor.
4
Horizontal & Vertical
Support - Not Supplied
(Needed Only for
Lightweight Garage
Door Installation)
SECTIONAL
DOOR INSTALLATION
Support Bracket
and Fastening
Hardware
(Not Supplied)
Support Bracket
and Fastening
Hardware
(Not Supplied)
ONE-PIECE DOOR
INSTALLATION
Chain
Cable Pulley
Bracket
Header Bracket
Trolley
Straight
Door
Arm
Manual
Trolley
Release
Door Bracket
Garage
Door
Curved
Door
Arm
Garage
Door
Spring
Header
Horizontal
Garage Door
Reinforcement
(If needed)
Vertical Garage Door
Reinforcement (if needed)
Cable
Cable
Pulley Bracket
Header
Bracket
Trolley
Straight
Door
Arm
Manual
Trolley
Release
Door Bracket
Garage
Door
Curved
Door
Arm
Chain
Header
Cable
Access Door
Access Door
SECTIONAL DOOR
INSTALLATION
ONE-PIECE DOOR
INSTALLATION


