


62
USING ATTACHMENTS AND APPLICATIONS
USO DE ACCESORIOS Y APLICACIONES
UTILISATION DES ACCESSOIRES ET LEURS APPLICATIONS
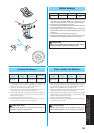
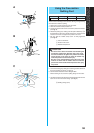
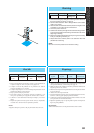
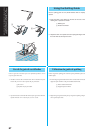
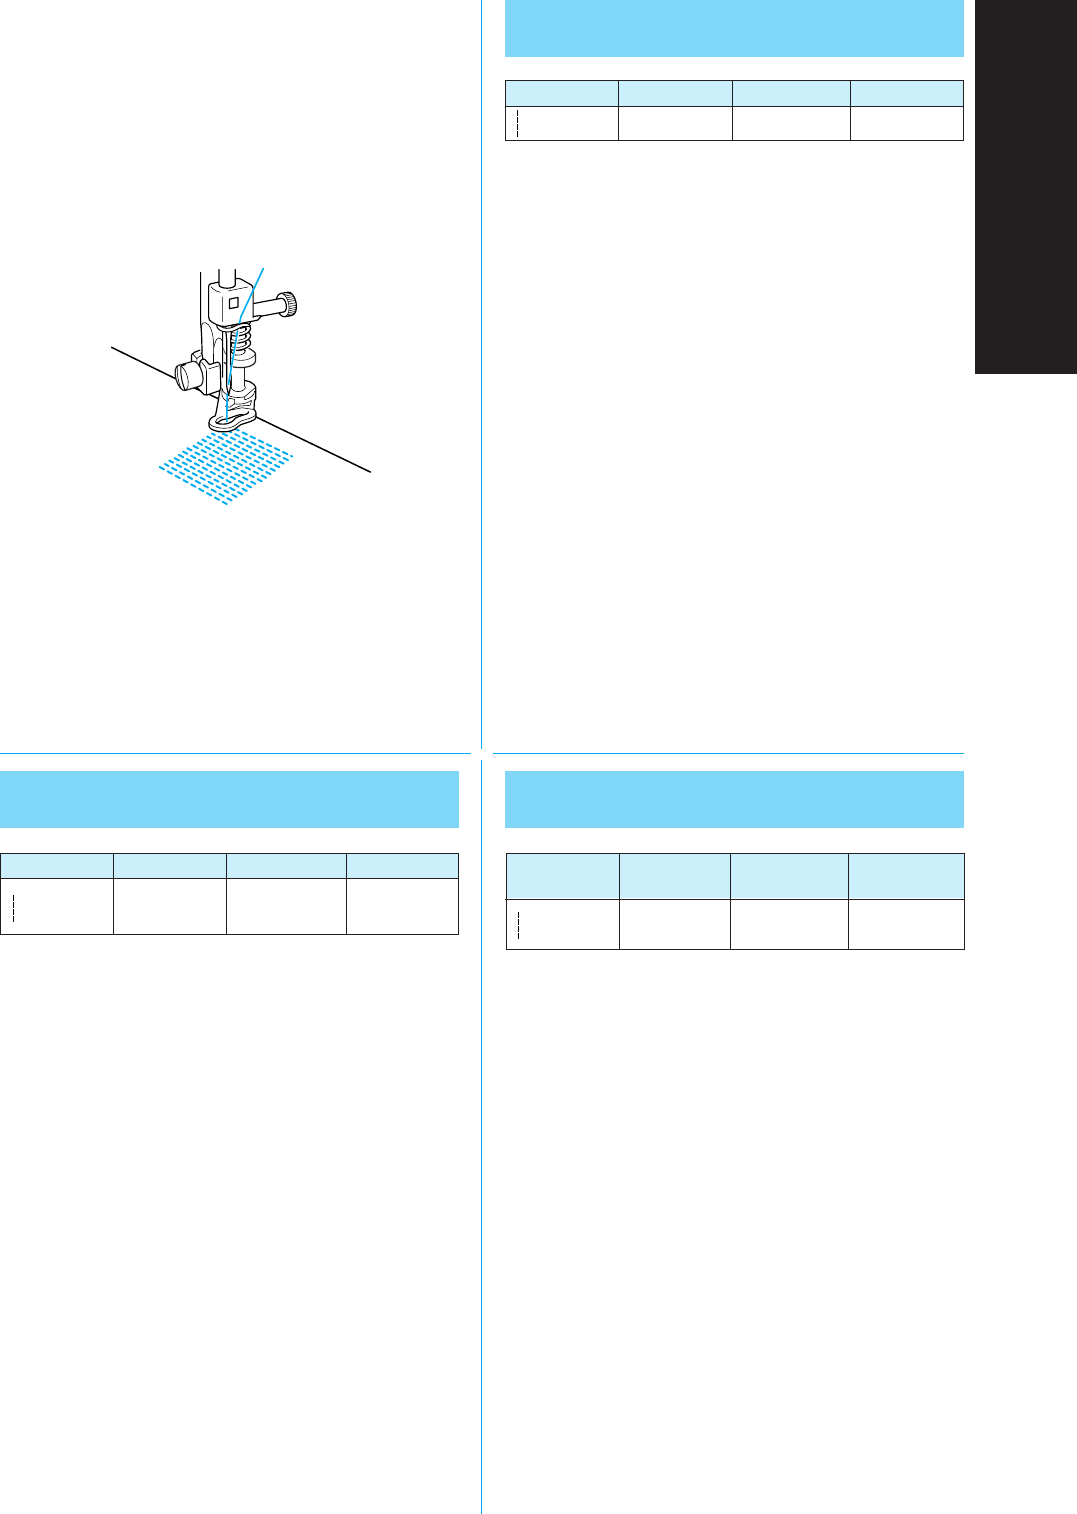
Darning
Pattern Stitch Length Foot Feed Dog
(Straight Stitch)
Any Down Position
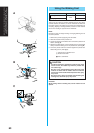
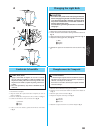
1. Lower the feed dogs by setting the Feed Dog Position Switch to
the Down Position as shown on page 18.
2. Set the Pattern Selection Dial to Straight Stitch. Set the stitch
width to 3.5 (center).
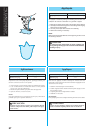
3. Place the fabric to be darned under the presser foot together with
a stabilizer on the under side for reinforcement.
4. Lower the presser foot lever.
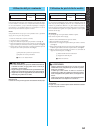
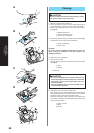
5. Pull the lower thread up through the fabric at the starting position
by turning the handwheel and making a few stitches to tie off the
beginning of stitching.
6. Begin sewing alternating between slowly moving the work away
from you and pulling it toward you.
7. Repeat this motion until the portion to be darned is filled with
parallel lines of stitching.
NOTE:
Be sure to lower the presser foot lever before sewing.
Zurcido
Modelo de puntada
Largo de puntada
Prensatelas Alimentadores
(Puntada
Cualquiera
Prensatelas
Bajados
recta) libre
1. Baje los alimentadores poniendo la palanca correspondiente en
la posición baja tal como se explica en la página 18.
2. Coloque el selector de puntadas en la puntada recta. Sitúe el
ancho de puntada en 3,5 (centro).
3. Coloque el tejido que se va a zurcir debajo del prensatela con un
estabilizador debajo como refuerzo.
4. Baje la palanca del pie prensatela.
5. Pase el hilo inferior por el trabajo, girando la ruedecilla y cosa
unas pocas puntadas para asegurar el comienzo de la costura.
6. Comience a coser alternando entre alejar el trabajo y acercarlo a
usted.
7. Repita esta operación hasta que el zurcido se haya completado,
creando unas cuantas líneas de puntadas paralelas.
NOTA:
Asegúrese de bajar la palanca del pie prensatela antes de coser.
Reprisage
Modèle Longueur Pied-de- Griffes
de point de point biche d’entraînement
(Point droit)
N’importe Pied quilting en
Abaissées
quelle longueur mouvement libre
1. Abaisser les griffes d’entraînement en mettant le levier correspondant
sur la position abaissée, comme indiqué à la page 18.
2. Mettre le sélecteur de modèle de point sur le point droit. Définissez la
largeur de point sur 3,5 (centre).
3. Placer le tissu à repriser sous le pied-de-biche avec une pièce de renfort
à l’envers du tissu.
4. Abaisser le levier du pied-de-biche.
5. Tirer le fil inférieur à travers le tissu, au point de départ. Pour ce faire,
tourner le volant et piquer quelques points de maintien.
6. Commencer à coudre en donnant au tissu un mouvement de va-et-vient
(en le poussant et en le tirant doucement).
7. Répéter l’opération jusqu’à ce que la partie à repriser soit remplie de
lignes de points parallèles.
REMARQUE:
Veiller à bien abaisser le levier du pied-de-biche avant de coudre.
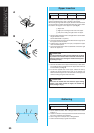
Free-motiom
quilting foot