


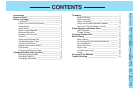
CONTENTS
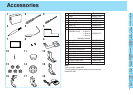
Accessories
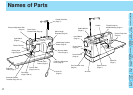
Names of
Parts
Before You
Begin
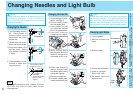
Changing
Needles and
Light Bulb
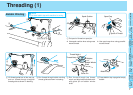
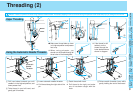
Threading
Stitch
Samples and
Needle Chart
Changing
Presser Feet
Basic
Sewing
Caring for
Your
Machine
Trouble
Shooting
3
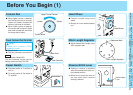
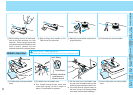
Before You Begin (1)
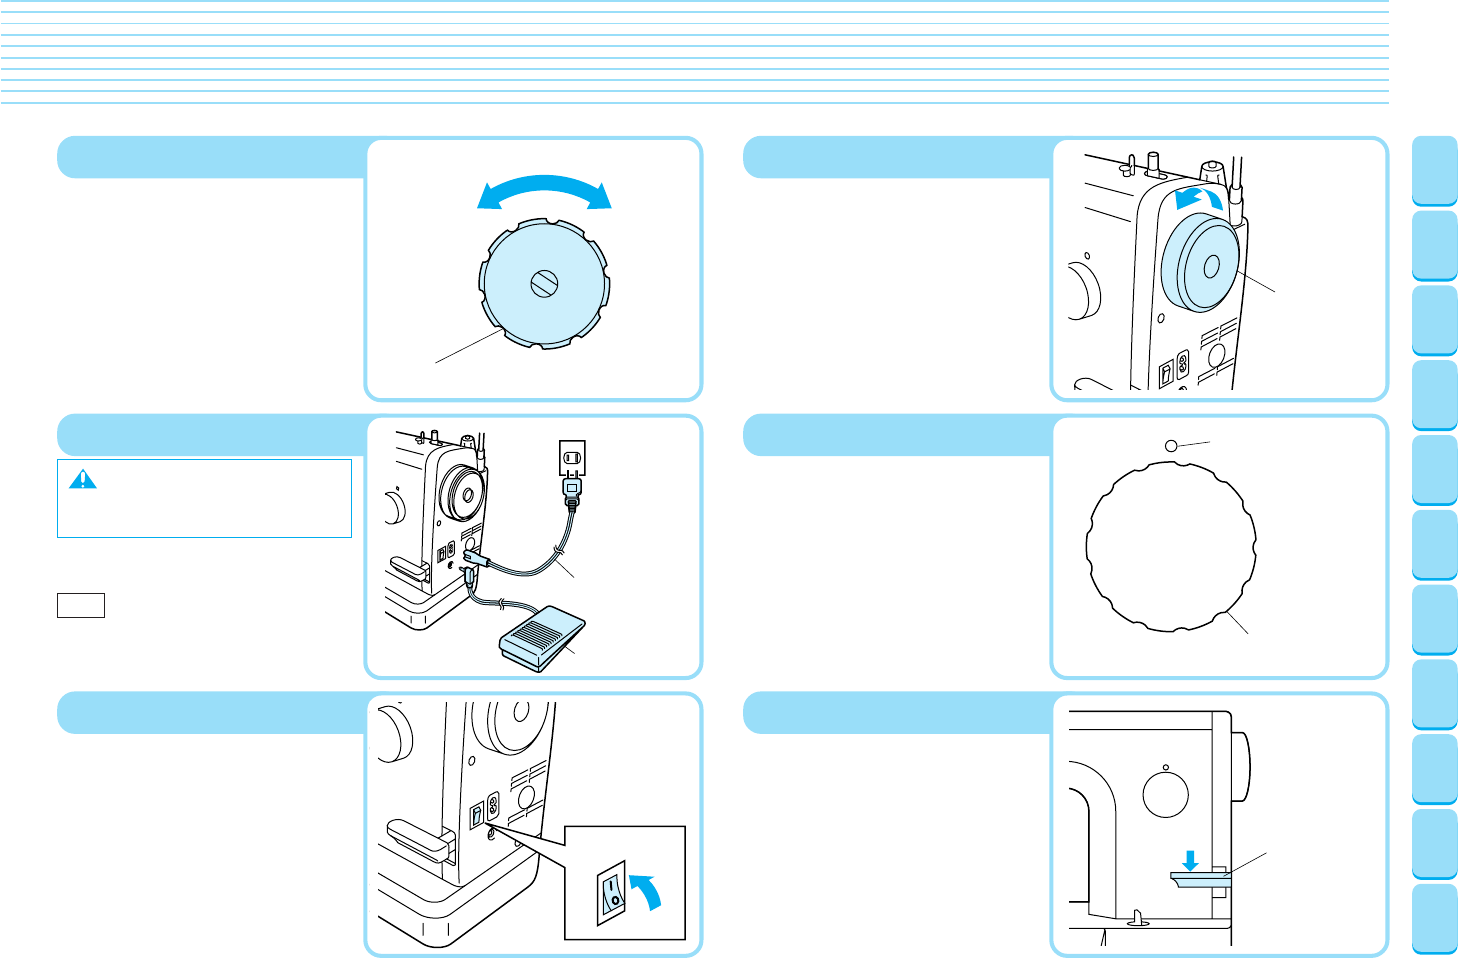
Tension Dial
● When tighter tension is desired,
turn the tension dial to the right.
Upper and bobbin threads will
meat on right side of the fabric.
● When looser tension is desired,
turn tension dial to the left. Upper
and lower threads will then meet
on wrong side of fabric.
Power Cord and Foot Controller
Note
Please use common 120V
household current.
● Plug in cord.
● Plug foot controller into machine.
Note
Foot controller: Model N5V
This foot controller can be used for
sewing machine model PQ1300.
Power Switch
● Flip power switch to "I" position to
turn on.
● To switch power off, flip switch to
"O" position.
Hand Wheel
● Position needle using hand
wheel.
✽ Always turn hand wheel towards
you.
Stitch Length Regulator
● Adjust desired stitch length using
stitch regulator dial.
1
2
3
4
5
6
7
Stitch Length Regulator
Reference Mark
Upper Thread Tension
Loosen Tighten
Tension Block
Hand Wheel
Reverse Stitch
Lever
Power Cord
AC120V
Foot Controller
Power Switch
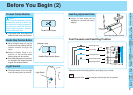
Reverse Stitch Lever
● Sewing in reverse is possible
when the reverse stitch lever is in
the lowered position.
✽ Make sure to push the lever all
the way down when reverse
sewing is desired.