


51
Contents Setting Up
Basic Sewing
Machine
Operation
Utility Stitches Embroidering Maintenance
Troubleshooting
Error
Messages
Sewing Chart
Patterns
(Programmed
in Machine)
Patterns
(Memory Card)
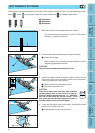
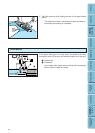
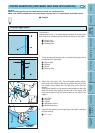
BAR TACKING
A
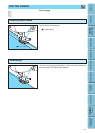
1. Attach presser foot “A” and set the size by measuring the area
to be bar tacked.
1 Scale
2 0.5 cm (13/64”)
3 Length of bar tack
* 0.5 to 3 cm (13/64” to 1-3/16”) is suitable for bar tacking.
0.5 to 1 cm (13/64” to 3/8”) is the normal size.
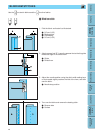
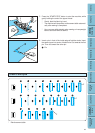
Use for reinforcing the openings of pockets, etc.
1
1 Bar tack
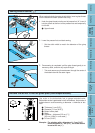
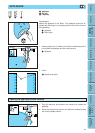
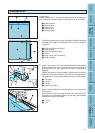
2. Position the pocket as illustrated with the top of the pocket
facing you.
CAUTION
– After the presser foot lever has been lowered,
set the presser foot so that there is no gap be-
hind the section marked with an “A”, otherwise
the size of the stitch will not be correct. To do
this, push the presser foot towards the back of
the machine as shown in the figure.
– Pass the thread underneath the presser foot.
3
5
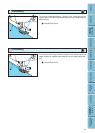
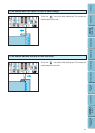
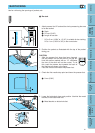
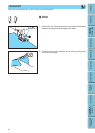
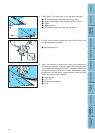
3. Check the first needle drop point and lower the presser foot.
1 2 mm (5/64”)
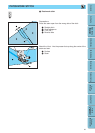
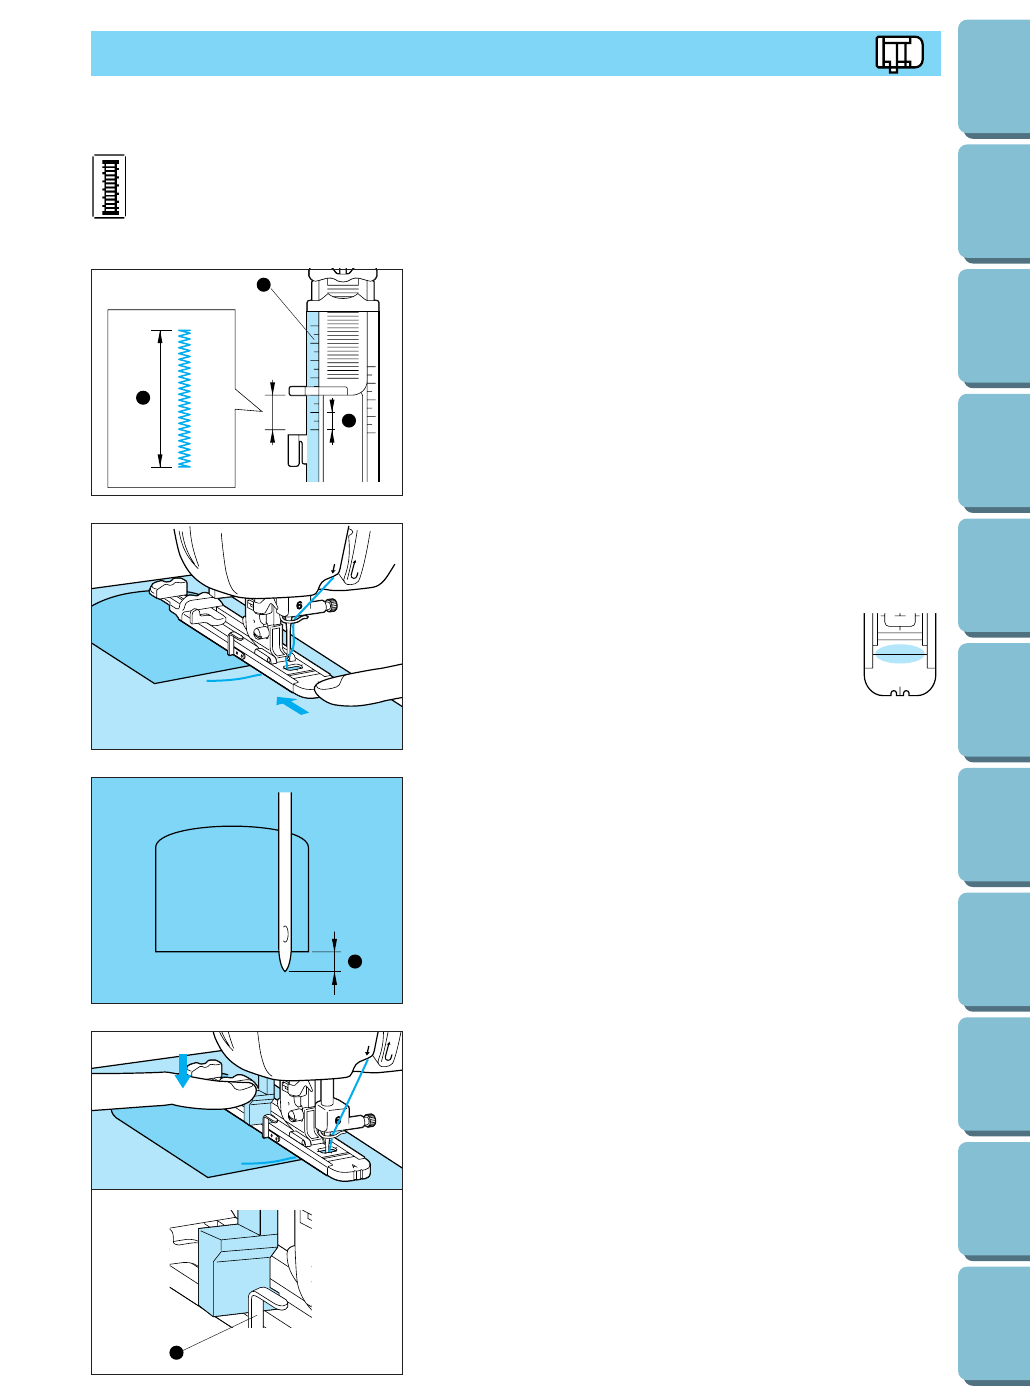
4. Lower the buttonhole lever and position it behind the metal
bracket on the buttonhole foot.
1 Metal bracket on buttonhole foot
3
5
A
1
2
3
1
1