


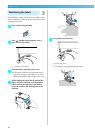

SEWING BASICS — — — — — — — — — — — — — — — — — — — — — — — — — — — — — — — — — — — — — — — — — — — —
54
Adjusting the Stitch Width and Length
The stitch width and length can be adjusted. Normally, when a stitch is selected, the appropriate width
and length are automatically selected.
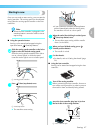
Adjusting the stitch width
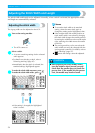
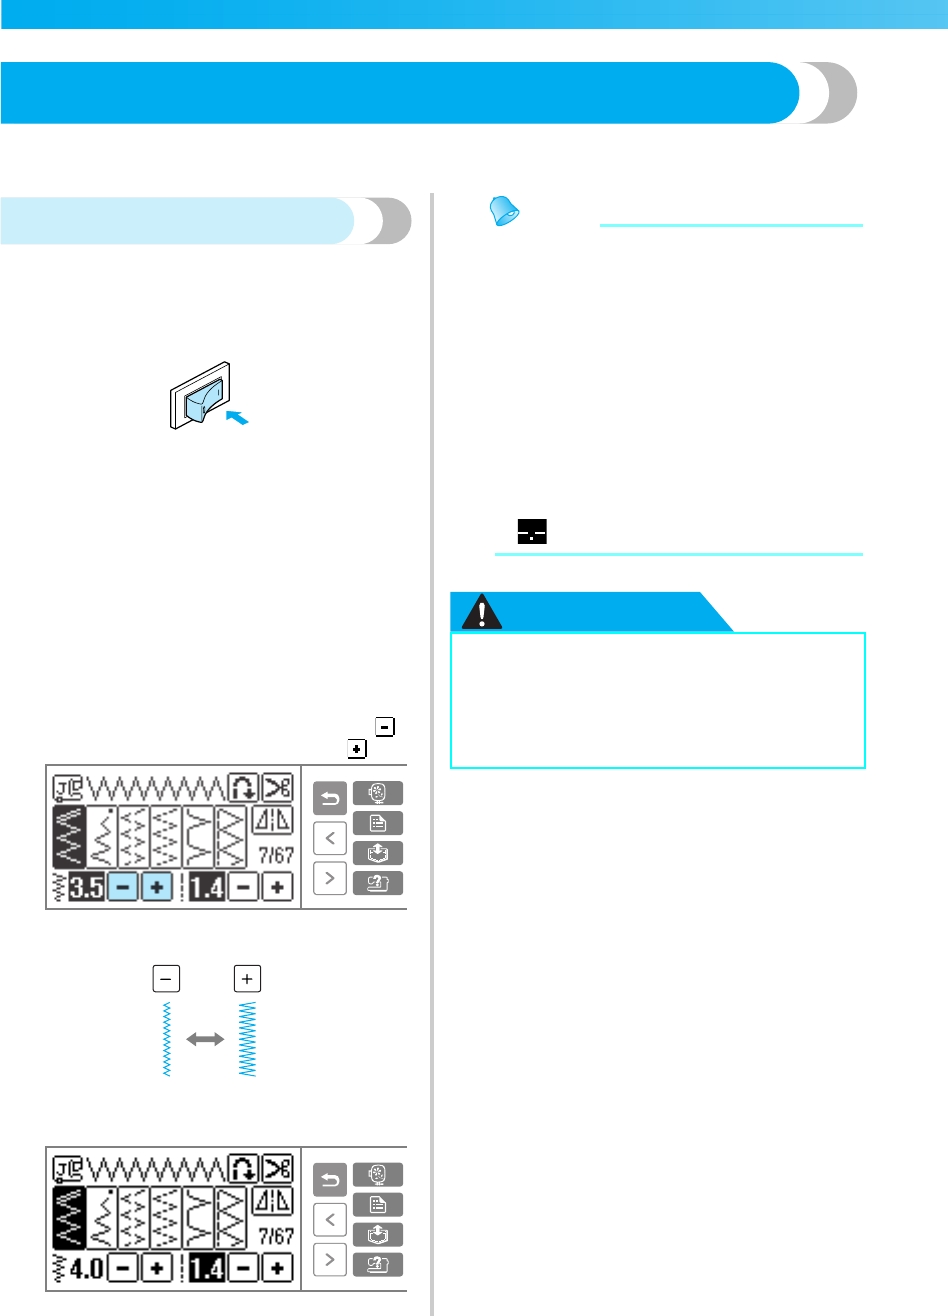
The zigzag width can be adjusted on the LCD.
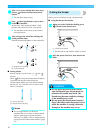
a
Turn on the sewing machine.
X The LCD comes on.
b
Select a stitch.
X A screen containing settings for the selected
stitch appears.
• For details on selecting a stitch, refer to
"Selecting stitching" (page 45).
• Immediately after the stitch is selected, the
standard settings (highlighted) appear.
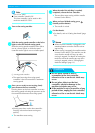
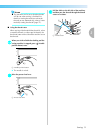
c
To make the stitch width narrower, press .
To make the stitch width wider, press .
X The stitch width is changed.
• If the setting is changed, the highlighted
value is erased.
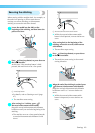
Memo
z To reset the stitch width to its standard
setting, select the same stitch again or
change the setting to the highlighted value.
z If the straight stitch (left needle position or
triple stretch stitch) was selected, changing
the stitch width changes the needle position.
Increasing the width moves the needle to the
right; reducing the width moves the needle
to the left.
z The sewing machine can be set so that the
stitch width can easily be changed with the
sewing speed controller. For details, refer to
"Satin stitching" (page 97).
z means the setting cannot be adjusted.
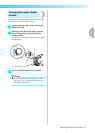
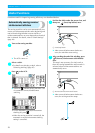
CAUTION
● After adjusting the stitch width, slowly
turn the balance wheel toward you and
check that the needle does not touch the
presser foot. If the needle hits the presser
foot, the needle may bend or break.