


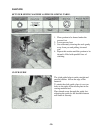
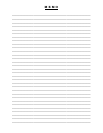
BUTTON SEWING
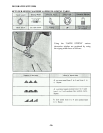
SET YOUR SEWING MACHINE AS PER FOLLOWING TABLE.
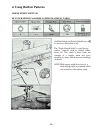
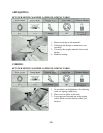
1. Put button in place on material to be
sewn.
Place under presser foot.
2. Set zigzag width control to regulate
distance of stitch between the holes in
the button.
3. Lower presser foot and check to see that
needle enters holes in button properly.
4. Slowly sew approximately 10 stitches.
5. Stop machine and raise needle from the
Material.
6. Turn zigzag width lever to 0.
7. Sew approximately three stitches in one
of the holes in the button to secure it.
8. Remove work and cut threads.
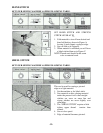
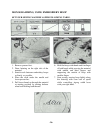
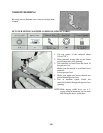
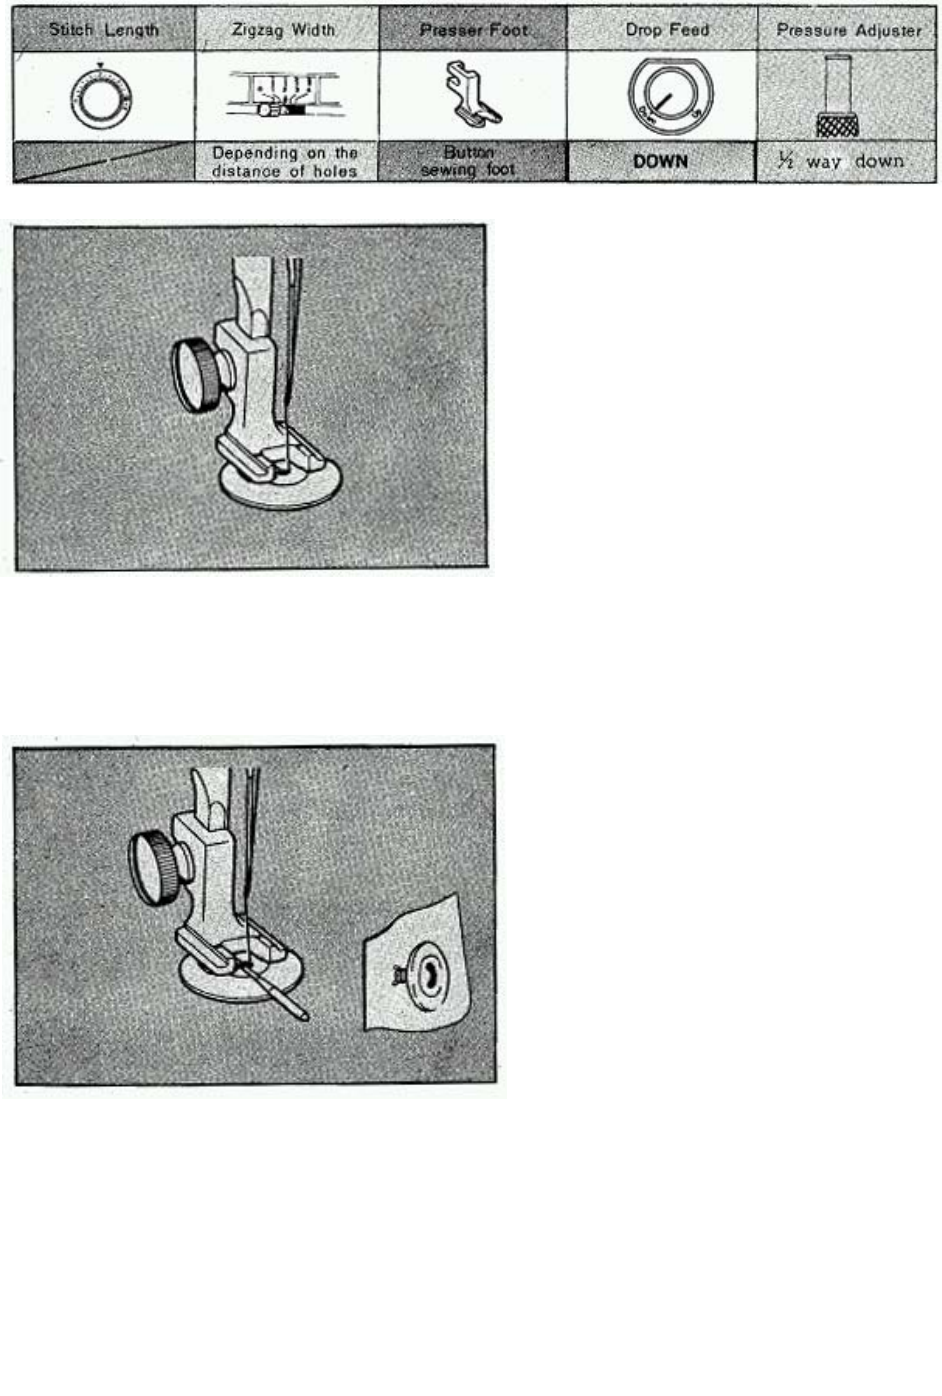
BUTTON SEWING WITH THREAD SHANK
For heavier material use the following
method to sew on buttons:
1. Place a needle on the button as shown in
illustration and then sew on button as
you would regularly. (see above)
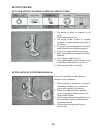
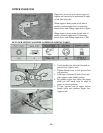
2. When removing work from machine
leave a long upper thread to be used to
form a thread shank.
3. Pull the upper thread through the hole of
button between button and material to
form thread shank.
4. With normal sewing needle sew in
thread ends.
-28-