


DCN Next Generation System Startup en | 16
Bosch Security Systems B.V. | 2005 January | 9922 141 70512
To end the muting:
• Click on the ‘Mute’ push button again.
The button will turn from red to gray, indicating that
muting has ended.
i Note
The master volume can be adjusted at any time
while you are in Startup. It can also be adjusted
while you are using one of the other software
modules. The procedure is identical to the one
described in this user manual.
i Note
The master volume controls the delegate
loudspeakers and both the line outputs at the
CCU.
The volume control at the CCU only controls
the delegate loudspeakers.
3.1.3 Error messages
When hardware errors occur the system
automatically generates error messages. The ‘Error
Messages’ dialogue box provides information on the
error messages and allows you to specify what you
wish to do with it.
The following information is provided:
• The total number of error messages generated
• A list of all error messages generated
The following options are available:
• To provide automatic notification when any
error messages occur
• To print out the error messages
• To send error messages to an auxiliary output
• To clear (delete) all existing error messages
To access the ‘Error Messages’ dialogue box:
• Select the ‘Global Settings’ menu on the main
menu bar and click on ‘Error Messages...’.
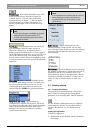
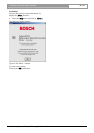
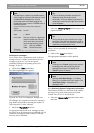
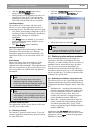
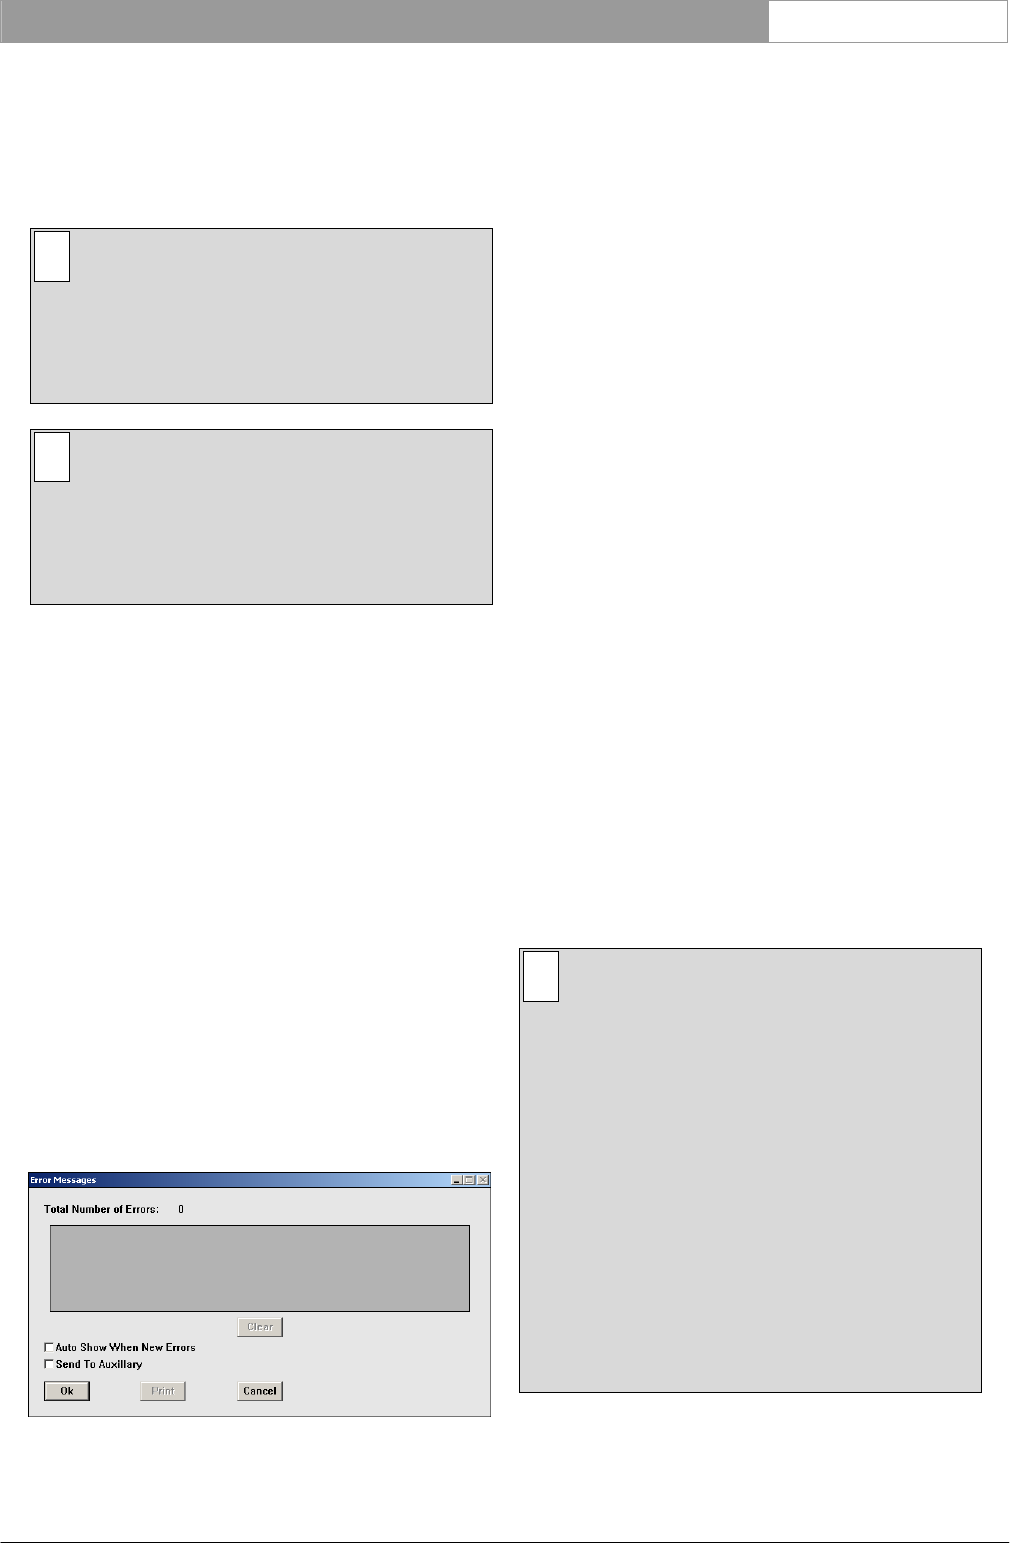
The following dialogue box appears:
Figure 7 The ‘Error Messages’ dialogue box.
‘Error Messages’ list box
This box contains a list of all the hardware error
messages generated by the system since the last
‘Clear’ action. Each entry consists of the seat number
of the unit with error (if applicable), the type of error
that has occurred, and the date and time of the error.
If the list is longer than the window, you can scroll to
see the rest of the list contents.
Clearing error messages
It is possible to delete all error messages on the error
messages list. To do so:
• Click on the ‘Clear’ push button.
This will clear the ‘Error Messages’ list box. The ‘Total
Number of Errors’ field will be reset to zero. The
‘Clear’ and ‘Print’ push buttons are disabled.
Automatic acknowledgement of error messages
This facility notifies the user every time an error
message occurs. The default state is disabled. If you
wish to select this facility:
• Click on the ‘Auto Show When New Errors’
check box.
An ‘√’ will appear, indicating you have enabled this
function. To de-select this facility, repeat the above.
Sending error messages to an auxiliary output
This facility allows you to automatically send error
messages in real time to the serial port of the PC,
thus enabling external data logging. To do so:
• Click on the ‘Send to Auxiliary’ check box.
An ‘√’ will appear, indicating you have enabled this
function. To de-select this facility, repeat the above.
i Note
By default is comport 2 used on the local PC,
but it can be routed to any comport or even to
a different PC by adding the following section
to the DCNNG.INI file:
[Errorlogging]
Comport=X
ComPortPCID=NR
where:
ComPort ‘X’ is the comport number (1-4)
ComPortPCID ‘NR’ is always 1 in a single PC
system. In case of a multi-PC
system, ‘NR’ is the number of
the PC on which the output
must be produced. Server PC
=1, Client PC is from 2 until 10
The port settings can be changed in the
Windows Device Manager.